


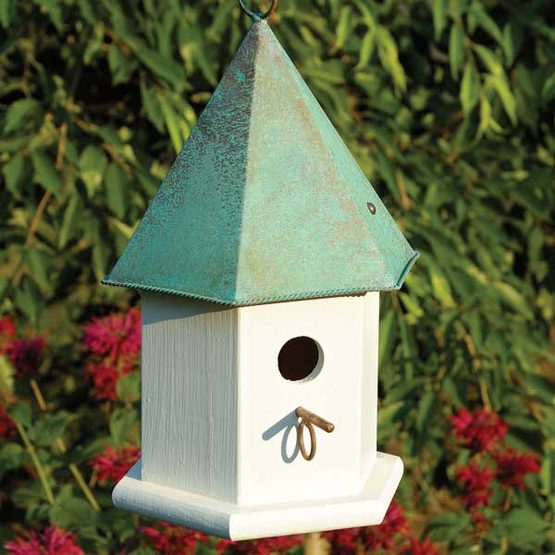
Building a birdhouse can be a fun and creative way to add a design element to your outdoor space while also attracting beautiful wild birds. For birdwatchers a birdhouse is essential, but even people that do not birdwatch love to add natural elements to their surroundings. Building a birdhouse is a creative outlet and can be a relaxing project that you can display for years to come. However, in order to build your own birdhouse there are some things you’ll need to learn.
Here’s our guide on building a simple and fun birdhouse:
What You Will Need For The Project
Some birdhouses are designed specifically for particular species of birds. The birdhouse project that we will be covering here is designed to be used by songbirds. This project is simple and will not take a great deal of time to assemble. This design will also allow you to add your own personal touch. You will need a few tools to make the birdhouse. Specifically, you will need a skill saw, a drill, a sander, and a hole drilling attachment for your drill, and a finishing nail gun. Other supplies that you will need include wood glue, a marker or pencil for marking cuts, 1 X 6 lumber, a spade bit to cut the bird hole, and a carpenter’s square.
The first thing you want to do is mark the cuts you will perform on the wood. The sides of the birdhouse will be 4.5″ wide and will be 5.5″ at the base of the roof. There will be angular cuts that will fit the contour of the birdhouses roof. The sides will be 2.5″ wide and 3.5″ tall. The roof pieces 4.5″ wide and 5.5″ tall.
Cutting
The first cuts you make will be for the front and the back of the birdhouse. Cut these pieces at the same time so that the cuts match up and are even with one another. The next cuts that you will mark will be for the roof. You will need your carpenter square for this step. Place the carpenter square at the upper edge of the roof and draw a line down to the corresponding line at the side which will make a triangle. Repeat these steps on the front and back pieces of the birdhouse. Once you are confident with your markings, you are going to make your cuts.
The next step in the process is to make the bird hole. To do this, you will make a mark that starts from the pitch of the roof straight down to where you want to place the hole. You will then draw a line across to form a T shape. Use your spade attachment to drill the hole where the lines cross so that it is centered. At this point, you are ready to drill your hole.
This is where we are going to measure the sides of the bird house. The sides should be the same height as the front and back without the roof. Once you are confident that your marks are right, you can go ahead and make your cuts.
Next, we will be making the roof of the birdhouse. You can modify the design to have an overhang on both sides, or you can make the back flush with the walls and have an overhang just in the front. You might have to make minor adjustments to the length of the roof to make it fit right.
The final piece to measure and cut for your bird house is the base. You may want to skip the base altogether. If you want a birdhouse base, however, you can make it whatever size you like. It can be even with the wall or it can a quite a bit of overhang to allow for decoration or other bird related features. Mark and cut your base at this stage of the project.
Assembly
We are now going to assemble the pieces that we cut for the birdhouse. It is recommended that you place the pieces together as they would look assembled to see if the cuts match up. If it appears that your cuts are right, and you are ready to assemble, then proceed. If there are rough edges from the cut or some areas that need to be adjusted you can use your sander. When you are ready, glue the front and back to the sides making sure to make the seams as even as possible. If everything matches up still, then go ahead and put a finishing nail in each corner of the birdhouse. The nail will be angled straight into the wood from the side so that it joins the two pieces of wood together. If you need to adjust a bit after the nails are inserted then, you can wiggle the pieces into a flush position. If everything is fitting correctly and you are satisfied with the appearance of the walls then you can go ahead and add more finishing nails to make sure that the structure is sturdy.
We will not put the roof on the birdhouse. Put the shorter piece on top of the walls first. Add a bit of glue and then add the other side. Be sure that the roof is even and if you are satisfied with the appearance, then you can go ahead and put the finishing nails in the structure.
The final step for our project is adding the base of the birdhouse. Center the base if you want overhang all around. If you only want overhang on the front, then line up the base with the back wall and make sure that it is flush. Go ahead and add glue and attach t the base. If everything looks good, then go ahead and add the finishing nails.
You can paint or decorate the birdhouse however you desire once the glue dries completely. I would advise that you give a full day for the glue to set. This simple and fun project will be one of your favorites, and your friends and family will be surprised how well it turns out. You can modify this project to make the birdhouse smaller or larger depending on the size of the birds that you wish to attract. Be sure to modify the bird hole to fit the proportions of the house.
Just in case you need visual help, here’s a great instructional video as well.
Comments
Loading…