

Many children often dream of being whisked away into magical places that they only read about in books. And parents across the country, for years, having been trying to turn these fantasy worlds into a reality. Whether it’s an incredible tree house, a stunning themed bedroom, or a basement completely transformed, some people prove that there are no limits when it comes to architecture and home decor.
Take this incredible father for example. In his quest to win “father of the year,” this is a man possessed by the desire to build his son the perfect bedroom. In fact, he documented and commented about the entire process on Imgur.
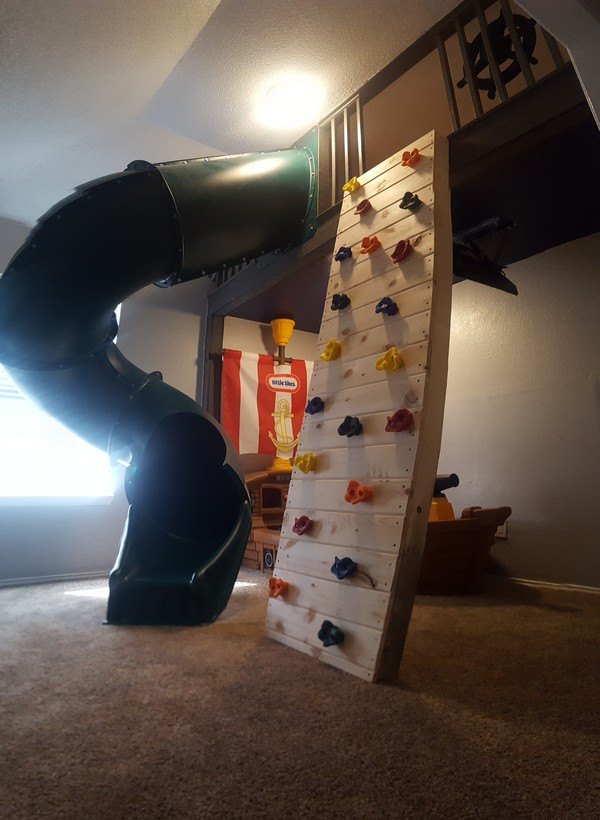
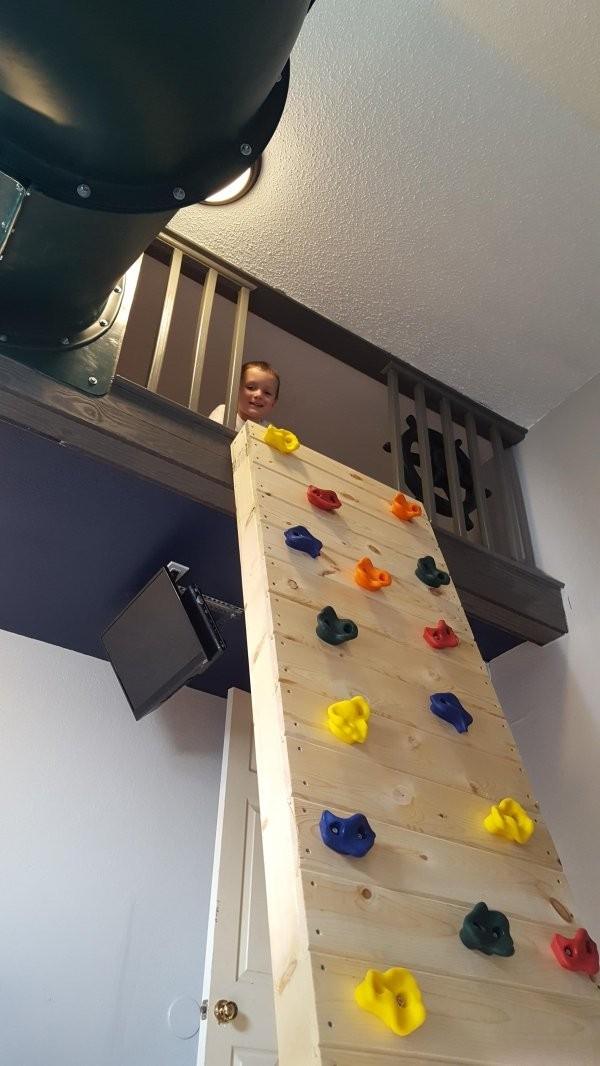
What began as a very plain looking room has been transformed into a magical journey that his son will enjoy for years to come. With a boat for a bed, a rock wall to climb up, and a slide to come down on, every child should be so lucky to have a dad this crafty to build a place like this.
Below you’ll see some selected photos and dialogue of the process:

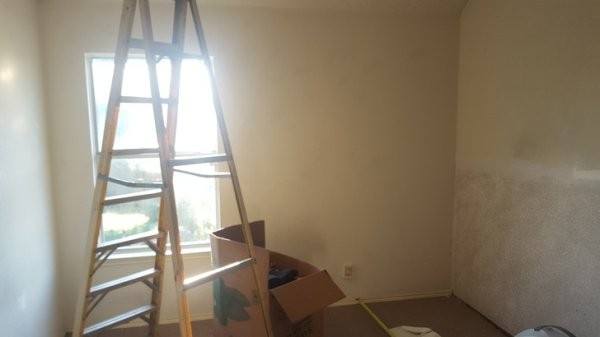
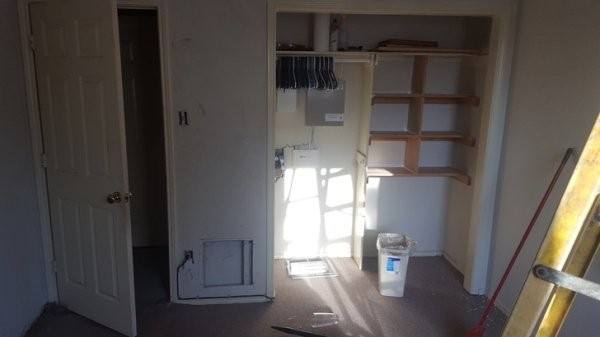
“It’s a relatively small room (10′ x 11′) and was very worn down and torn up. We were planning to just paint and recarpet the room for my son’s birthday but while surfing Pinterest for decorating ideas a different idea came to mind: I’m a handy guy, why not give him the room I would have dreamed of as a child?”
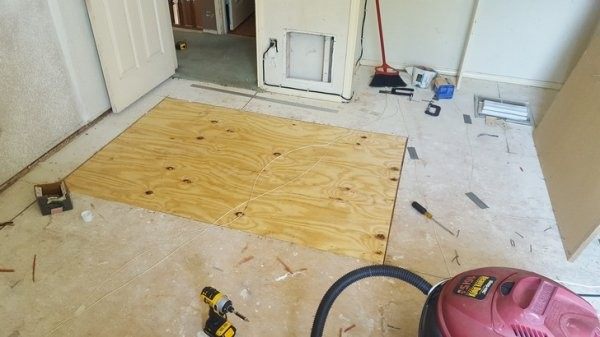
“And so I began. Before I could start on the real cool stuff though, I had to fix this. Apparently, when we had a leak in our roof ~15 years ago, the contractors we paid to fix everything replaced this section of floor with MDF instead of OSB, so the first thing I noticed when I walked in the room was that it felt like I was about to fall through the floor. To get the old piece off I put 2″ screws in various spots around the edges to pry on since there was no way I was getting a pry bar under an edge. Once I had it up I discovered the big reason, on top of the fact that it was the wrong material, that it was flexing so much. All four edges were completely unsupported, no floor joists within 6″ of any of them. So before I put the new sheet down I screwed 2×4 blocks along all the edges to the floor joists and the surrounding subfloor so that all the edges would be firm. I secured the new sheet with liquid nails underneath and 2″ deck screws every 12″ on top.”
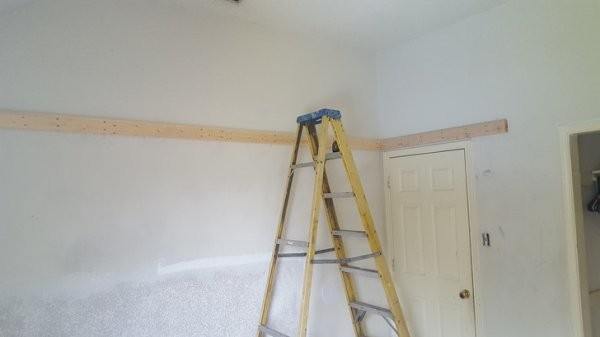
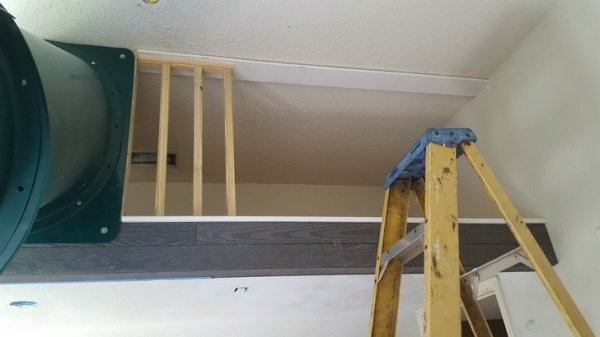
“Then the cool stuff began. Since I did 90% of this by myself I had to get kind of creative. I cut two 2×4’s to about 6” longer than the height I wanted this header and then used them at angles against the wall under the header to hold it up while I screwed it. I initially used a brand new stud finder to “find” the studs but as soon as I starting putting screws in I found that thing was batsh*t crazy. It didn’t help that the studs in this wall were NOT on any sort of standardized spacing so I ended up going along with a hammer and nail and putting holes every couple inches until I had found all the studs. Once I found them I secured the header to them with two 3.5″ deck screws each.”
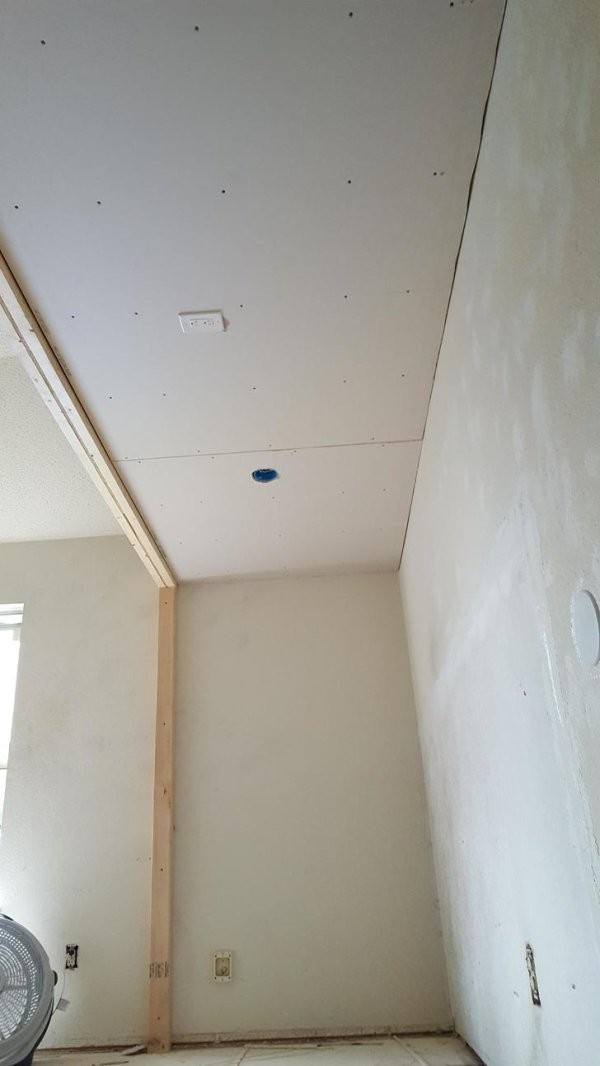
“The assembled beam was surprisingly light so I even managed to do this part by myself. There was no stud in the appropriate spot inside the wall on the left side so I had to put a king and jack stud on the outside of the wall, but I was able to tie into an existing stud on the right side. As you can see I implemented the angled 2×4 method to hold it up while I secured it again. I used four 7″ long 1/4″ lag bolts to attach the beam to the wall header on either side and then toe nailed it into the jack studs with 3.5″ deck screws.”
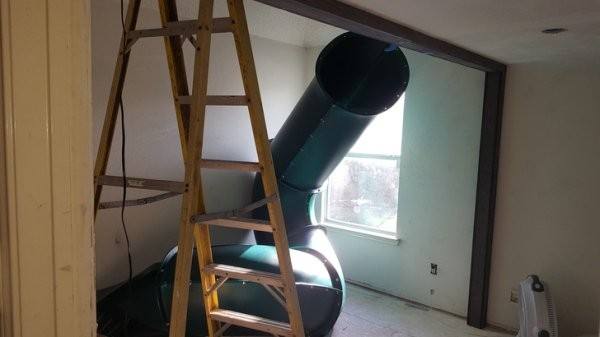
“Assembling the slide was interesting because only about 5% of the holes lined up without persuasion; the rest took some creative squeezing, prying, and yes, helping hands to get together. The thing was also really massive laid out on the floor like that and I really regretted putting all the bolts in when I was trying to paint around it later.”
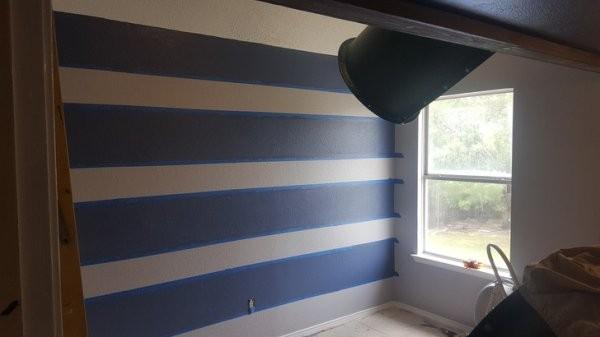
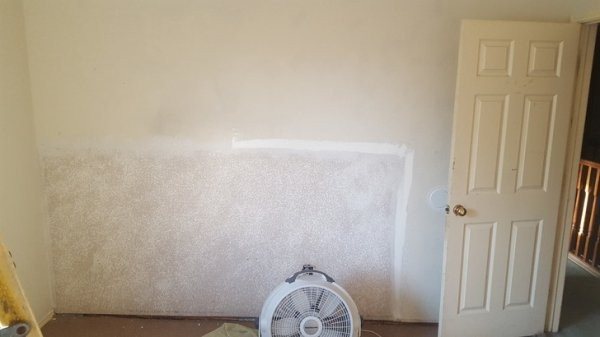
“Stripes! Every nautical theme room has to have stripes! As I mentioned we had tried various methods for doing edges around the room and were having a tough time so I did some research before tackling this. We found a tutorial online that said if you painted the edges of your tape with a foam brush, let it dry, and then painted in your stripes with a roller you wouldn’t get runs.”
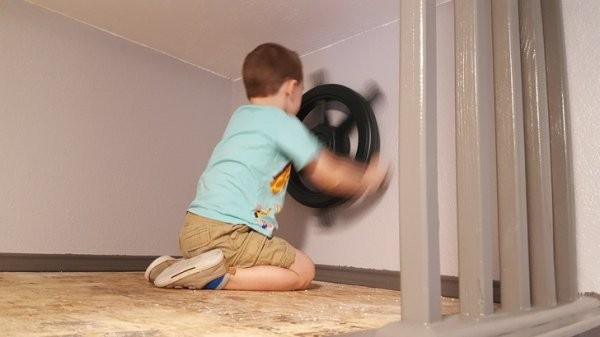
“This didn’t last long. I didn’t mount it to a stud because I didn’t want it to be off center, but he quickly tore the anchors out of the freshly painted wall. Back to the drawing board.”

Photos via Imgur
Comments
Loading…