

Most people have dreamed about growing their own vegetables at least once or twice in their lives. It’s the type of ambition that seems deeply connected with what it means to be human and capable; a survivor in a tough world. While people in the west only ever have to pick up a hoe by choice, there are plenty more, all around the world, who still must dig and plant every day to stay alive.
In short, there is a good reason why the desire to grow and nurture vegetables is such a common one. It helps us remember who we were and who we still can be with the right skills and equipment. If you are interested in creating your own vegetable garden, the time has come to embrace your inner ‘gatherer.’ Whether it’s tomatoes, cucumbers, sweetcorn, or leeks that rock your world, raising them from the ground up is easier than you might think.
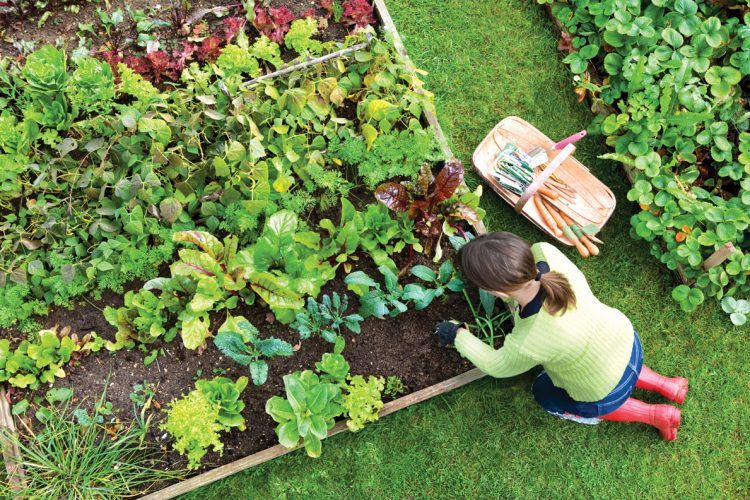
Ultimately, tending to vegetables is just like any other kind of gardening. All plants need the same things and, if you provide them, they’ll grow big and strong. The key to a successful vegetable garden, however, is consistency. The quality and size of your harvest will be determined by how steady and predictable an experience you give your veggies. If you let plants go dry or forget to fertilize, the consequences will be clear when it comes time to collect.
This step by step guide to creating a thriving vegetable garden will give you some helpful hints and tips.
Step One: Deciding What You Want to Plant
One of the best pieces of advice for new veggie growers is to start small. It is very common for inexperienced gardeners to get overexcited about the possibilities of growing their own food. They immediately rush in and try to grow everything, all in one small, still developing space. This is a recipe for disaster, so start out with modest plans; once you’ve got the hang of raising the most basic vegetables, you can get a little more ambitious.
Take some time to think about which vegetables offer the most value for your family. Which veggies do you love the most? What are you looking forward to being able to pluck from the bottom of your own garden, rather than having to buy from the store? Try to restrict your choices to plants that won’t get wasted. Not only will you put more effort into tending vegetables that you can’t wait to eat, it’ll also reduce the potential for waste.
It’s important to remember that vegetables like tomatoes, squash, and peppers continue to provide throughout the season, even after being picked once. On the other hand, carrots, radishes, and corn only provide one time. This makes it a good idea to plant more of these ‘one time’ veggies. While it can be difficult to make judgements about what you want to eat and how often before you’ve even started gardening, do try to take these considerations into account when planning the space.
Step Two: Picking the Perfect Spot for Your Veggies
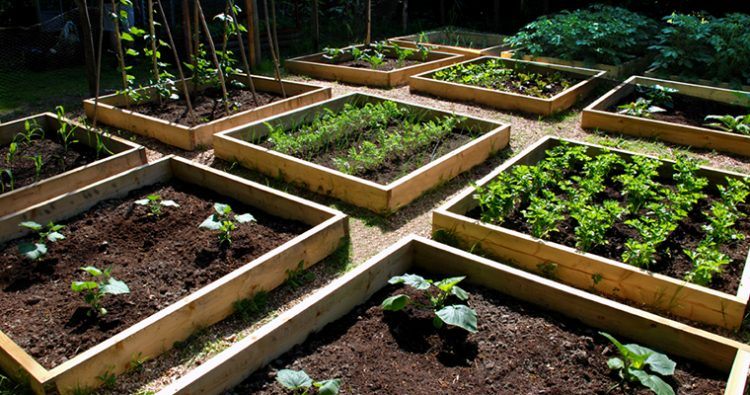
The other rookie mistake that amateur veggie growers make is to assume that they need a sprawling space. This isn’t usually true, because vegetables are pretty hardy and will adapt to their environment. Plus, the larger the garden, the more space there is for weeds to invade. Keep in mind the fact that a carefully maintained 10×10 foot garden will always produce more than a much bigger, weed infested yard. Once again, it is okay to start small and work your way up to bigger things later on.
Most vegetables require a minimum of 6-8 hours of sunshine, every day. If they don’t get this, they’ll produce smaller harvests and become more vulnerable to attack from diseases and pests. So, you need to position your garden in a spot that gets plenty of natural light. For those who don’t have any full sun spots in their yard, veggies like lettuce, spinach, and peas can be still grown in slightly shadier conditions; you will have to monitor them more carefully though.
You’ll quickly find that most vegetables aren’t as casual about water as they are about space. The vast majority will need hand watering during dry spells. Before you start building your garden, think about how it will be positioned in relation to the nearest water source. For instance, if you’ve got an outdoor hose, make sure that the garden is in a spot that it can reach. This will take much of the physical work out of tending and raising a healthy vegetable garden.
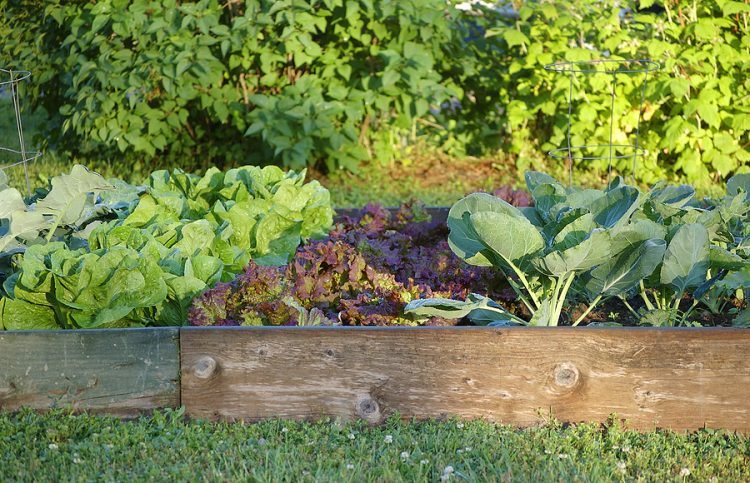
Step Three: Planning the Design of Your Garden
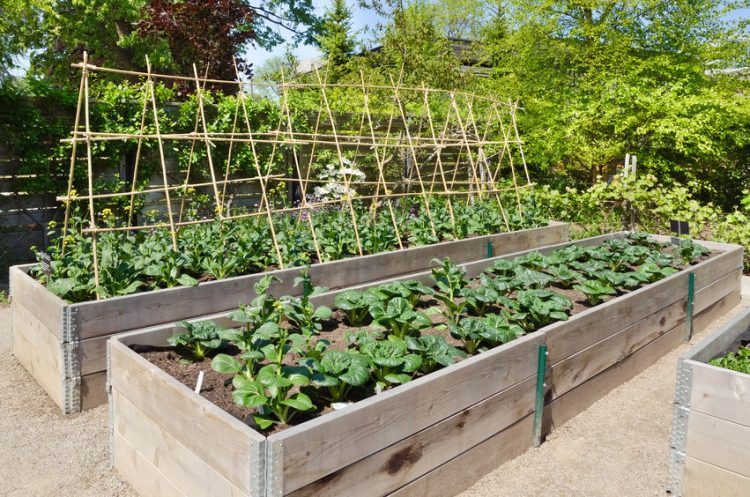
There are two main types of ‘at home’ growing. They are row cropping and intensive cropping. The first, row cropping, is exactly how you imagine it. When most people think of domestic vegetable gardens, this is what they see; plants spaced single file, in even rows, with a space for walking left in between each one. It is the traditional and basic form of growing, so if you are new to the process, this is the best option.
The only downside to row cropping is that you need more space. As there needs to be room for walking, checking, and monitoring, you won’t be able to get as many veggies in as you would in an intensive growing environment. It is also true that row cropping produces gardens that are more easily maintained, but less visually exciting. If you do plan to arrange your outdoor space in this way, allow a minimum of 18 inches between the rows.
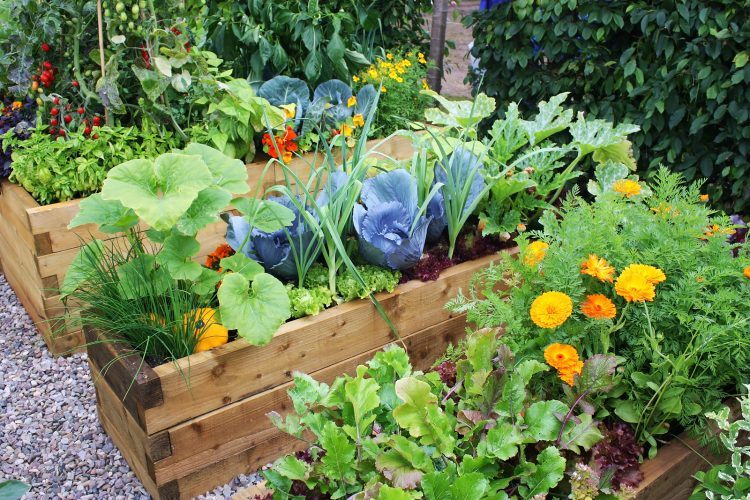
Alternatively, you could try an intensive cropping design. This is a little more intuitive, so it produces a more visually appealing scene. However, the lack of regimented spaces between the plants makes it harder to spot and tackle weeds. If you choose this arrangement, be prepared to get up close and personal with the plants. You will have to do lots of hand weeding, particularly in the summer. Intensive cropping describes a garden where the veggies are planted in broad bands, usually around 1-4 across.
Step Four: Digging Out the Vegetable Beds
Just before you start digging and planting, take some time to test the amount of moisture present in the soil. You can do this in a matter of moments. Take a hose and soak the soil in your planned veggie garden with water; make sure that everything is good and wet. Then, wait for around twenty four hours before you come back and test it. This is done by digging up a small handful of soil and squeezing it hard between the fingers.
If lots of water leaks out of the soil, because it hasn’t really dried, you’ll need to add a layer of compost over the top before you start planting. This will, hopefully, reduce the moisture levels and create a garden that is kinder to vegetables like tomatoes, peppers, spinach, leeks, and onions. Ideally, you want the soil to form a tough looking ball when you squeeze it, but crumble easily when you poke it with a finger. This indicates a healthy, perfectly balanced soil type.
You need to loosen the soil before you begin planting. You can do this easily with a standard tiller or you can do it with your hands if you don’t mind getting close to the earth. Once the soil is good and loose, distribute a layer of compost and work it into the soil. Be careful not to step on or disturb the areas that you have already tilled, as you work. When you’re finished, smooth over the surface using a rake and cover with a generous amount of water.
Step Five: Start Planting, Growing, and Harvesting
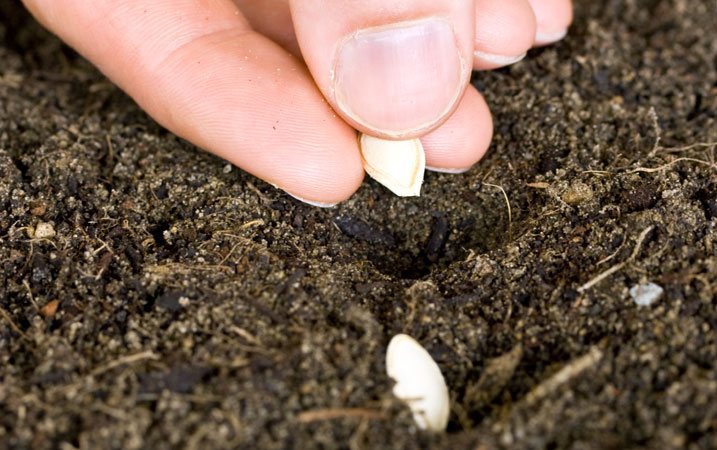
You are now ready to start planting your chosen vegetables. At this point, your garden should be looking neat, tidy, and very nurturing. It is imperative that you keep it this way. Raising a healthy, strong vegetables garden requires less hard work than most people think, but there is still a lot of maintenance to be carried out.
The key here is vigilance and careful monitoring; if you keep a close eye on the condition of your plants, you’ll spot signs of trouble early and be able to act accordingly. Finally, don’t forget to feel excited and passionate about the delicious produce that you’re creating. Tending to and raising a vegetable garden is a very rewarding hobby, so dive in and approach the task with enthusiasm and energy.
Comments
Loading…