


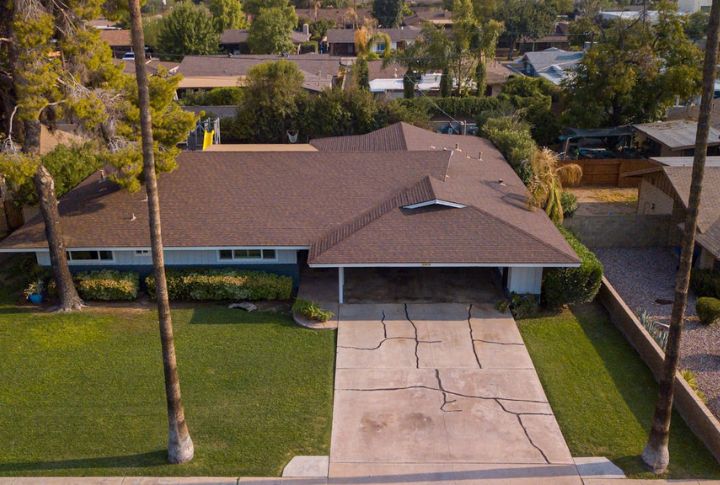
Your driveway is an important part of your home, but just like any other spot, it too deteriorates. When that starts falling apart in big chunks or flakes, it’s called spalling. Spalling concrete damages your driveway and makes it unable to hold heavy things like your car. If left alone, it can lead to expensive repairs warranting complete redos. But don’t worry, here is how you can fix it.
Understanding Spalling Concrete
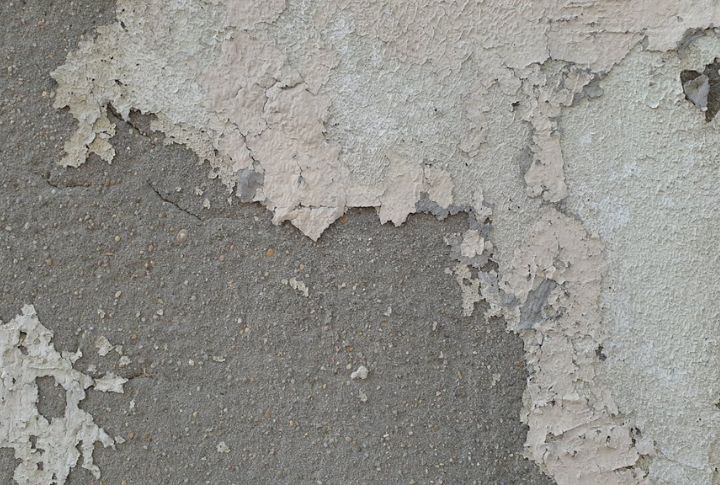
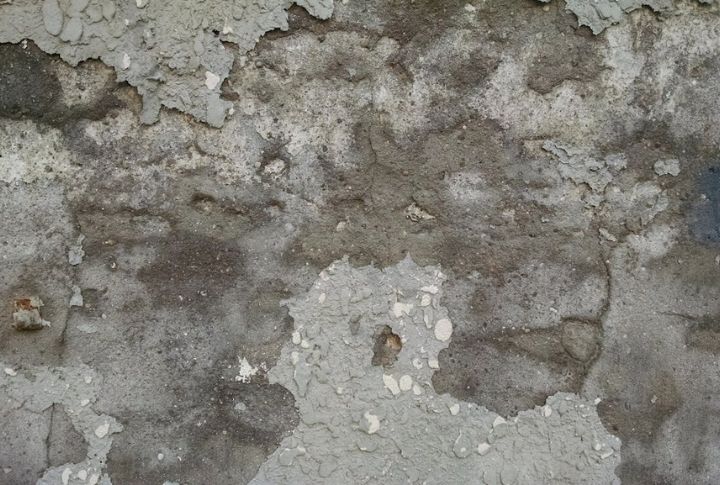
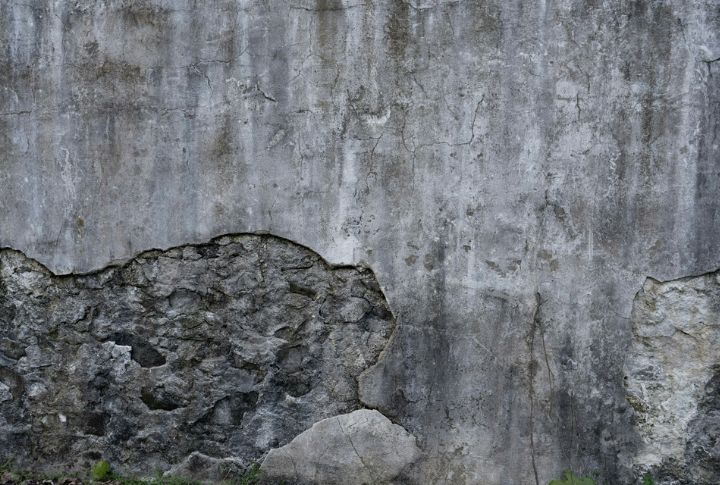
Concrete spalling occurs when the surface of your driveway begins to break down. You might notice flaking, chipping, and cracks. Ignoring this problem can result in even more significant complications later on. Understanding this condition is the first step toward a fix.
What Causes Spalling?
One common reason involves a freeze-thaw cycle, where water seeps into concrete, freezes, and expands. Such expansion leads to cracks and surface flaking. Also, deicing salts used for melting ice worsen problems by penetrating concrete. Regular maintenance and sealing can effectively prevent spalling issues.
Importance of Quality Mix
Using a quality concrete mix is vital to preventing spalling. If the mix is too watery or not mixed correctly, the surface may become too weak. Investing in a proper mix is worth it to make sure your driveway lasts for many years to come, as your future self will thank you.
Role of Proper Installation
Mistakes like not curing the concrete properly can lead to problems down the line. Improper installation is another common culprit for spalling. Taking the time to install your concrete correctly will save you from costly repairs later, showing that a little effort goes a long way.
Signs of Spalling to Watch For
Look out for signs like small cracks, flaking, or uneven surfaces. If you catch these early, you can prevent bigger problems. Regular inspections of your driveway can help you stay ahead of spalling and maintain a smooth surface. So, it is advisable to keep an eye out to spot early cracks.
Tools Needed for Repairs
Before diving into repairs, gather the right tools. You’ll need a power washer, a stiff broom, a concrete mix, a bull float, and protective gear. Having everything ready will streamline the process and make your repair efforts more effective. Being prepared makes all the difference.
Remove Loose Concrete
Start by removing any loose areas of spalling concrete. This ensures you have a solid base for the repair. A clean surface helps the new concrete adhere better and provides a lasting fix. Don’t skip this important step; it sets the foundation for your repairs.
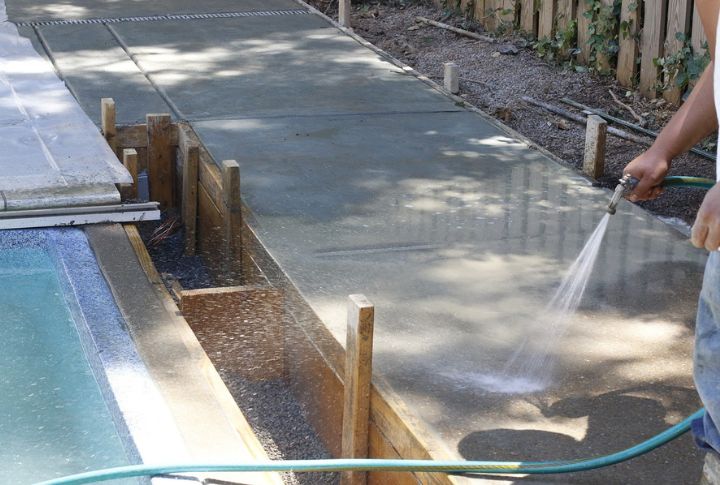
Clean the Surface
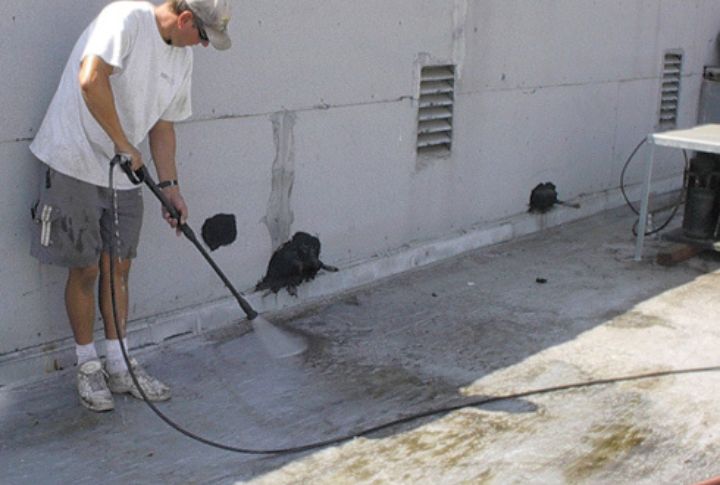
After clearing away the loose concrete, it’s time to clean the surface. Power wash it and scrub it down with a stiff broom and a degreaser. Cleaning helps remove dirt and debris, creating a clean slate essential for the new concrete to bond better and ensure success.
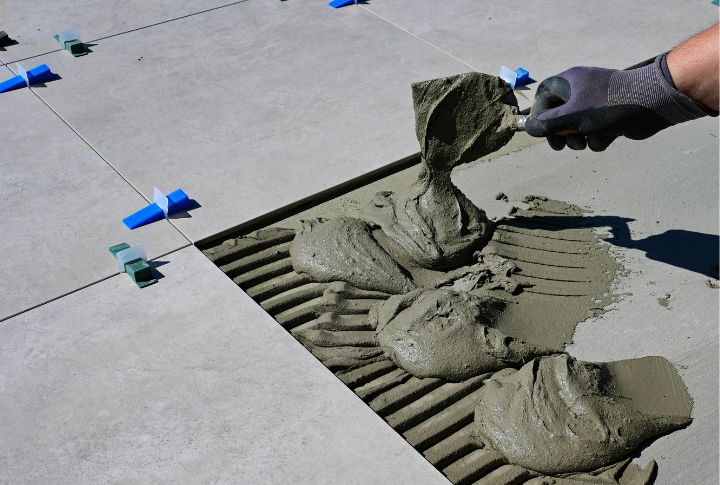
Mix the Concrete
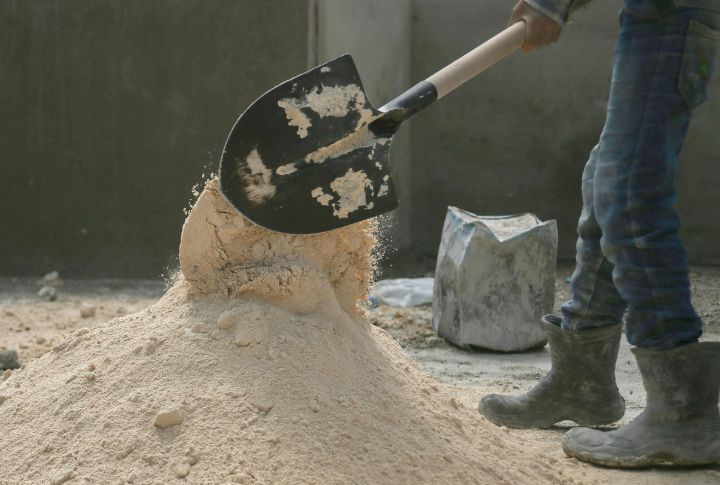
Mix the concrete carefully. Measure one portion of cement and mix it with two portions of sand. Slowly add water until it has a thick, peanut butter-like texture, not too runny like paint. Getting the mix just right will make it easier to apply and help it stick better to the cleaned surface.
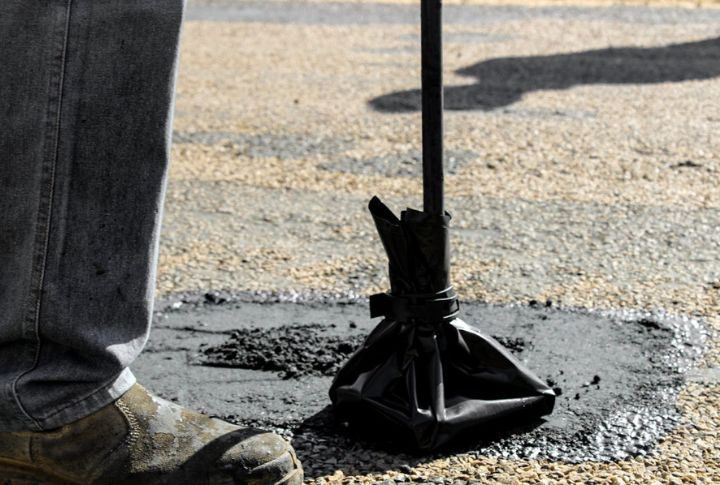
Apply the First Layer
Brush the mixed concrete onto the damp surface. The first layer helps seal any small cracks. Before it dries, prepare the next mix with three parts sand and one part cement. That layer provides strength and durability to your repair.
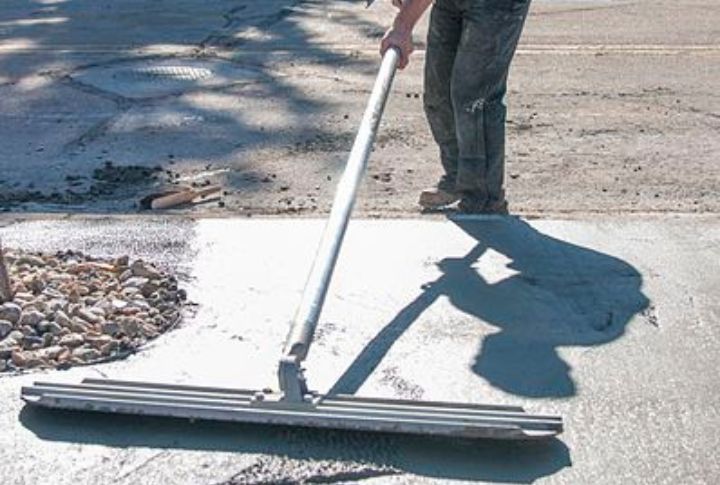
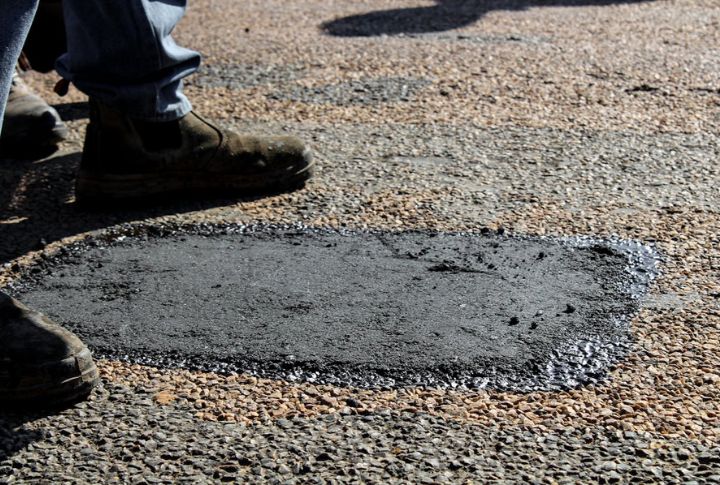
Leveling the Concrete
Shovel the thicker mix into the prepared area and level it using a straight 2×4. Make sure it’s even across the surface. A level surface not only looks better but also prevents water pooling, which can cause further damage. Precision is important in this step.
Smoothing the Surface
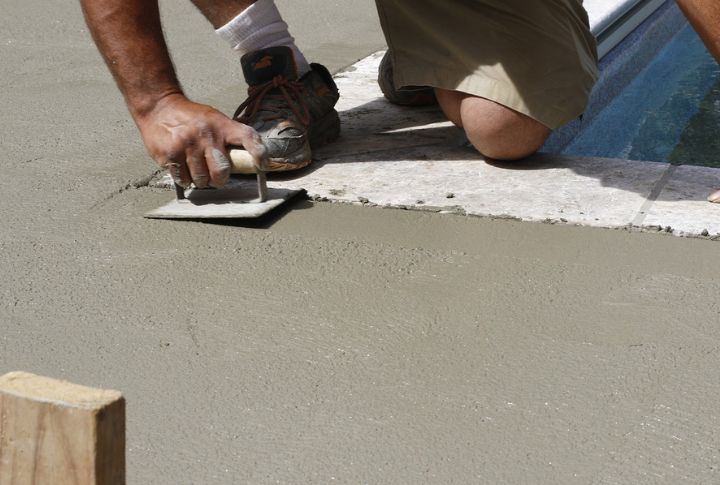
Now, it’s time to smooth the surface using a bull float. This step gives your driveway a polished look. Afterward, round the edges with an edger and finish with a broom. A great finish enhances curb appeal and extends the life of your repair, so do not rush through this.
Curing the Concrete
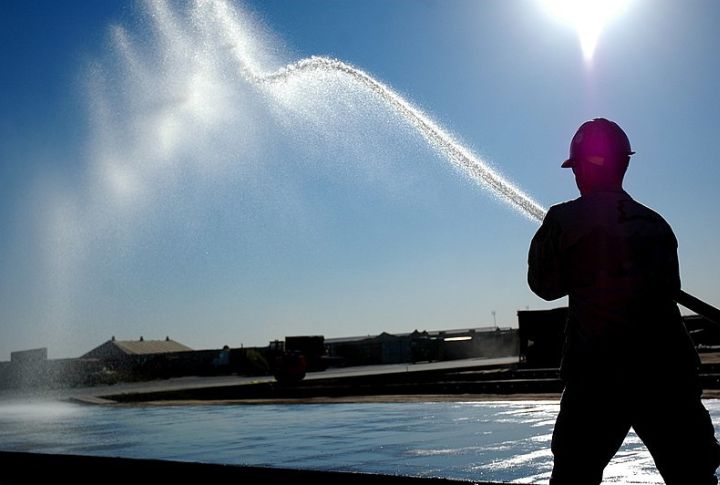
Mass Communication Specialist 2nd Class Demetrius Kennon/Wikimedia Commons
This next phase is very important for curing the concrete well and it entails covering new concrete with plastic to keep it wet. Let it cure for at least five days. Good curing will make it stronger and stop cracks formation for longer-lasting results, so take your time and do the steps carefully.
Regular Maintenance
Once you’ve repaired your driveway, regular maintenance is key. Check for any new cracks and address them quickly. Keeping your driveway in good shape will help prevent spalling from occurring again. A little upkeep goes a long way in preserving your hard work.
When to Call a Professional

Sometimes, DIY repairs might not be enough, especially if the spalling is extensive or affecting structural integrity. If you notice significant damage or deep cracks or if the repairs seem overwhelming, it’s wise to consult a professional. Experts assess the situation and provide advanced solutions for the long haul.