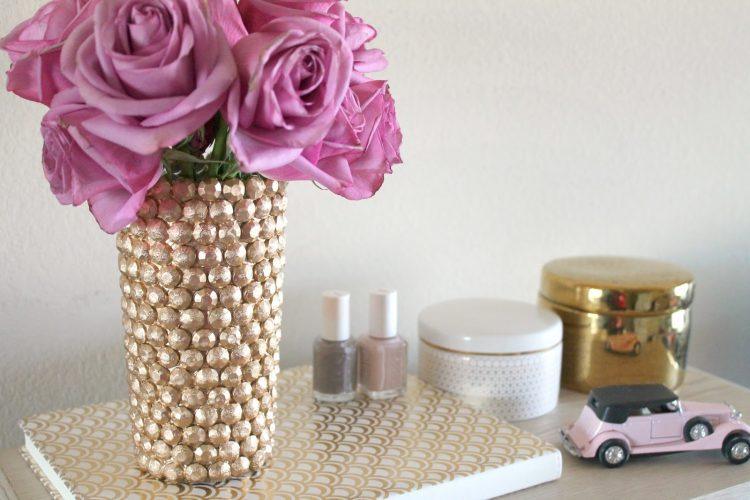
If you like DIY projects, then you will love these easy-to-do vase projects. These are quick, easy, fun projects that a person of just about any age can do easily. The finished products are both cute and stylish. These DIY vases require a few simple steps to create so they will not take up a great deal of your time trying to create them. The great thing about these projects is that you can recycle bottles that you already have used such as soda or juice bottles. Rather than throw them out you can create something beautiful and stylish.
If you feel that you have a great idea to add to the instruction, then feel free to personalize your vase as you see fit. The only limit to these products is your imagination. If you can dream it up, then you can apply it to the project. All you need is an imagination and a few simple ingredients, and you will be on your way to creating masterpieces.
Check out these five awesome DIY Vase projects:
DIY Flower Vase
This project uses cut plastic pieces to create a collage. This is an easy to do project that requires only a few items. Find a cute bottle that you want to work with and the plastic scraps that you feel will compliment the vase. You need scissors to cut the plastic and a sturdy glue that will dry solid and keep the pieces of plastic secured to the bottle. Once you have applied the scraps of plastic in an orderly fashion, you can add a ribbon or some other embellishment at the neck of the face for a bit more interest. This is an inexpensive and very easy project that is fun for adults and children alike. The total cost of materials is around ten dollars.
DIY Vintage Flower Vase
This project is also super easy. Simply take glass bottles that you no longer need and soak in hot water for forty-five minutes. This will allow the label to pull easily off. Once the label is off you need to scrub the adhesive off of the bottle. You can use dish detergent and a pot scrubber to accomplish this. Once the bottle is clean and try you can spray paint is which ever colors that you want. You can mix and match colors if you like but the video stays with a single color. This project gives you a vintage look which will look great on your dining room table. You can choose any color that you like for this easy project. You could even use layers or blend the colors for a stained glass effect.
DIY Flower Vase with Bugs
This project only requires a few items and is inexpensive to create. The final vase is cute and eye-catching.You need a clean glass bottle and some white spray paint. A craft sponge and black tempura paint as well as adhesive bug decals. You want to spray paint you bottle white. Concentrate mostly on the bottom half. Once the paint dries you will apply black tempura paint to the top half of the bottle. Blend carefully and let the paint dry. Once the paint is dried completely, you can apply your decals to the bottle. Be sure that they are centered. That’s it! Your DIY vase is finished. You can modify the colors if you don’t want to use black and white. You can even find other types of decals. This is a great project because you can tailor it to suit your individual taste.
DIY Vintage Mason Jar Vase
This project will require white, green, and black acrylic paint. Some painter’s tape and a craft sponge are also materials that you will need. A matte or satin finish spray paint is suggested when the vase is painted to preserve the finish. If you like, you can distress the vase and make it look more antique using a nail file. You need to cover the vase in white acrylic paint and let it completely dry. Take even lines on the jar all the way to the top. Paint the spaces between the tape black. Remove the tape before the paint dries. Go over uneven spots to make clean lines. Let the paint dry and then you may take the nail file and rub the paint. Once you have finished, you can paint the lid with the green acrylic paint. Spray the finished product with the clear spray paint to preserve the look. You can use this vase for flowers, kitchen utensils, makeup, art supplies, and many other useful purposes. You can also change the colors if you don’t like black and white. There are many ways to modify this project. It is fun and simple and easy to make your own.
DIY Vase from a Plastic Bottle
The items that you will need for this project include a plastic bottle, twine, a magic marker, white acrylic paint, a pair of scissors, a lighter or match, a candle, and a box cutter. You want to clean your plastic bottle and remove any labels. Mark the top of the bottle where you are going to cut it to make the opening for the flowers. Heat the cutter under the candle flame to achieve an easy, even cut. Once the bottle top is cut, ou can mark the strips that you will cut vertically about a quarter of an inch apart. Make your cuts and bend the strips back. Once the strips are pushed back fold them in half and tuck them under the one next to it. Once you have finished tucking the pieces you can add the twine or paint the twine and wrap it on the vase. Let the paint dry and the vase is ready to use.


Comments
Loading…