


Bar cabinets are integral for the storage of bottles, glassware, silver wear and bar accessories. It can cost thousands of dollars to purchase a prefabricated bar cabinet. As an alternative, many homeowners choose to build their own bar cabinet which gives them cost and design flexibility as well as many more material options. Of course, it takes much more hard work than simply driving to the store and purchasing a unit. Nevertheless, the end result can be rewarding and functional for many years to come.
This leaves the question, how do you build a DIY bar cabinet that is durable, aesthetically-pleasing and cost-effective? The following is a step-by-step guide to constructing your own bar cabinet.
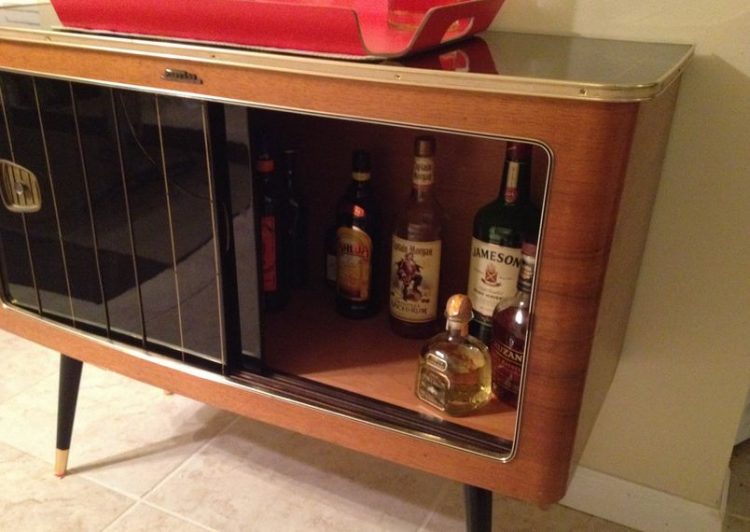
In this particular example, the cabinet will have a red-colored stained-glass door with a taller and narrower profile. To complete this project, you must have the following tools handy: measuring tape, hammer, screwdriver, paintbrush, clamps, pencil, framing square, combination square, chisel, cordless drill driver and table saw, if you choose to cut your own wood.
Here are the steps:
Step One: Size the Wood Accordingly
The first step is to cut the pre-primed pine sides to marry up with the length of the stained-glass door using a table size. The ends of the cabinet and internal shelving will need to be exactly 1.5-inches smaller than the width of the window. You have the option of skipping this step if you want the lumber yard to cut the wood to length for you or do not have the tools to do so.
Step Two: Layout Shelving Placement
Mark with a pencil and framing square directly onto the cut wood exactly where the shelves will be placing. Consider exactly what bar accessories you are planning to place in the cabinet. If you have tall pitchers, make sure to account for their height to ensure there is proper spacing between each shelf.
Step Three: Adhere the Pieces
The next step is to glue the top and bottom panels together between the sidewalls and give them time to dry. There are fast-drying adhesives and wood epoxies available if you want to speed up the process. Ask the associates at the hardware store which is the best (and fastest drying) adhesive for wood and they can give you recommendations.
Step Four: Secure the Pieces with Screws
Once all panels are adhered and have thoroughly dried, hold it into place with clamps. Then, drive in the finishing screws with a power drill. This will reinforce the glue so that the bar cabinet does not fall apart when you place dishes and other heavy items on the shelves.
Step Five: Paint the Cabinet
There are an endless number of paints available at your local hardware store. Find a color that you like and best fits the décor of the bar room then purchase that color. Once you arrive home, paint the exterior of the cabinet and give it time to dry. You can be really creative with the paint job by purchasing a stencil of your favorite team’s logo, paint words of wisdom on the side or paint a variety of colors that best represent you.
Step Six: Attach the Back Panel
At this point, you should have the top, bottom, side walls and shelves adhered-to one another and painted. Once the paint has dried, add a ½-inch plywood plank to be used as the back panel. Secure it with steel tacks and the same adhesive used on the other sections. Prior to adhering the plywood, you can paint it with a unique design that can be viewed each time the cabinet door is opened.

Step Seven: Mortise the Hinges
Along the narrow portion of one side of the front panel, create mortises by scooping the wood out with a chisel, bevel-side down. Next, flip the chisel bevel side-up to create a smoother surface. This will allow for door hinges to be set within the wood.
Step Eight: Align Hinges with the Glass Panel
Place the closed hinges into the newly-created mortises and directly place the glass door on top of the cabinet to mark, with a pencil, exactly where the hinges line up on the frame. This alignment is critical to ensure the door functions properly when opening and closing.
Step Nine: Attach the Door Hardware
At this point your mortises will be in-place and the markings as to where the hinges will actually be drawn onto the frame. Now it is time to physically attach the hinges to the frame and door. First, predrill holes to place the hinge screws. Next, place the cabinet on its side next to the glass to directly align the hardware. Finally, using a screwdriver or drill, attach the hardware to the cabinet.
Step Ten: Add a Door Handle
Again, you have the creativity of adding a knob, handle, number lock or some other type of innovative technology. There are thousands of door handles from which to choose so find the right component for your needs. Simply drill the screws through the holes around the edge of the handle and into the wood.
Step Eleven: Hang the Cabinet
The final step is to hang the cabinet onto the wall. Make sure to use the appropriate support and anchoring system for your wall type. Again, this can be discussed with your local hardware store to determine the best application method. You want an anchoring system that can hold a good amount of weight when the cabinet is full of bottles, dishes and other bar accessories. Ask what they recommend and simply screw the cabinet that come with the kit into the wall for a secure application.
Now you are ready to use your brand new bar cabinet that reflects your personality and décor of the room. The difficulty level for this type of job is moderate so you must have some knowledge of carpentry. The process will take you around four hours not including drying time for the glue and paint. You most expensive item is going to be the glass door with stained glass panels. This will run approximately $250, depending on the design that you prefer.
For more information, view the following video from This Old House.
Comments
Loading…