

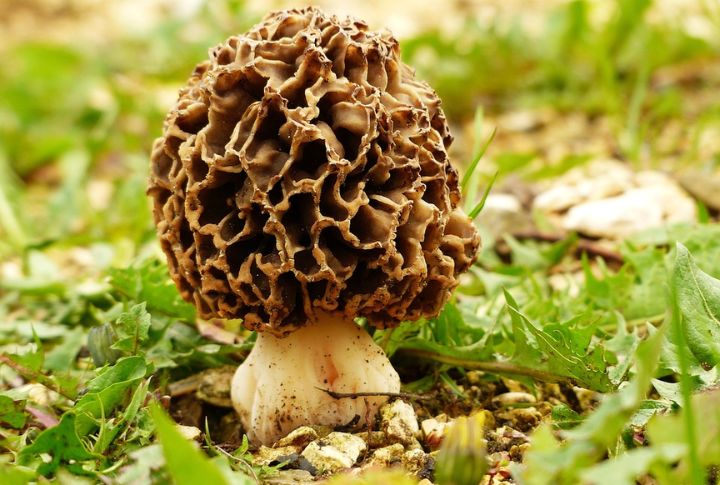
Some backyard experiments are pure fun. But growing morels? That’s a quiet mission, full of waiting, watching, and wondering. These mushrooms have minds of their own, and patience pays more than force. If you’re curious how to make them sprout at home, here’s a list that’ll get you closer, without all the frustration.
Soil pH Plays A Subtle Role
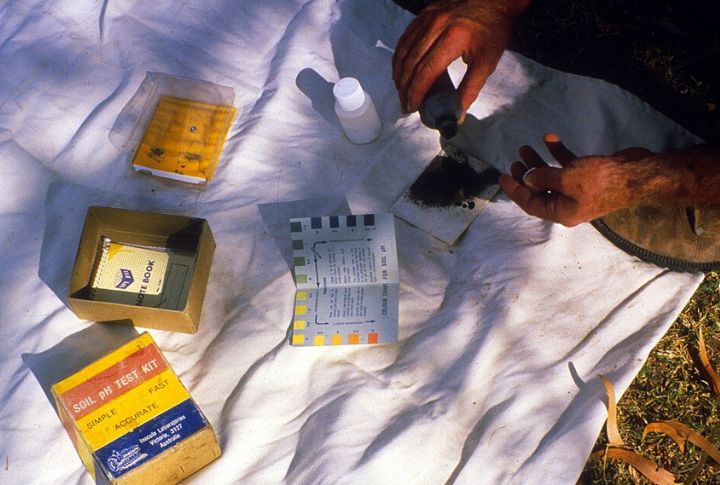
For the best growth, aim for soil pH levels between 6.5 and 7.0—just slightly on the acidic to neutral side. Too alkaline or too acidic, and the fungus won’t thrive. A simple test kit can tell you what’s happening underground. If needed, adjust slowly using natural additives like sulfur or lime.
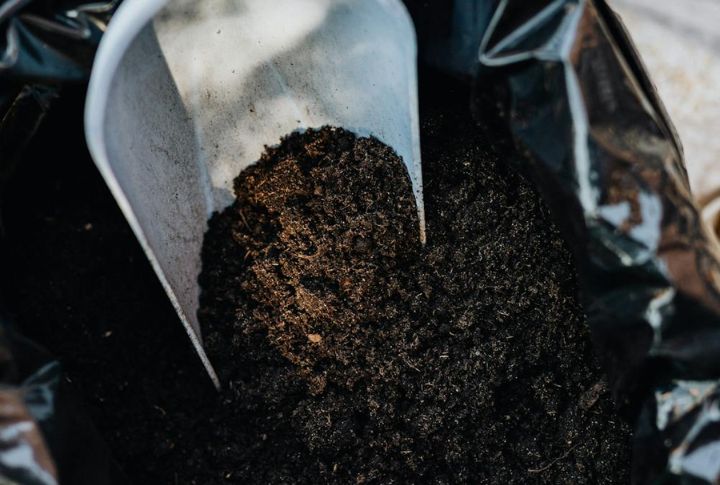
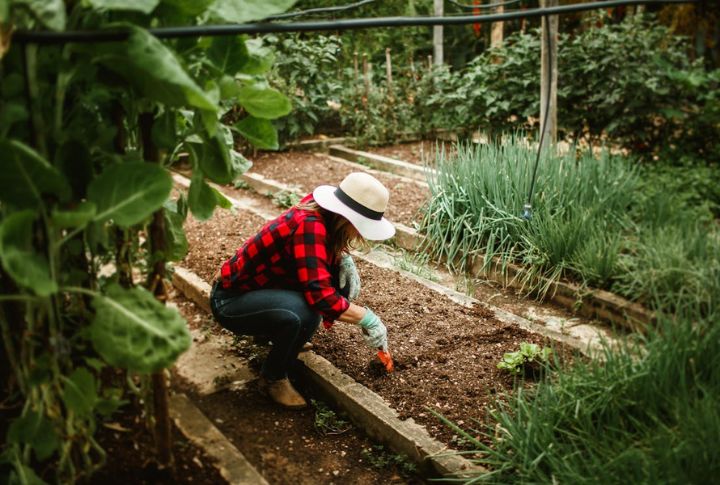
Prep The Soil With Hardwood Mulch And Ash
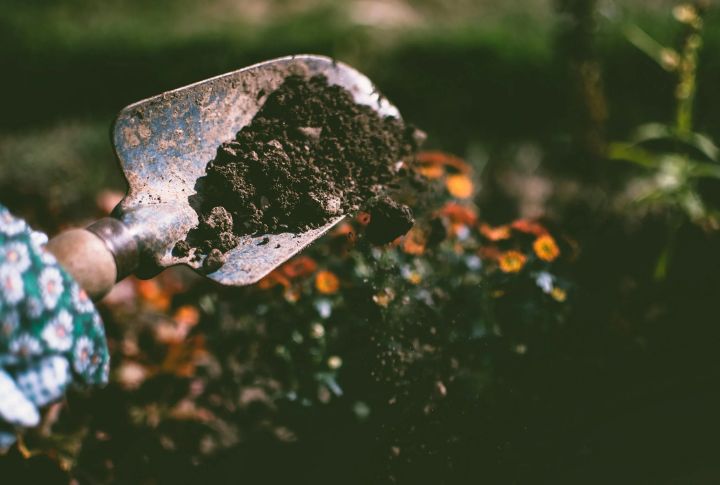
Lay the groundwork like nature does. Spread hardwood mulch to nourish fungal roots, then mix in a bit of ash, especially the kind left behind by untreated wood. Softwoods won’t help here. This combo mimics forest conditions and creates an ideal base for morels to thrive.
Use Spores Or A Spore Slurry For Inoculation
You can grow morels using dried spores or make a spore slurry by blending wild mushrooms with water, salt, and molasses. Pour it into your prepared patch. Doing this spreads the fungus into the soil, starting the underground network needed for fruiting.
Time Your Planting For Fall Or Early Spring
Morels need a cold spell to get going. Fall or early spring gives their underground network time to settle and respond naturally to temperature shifts. Skip summer—it’s too hot. Cooler months prep the mycelium, so when spring soil warms, fruiting has the best chance.
Keep The Bed Moist But Never Waterlogged
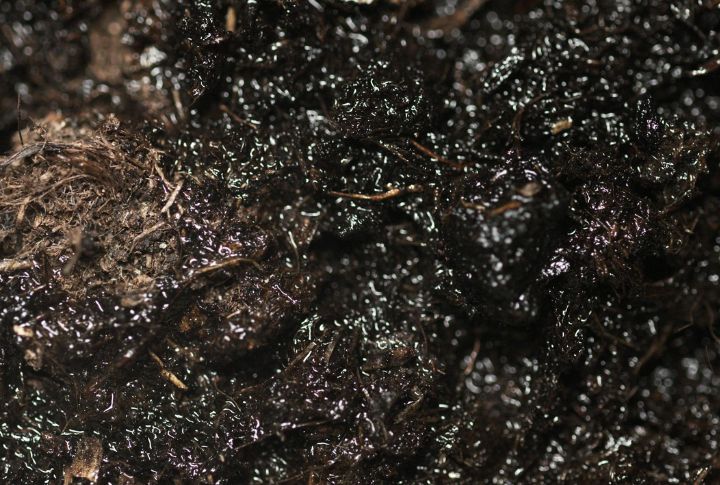
These mushrooms drink like Goldilocks—not too much, not too little. Daily misting or light watering works. Heavy rain or deep puddles? That’s a death sentence for the mycelium. Instead, aim for sponge-like dampness. If it squishes or drips, it’s too far gone.
Add Companion Trees Like Elm Or Ash Nearby
Ever notice morels around dead elms, ash, or old apple trees? That’s no coincidence. These fungi team up with certain roots to exchange nutrients. If you don’t have them, plant a young ash or elm. Skip evergreens; they don’t play nice with morels.
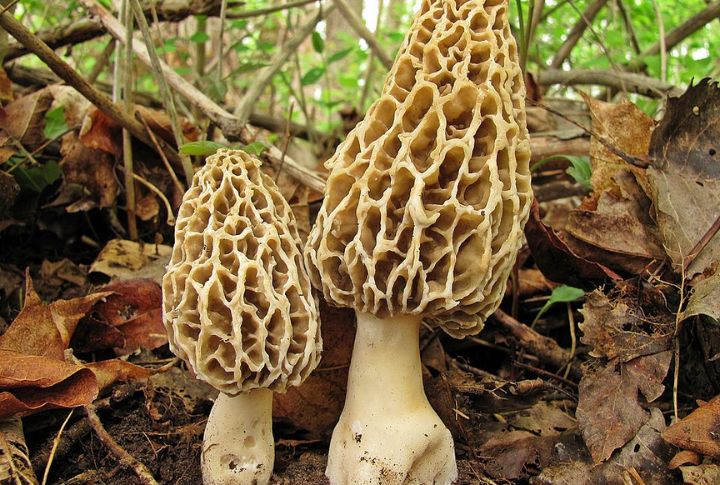
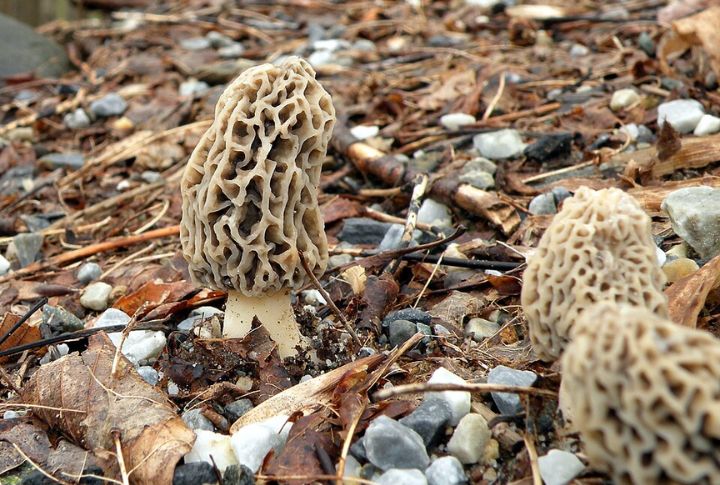
Use Native Morel Species For Best Results
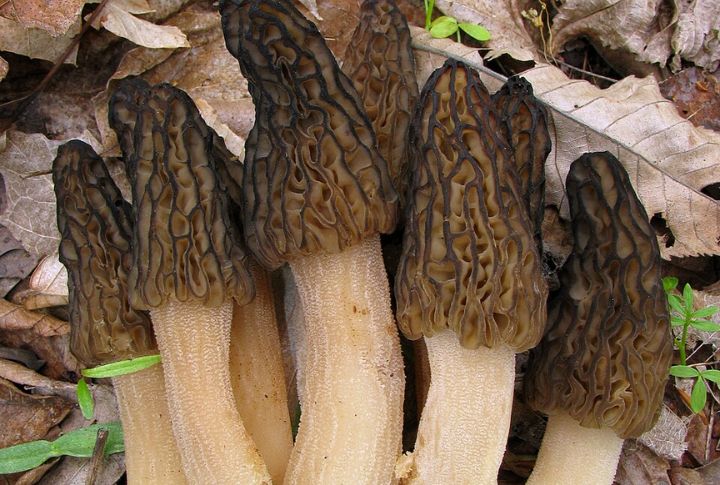
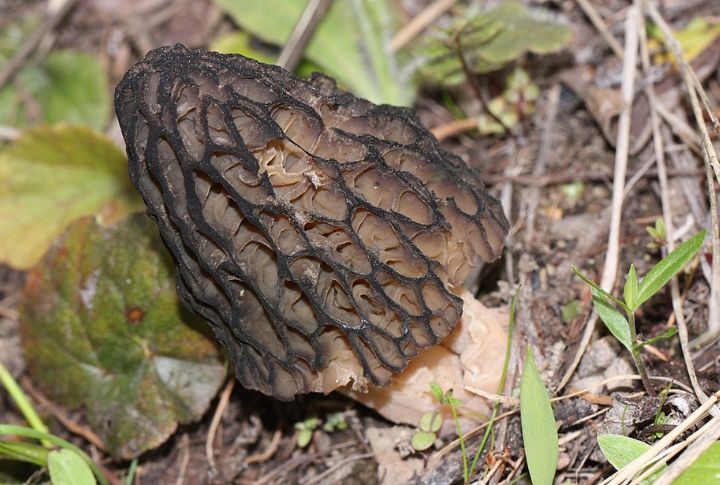
Trying to grow a non-native morel species often ends in failure. Local varieties are already adapted to the soil, temperature, and seasonal changes in your area. Gather spores or wild samples responsibly, and always research what strains naturally grow near you for a better shot at success.
Check Airflow, Not Just Moisture
Moisture is vital, but stagnant air invites mold and mildew, which can choke out morel patches. Ensure good airflow around beds by spacing out logs and avoiding overcrowding. That gentle breeze helps the soil breathe, keeps pathogens at bay, and supports healthy mushroom growth.
Avoid Synthetic Fertilizers And Harsh Chemicals
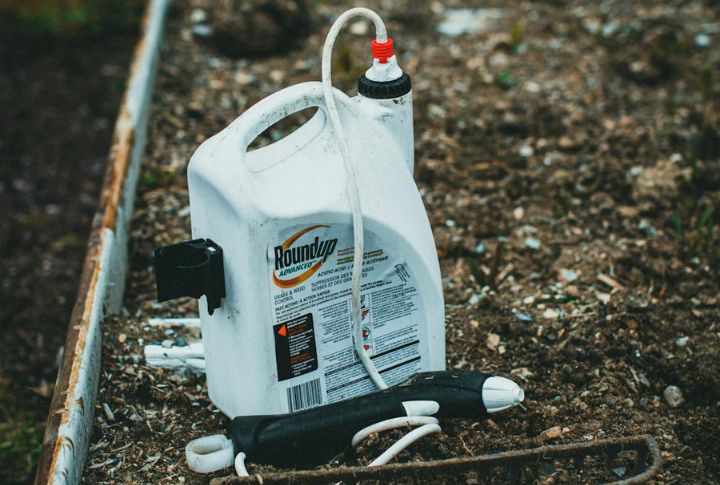
Morels are sensitive to chemicals. Fertilizers, pesticides, and herbicides can kill mycelium or stop mushrooms from forming. Stick to natural inputs like composted leaves or untreated mulch. If you’ve recently treated your soil, wait a year before trying to grow.
Be Patient
Even under perfect conditions, morels may take 12 to 18 months to fruit. The underground mycelium needs time to spread and mature. Don’t dig or disturb the area. Many growers fail by giving up too soon—patience is key to success.