

Dry pork chops can crush even the most confident cook’s spirit. The good news? Juiciness isn’t luck—it’s strategy. With a few small tweaks, you can transform that chewy disaster into a tender, flavor-packed masterpiece. Grab your skillet, roll up your sleeves, and let’s rescue those chops once and for all.
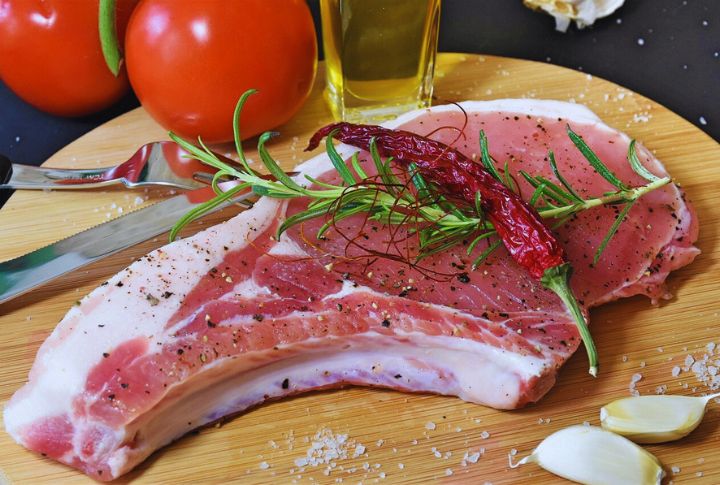
Bone-In Chops For Maximum Flavor
A butcher will tell you that the bone is a hidden shield against dryness. Meat connected to the bone simply cooks more evenly and helps the pork chop stay beautifully juicy inside. That small insulating bone makes a huge difference and protects the meat while adding a deep inherent flavor that a boneless chop just can’t match.
Opt For A Thicker Cut To Prevent Overcooking
Choosing a substantial cut is one of your best defenses in the kitchen. Chops that are at least one inch thick are much easier to manage because they don’t race toward being tough and dry. The thicker the pork, especially between 1.5 and 2 inches, the more time you have to get a lovely sear on the outside without cooking the center too fast.
Brine The Meat Before Cooking
This simple step is a game-changer for tenderness and moisture. Submerging your pork chops in a basic saltwater solution for a little while tenderizes the meat fibers. Even a short 30-minute soak can inject the pork with much-needed moisture and guarantee you end up with juicier, more resilient chops that don’t dry out easily.
Let The Meat Reach Room Temperature First
Taking a moment to let the pork rest out of the refrigerator is vital for consistent results. If you let the chops sit on the counter for about 30 minutes before cooking, it prevents the outside from burning before the chill leaves the center. Room temperature meat also sears more beautifully and cooks far more uniformly all the way through.
Use A Cast-Iron Pan For Superior Browning
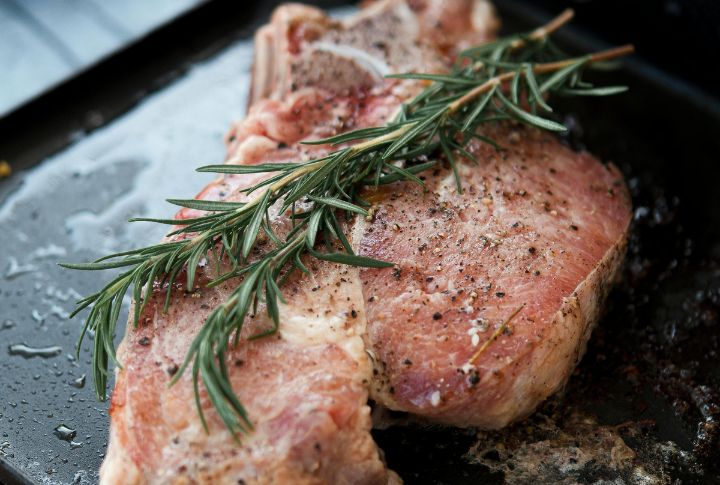
A great sear starts with a great tool, and a cast-iron skillet is the absolute king here. That heavy pan holds and distributes heat incredibly well, developing that essential, golden-brown crust we all love. Professional chefs and butchers swear by cast iron because it delivers a superior, high-quality, smooth browning every time.
Sear First, Then Finish In The Oven
To master a flawless pork chop, most chefs rely on two cooking styles. Begin by searing the meat for just 3 to 4 minutes per side in a hot pan to build that flavorful crust. Then, transferring the chops to a preheated oven completes the cooking process gently and evenly, and works best for those thicker cuts.
Don’t Skip Resting After Cooking
Patience after cooking is a virtue that directly impacts the final texture of your meat. Never slice a hot pork chop right away, or those precious juices will spill out. Let the chops rest for five minutes so the juices settle and redistribute throughout the meat, ensuring every bite is tender and moist.
Trim Excess Fat but Not All Of It
You should definitely remove the majority of the thick, floppy fat to prevent excessive splattering and burning in the pan. However, keeping a thin layer—around an eighth to a quarter-inch—is a secret weapon. That small amount of fat renders down beautifully and brings flavor and essential moisture as the pork cooks.
Use A Meat Thermometer For Precision
Guessing if pork is done is the fastest way to ruin a great chop. A reliable meat thermometer is the only way to confirm the internal temperature safely and accurately. Simply insert the probe into the thickest part of the meat, away from the bone, and pull the chop off the heat when it hits 145°F.
Season Generously, But Simply
The true flavor of quality pork should always be the star of the show. You really only need to rely on salt and pepper to bring out the meat’s natural, delicious taste. The seasoning should be applied generously to both sides; a few classic herbs like rosemary or thyme are often the perfect simple addition.