


There’s something deeply satisfying about coaxing life from a handful of seeds, but the process can test even the most patient gardener. From the moment you plant them, countless factors quietly shape their future. Some thrive, others don’t—but why? Keep reading to discover how to turn your next batch of seeds into a flourishing garden worth the effort.
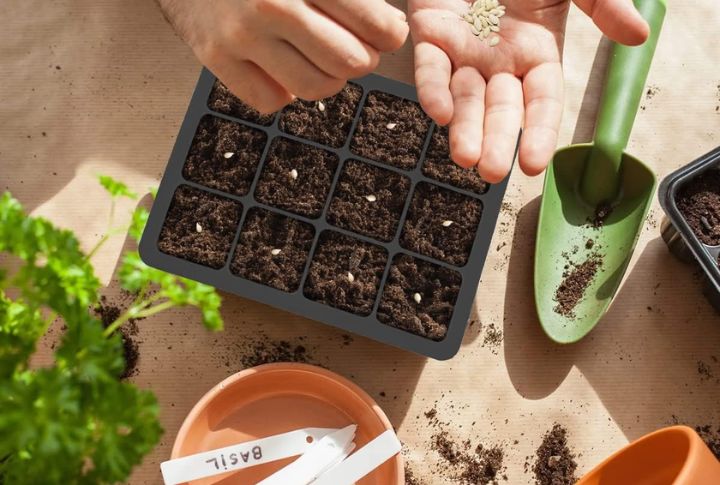
Choose Fresh, Quality Seeds
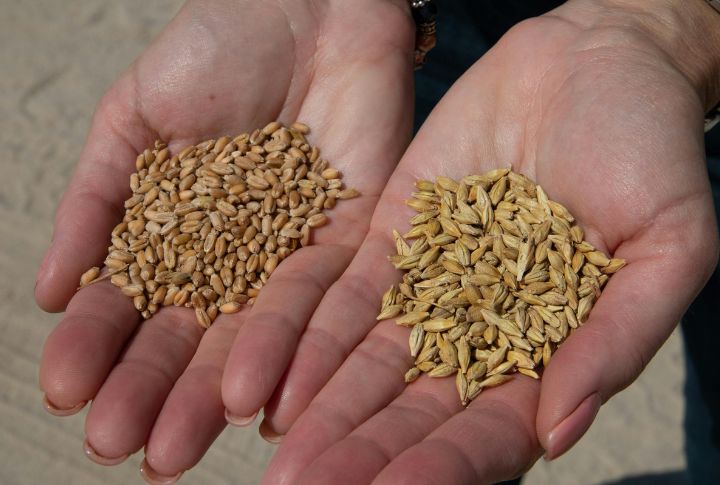
If your seedlings aren’t sprouting or look weak, old seeds might be to blame. Seeds lose strength over time, and poor storage only makes it worse. Always check the date on your packets before planting. Using fresh, high-quality seeds gives you the best shot at strong, healthy growth.
Read The Seed Packet Instructions
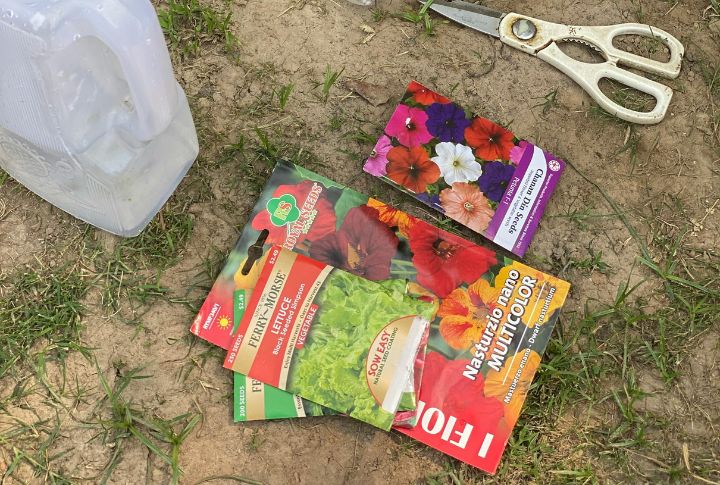
It’s easy to skip those little packets, but they hold the keys to success. They tell you exactly how deep to plant, how far apart, and even special tricks like pre-soaking. Following these simple directions can save you time and a lot of replanting later.
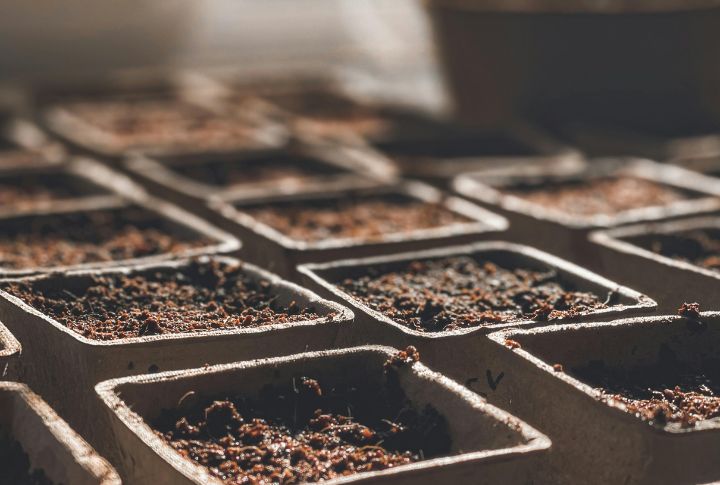
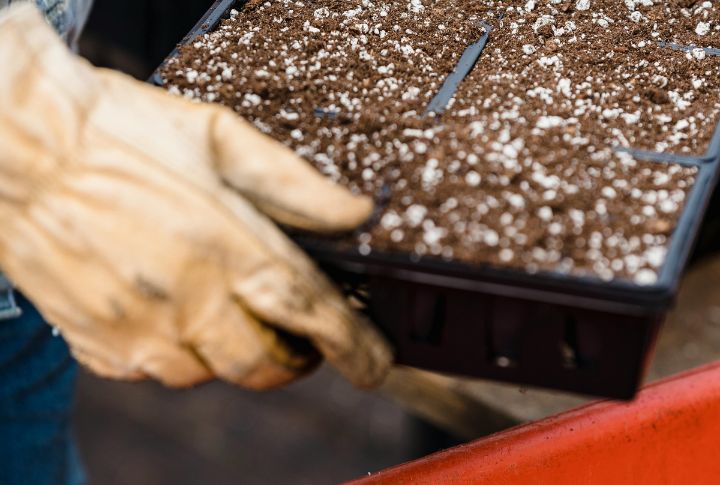
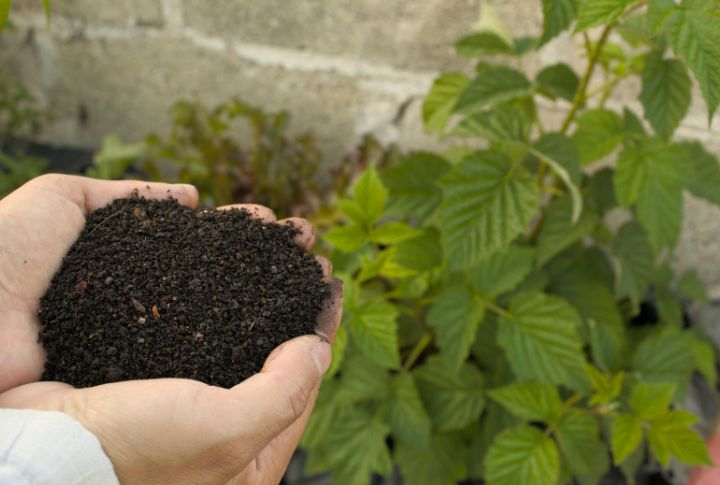
Use A Sterile Seed-Starting Mix

Starting with clean soil makes all the difference. Sterile seed-starting mix keeps out harmful fungi, pests, and weeds that can ruin your seedlings. It also holds moisture just right to give your seeds the perfect place to sprout strong roots.
Pick The Right Containers
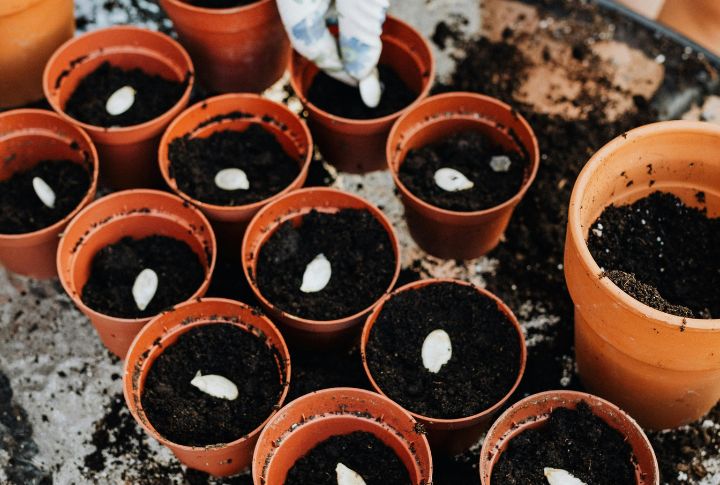
Choose pots or trays with good drainage so your soil doesn’t get soggy. Even recycled yogurt cups work great if you poke a few holes in the bottom. Want to skip transplant shock? Try biodegradable pots; you can plant straight into the garden.
Keep Soil Moist (Not Soaked)
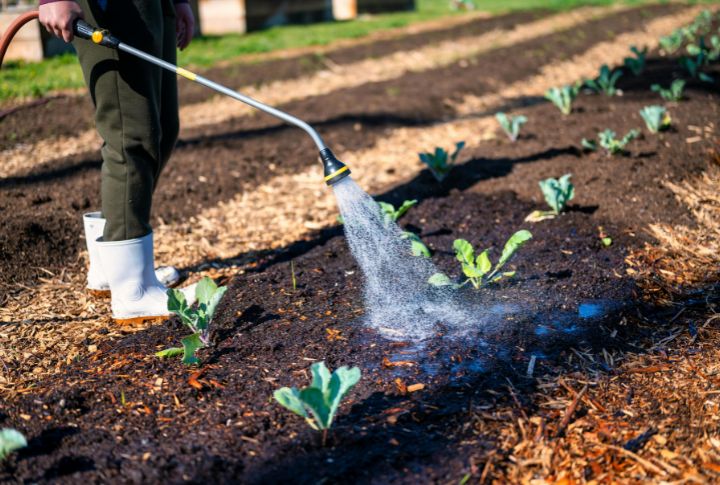
Although seeds love moisture, too much water can drown them fast. So, aim for soil that’s damp to the touch, not dripping wet. A spray bottle helps you keep things balanced. Your mix should feel like a wrung-out sponge, providing roots with both air and hydration.
Give Seeds Consistent Warmth
Most seeds like cozy conditions around 65–75°F to wake up and grow. If your house runs cool, a simple heat mat can help. It keeps the soil warm and steady, speeding up germination and helping your seedlings develop strong, healthy roots.
Make Sure They Get Enough Light
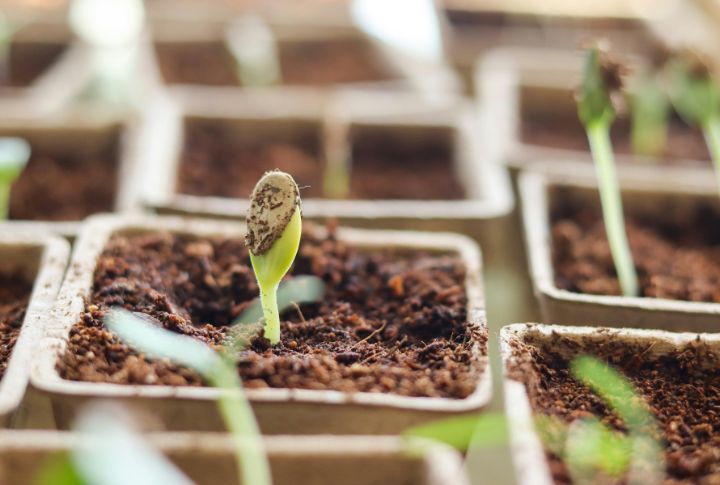
Light-hungry seedlings can stretch and weaken fast without enough exposure. Try placing them near a sunny window or under grow lights for 12–16 hours a day. When you notice them leaning toward the light, that’s a good sign: they’re reaching for what they need!
Label Everything Clearly
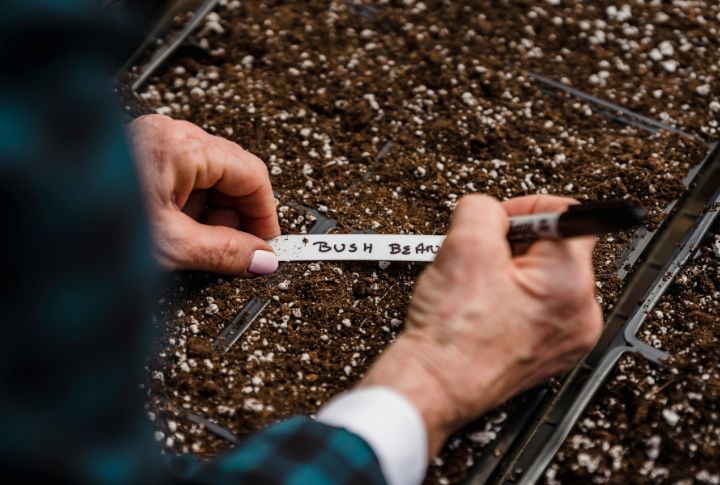
Once seeds start sprouting, it’s easy to forget what’s what. Use waterproof labels or popsicle sticks to mark each pot with the plant name and date. You’ll thank yourself later when it’s time to transplant and you actually know which ones are tomatoes.
Keep The Air Moving
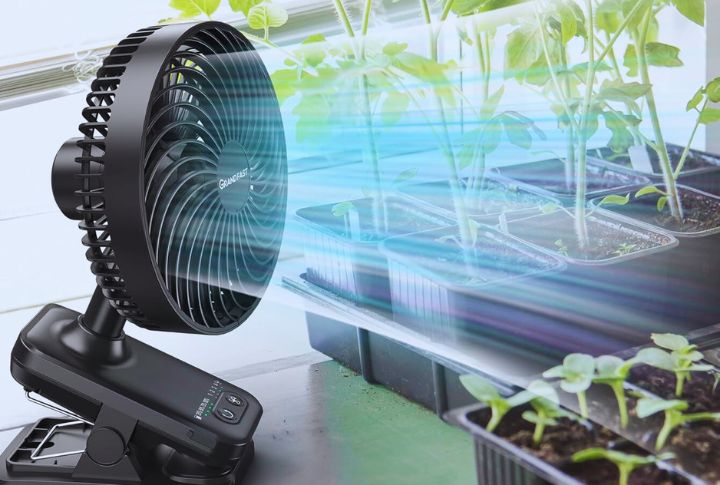
Still air can lead to mold and disease, so let your seedlings breathe. Space them out, open a window now and then, or use a small fan. That gentle airflow helps them grow stronger and more resilient before they ever reach the garden.
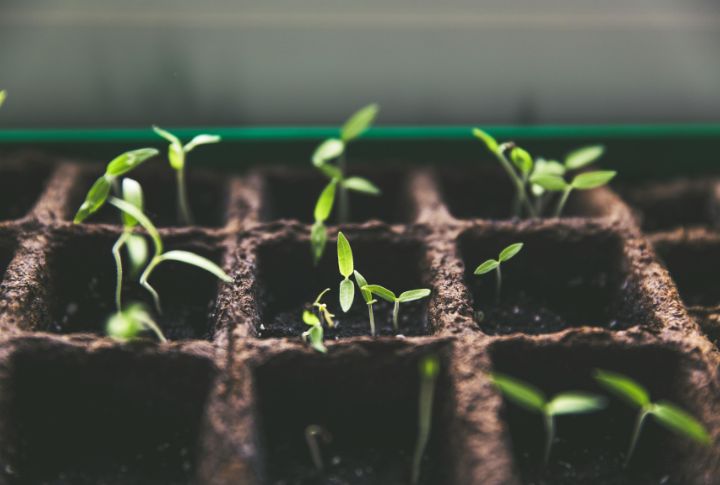
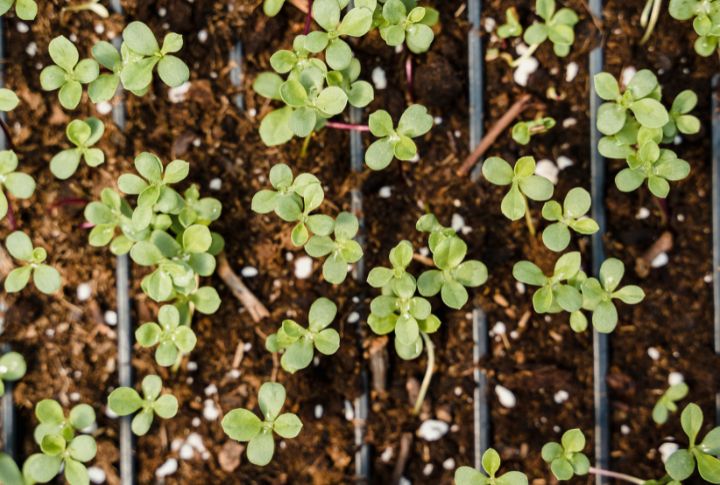
Avoid Overcrowding Your Seeds
Cramming too many seeds together may seem efficient, yet it just causes competition for light and nutrients. So, follow the spacing directions shown on the packet, and once your seeds sprout, thin them out. When you give each one room to grow, you get healthier, happier plants down the line.
Cover Seeds
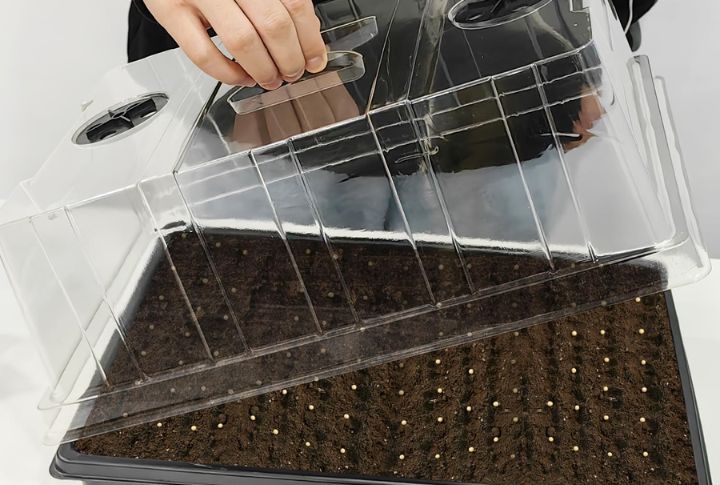
Getting seeds to sprout takes the right mix of warmth and moisture. A clear cover (like plastic wrap or a dome) locks in humidity to help them along. Once your seedlings pop up, take them off to avoid mold. Some seeds, like lettuce, prefer staying uncovered.
Harden Off Seedlings Before Transplanting
Seedlings raised indoors need a little training before they face the outdoors. You should gradually expose them to sunlight and cooler temperatures over about a week. This helps toughen them up and prevents transplant shock once they’re in your garden for good.
Water From The Bottom

Bottom watering lets your plants drink just what they need, right from the roots. So, place your seed trays in a shallow pan of water and let the moisture soak upward. It prevents fungus and encourages stronger, deeper roots without splashing delicate seedlings.
Rotate Trays
Ever notice seedlings leaning toward the window? They’re just chasing the light. Turn your trays every day or two so each side gets equal exposure. This simple habit will keep them sturdy and ready to thrive once it’s time to transplant.
Watch For Mold And Damping-Off
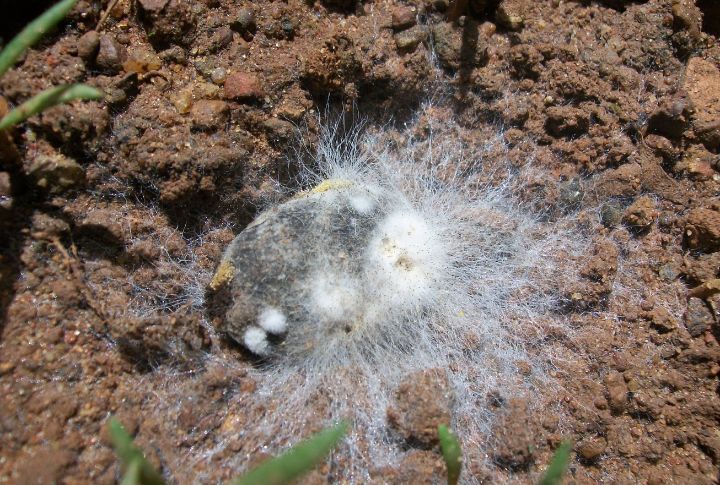
Mold or damping-off can wipe out seedlings overnight. Keep air circulating and use clean containers with sterile soil to stay ahead of these problems. If you spot fuzzy growth or wilted stems, remove the affected plants fast to protect the rest.
Transplant At The Right Time
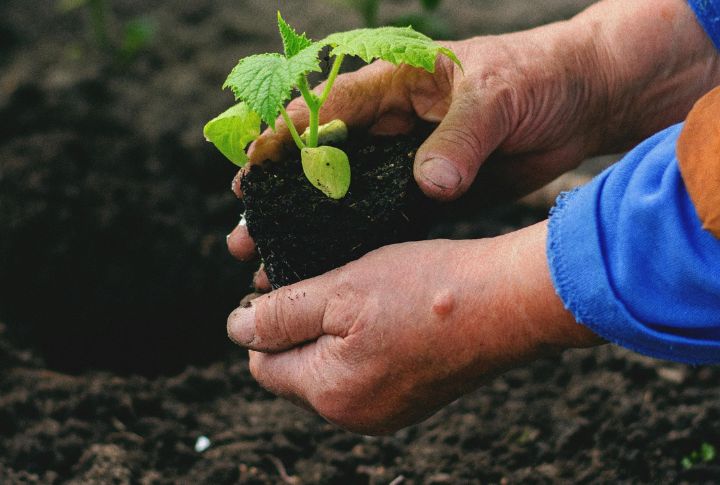
You’ll know your seedlings are ready to move when they’ve got a few sets of true leaves and strong roots. Handle them gently, water before and after transplanting, and for deep-rooted plants like tomatoes, bury the stem a little deeper for extra support.
Feed Seedlings Lightly After True Leaves Show
After your seedlings have got real leaves (not just the first pair), start feeding them a weak, balanced fertilizer. Think of it like a light snack, not a feast. Too much too soon can burn those tender roots, so stay gentle and consistent.
Keep A Gardening Journal
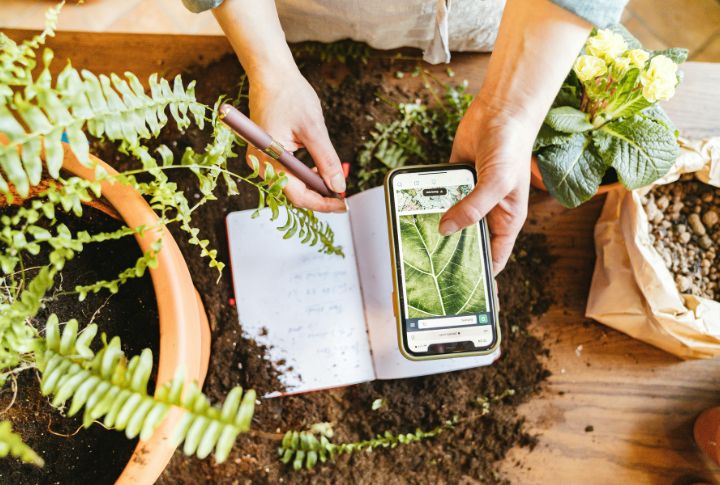
Even experienced gardeners forget what worked last season. A quick journal, either digital or old-fashioned, helps you track everything from sowing dates, germination times, to results. Over time, you’ll build your own personalized notebook for what grows best in your space.
Be Patient
Don’t lose hope if nothing’s happening right away. Some seeds sprout in days; others need weeks or even a bit of cold before they wake up. Just stick with it, keep the soil moist, and trust the process. Patience always pays off in gardening.
Save Seeds From Your Best Plants
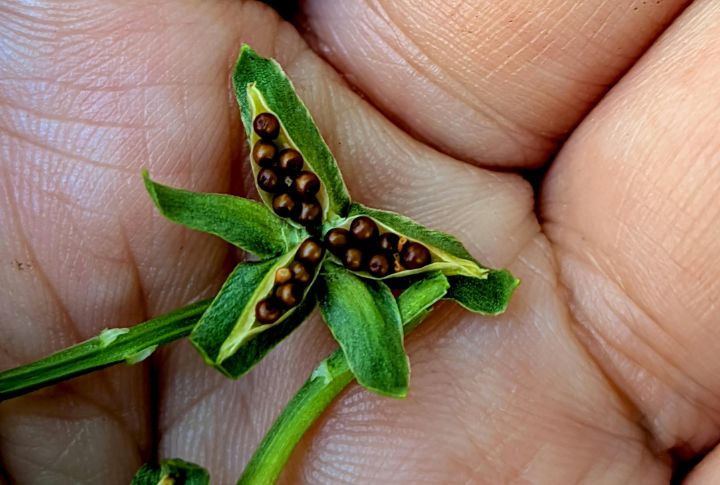
When the season ends, collect seeds from your most productive plants. Dry and store them in labeled envelopes somewhere cool and dark. It’s an easy way to save money, keep your favorite varieties going, and continue your garden’s success next year.