

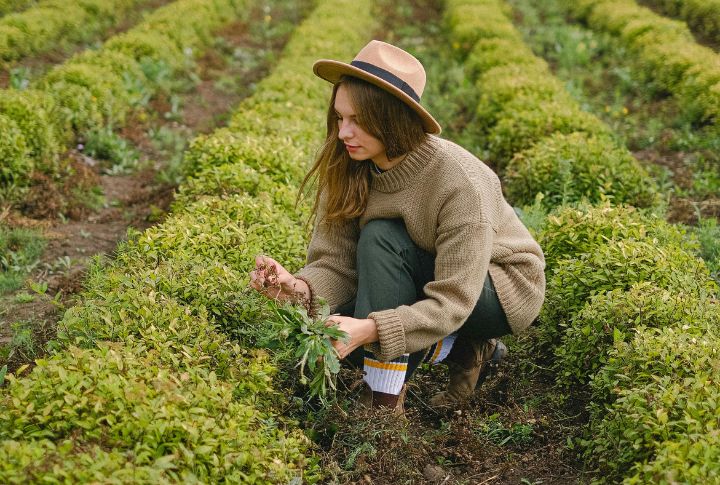
Planting potatoes might seem old-school, but there’s something deeply satisfying about pulling fresh spuds from your backyard. With some planning and the right approach, you can turn a patch of dirt into a serious producer. This list walks you through key steps to grow your best potatoes yet, plus how to keep them fresh once you dig them up.
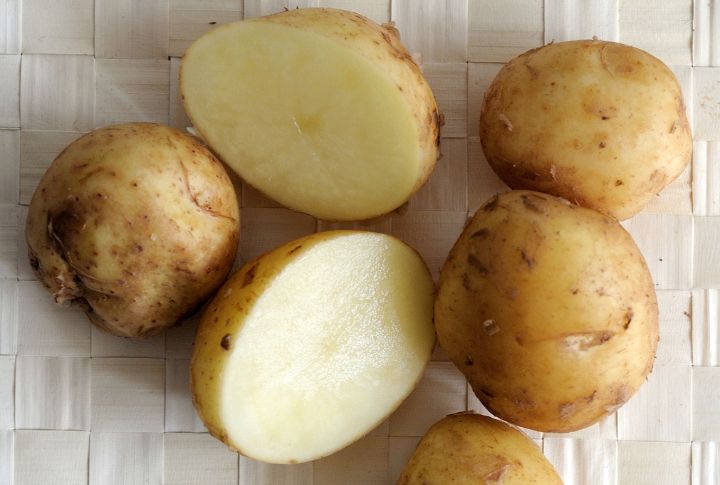
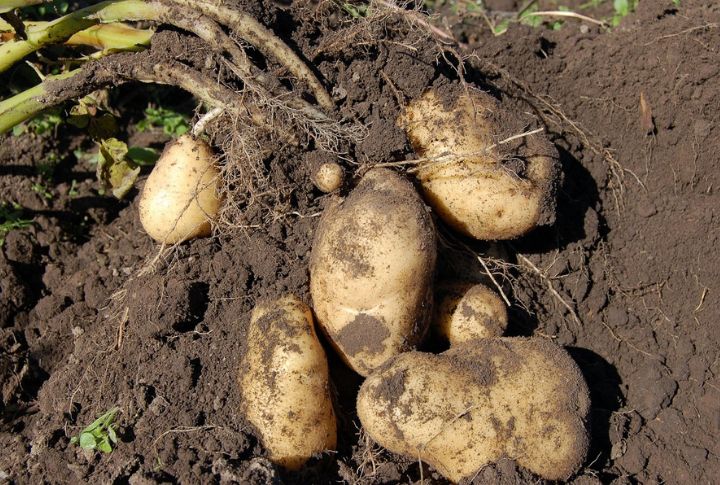
Start With Certified Seed Potatoes
Certified seed potatoes are bred specifically for planting and come disease-free. They may look odd or knobby, but that’s no issue. For a healthy, productive patch, skip store-bought spuds and go with the real deal. Grocery potatoes can carry issues that affect your crop long before harvest.
Cut And Cure Before Planting
If your seed potatoes are large, slice them into chunks with at least one “eye” each. Let them sit for a few days in a cool, dry place so the cut surfaces can form a callous. It helps prevent rot once they’re planted in the soil.
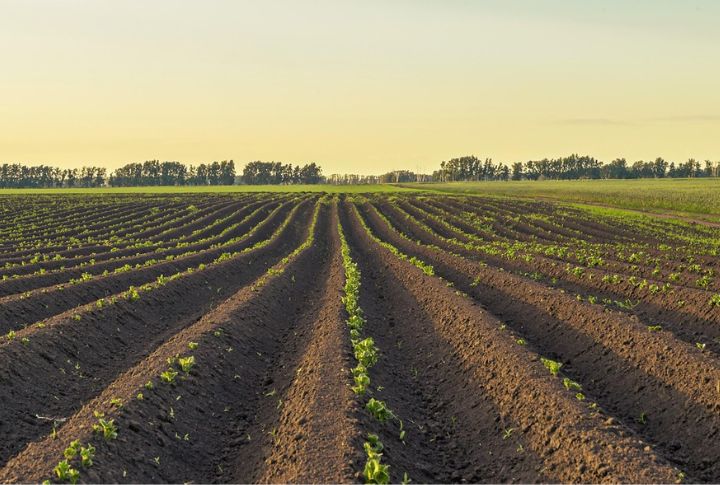
Pick A Sunny Spot
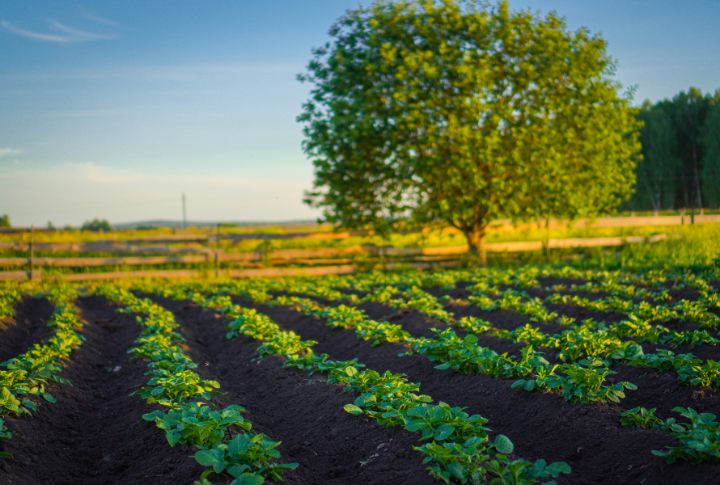
Potatoes love sunshine. Choose a location with at least six hours of direct light daily. Without enough sun, you’ll have many leaves but not many spuds. Also, avoid places where tomatoes or eggplants grew last year to reduce disease risk.
Check Your Soil Drainage
Too much water can rot potato seed pieces underground, so well-drained soil is key. Make a small test hole, then fill it with water; if it drains within an hour, you’re in good shape. If it’s still soggy, try raised beds or hilled rows to keep roots dry.
Test And Tweak The Soil pH
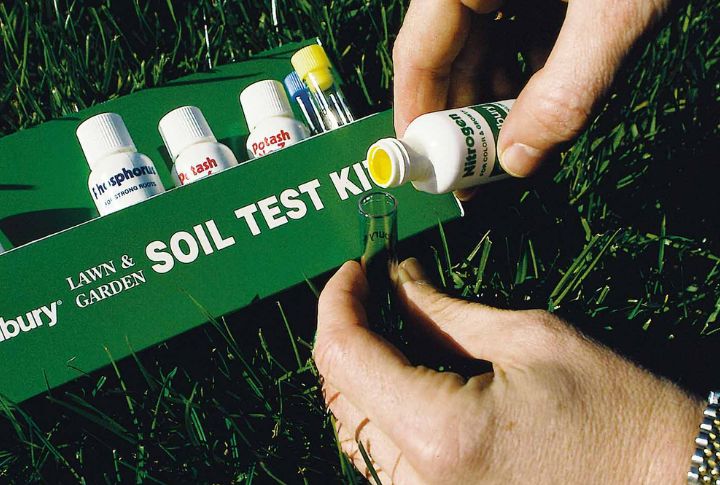
Potatoes thrive in slightly acidic soil, with pH levels ranging from 5.0 to 6.5. Grab an inexpensive test kit to check your levels and adjust as needed. If the pH is too high, mix in some sulfur. Balanced soil keeps your plants healthy and helps prevent common diseases like scab.
Skip The Fresh Manure
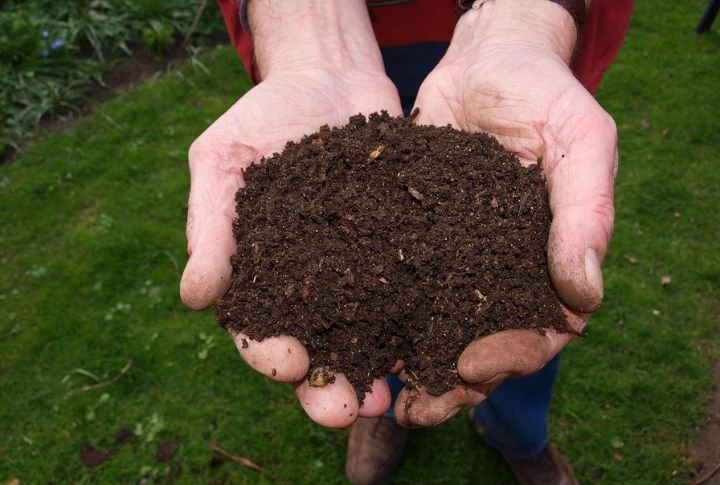
Fresh manure might seem like a good idea, but it can lead to scabby potatoes. Stick with composted manure or well-balanced compost instead. Spread it a few weeks before planting to boost nutrients without causing problems. It’s all about feeding the soil the right way, not rushing it.
Wait For The Right Temperature
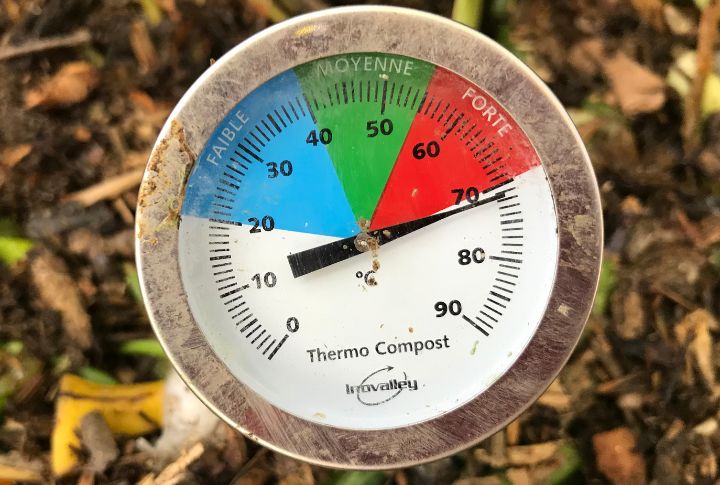
Cold soil can make potatoes rot instead of sprout, so it’s best to wait until it warms to around 50°F. A simple soil thermometer can help you check. Even if the air feels warm, hold off planting until the ground is ready for healthy growth.
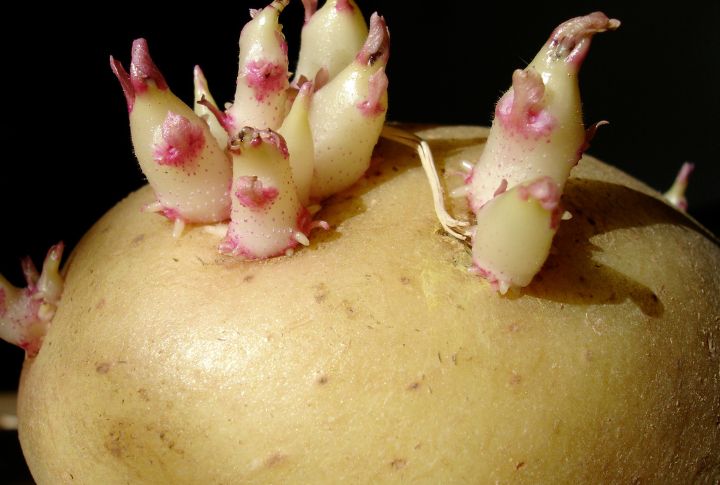
Chit Before You Plant
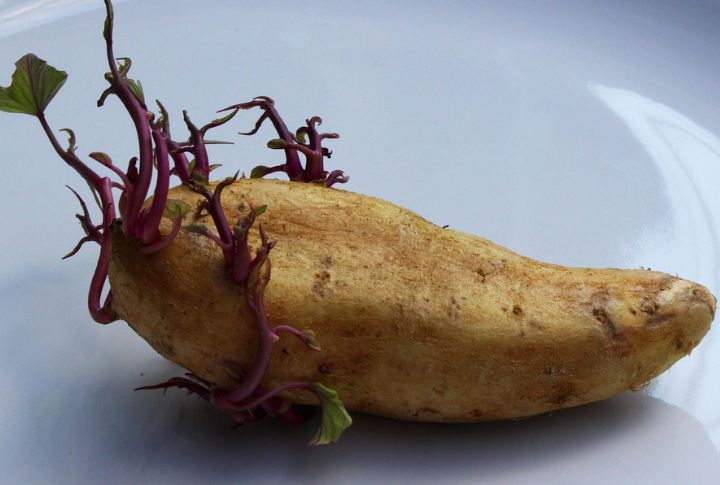
Short, stubby sprouts get your potatoes growing faster after planting. This early chitting step involves setting seed pieces upright in an egg carton or tray near a sunny window. Let them sit for a couple of weeks. You’re starting growth above the soil before anything happens underground.
Plant Eyes Up
Keep the sprouted eyes facing upward while placing your seed pieces in the soil. That gives the stems a straight path to the surface. If you plant them upside down or sideways, they’ll still grow, but you might slow things down or weaken your yield.
Give Them Room To Grow
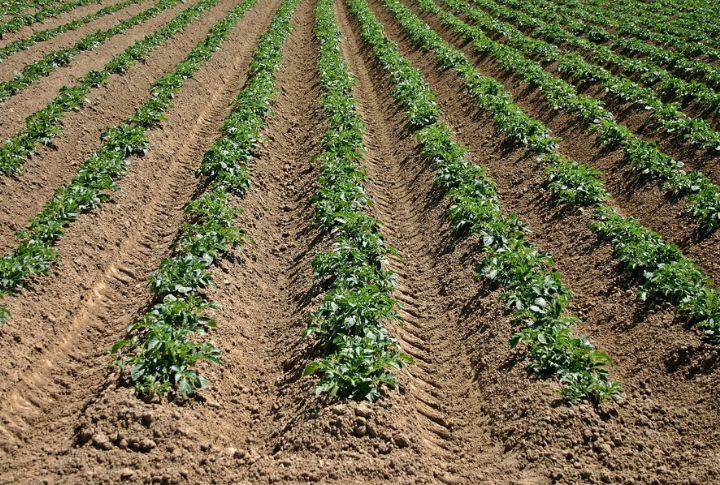
Spacing matters; place your potato chunks about 12 inches apart, leaving 2 to 3 feet of space from one row to the next. Crowding them too close can lead to stunted tubers and poor airflow. A little extra space lets the roots spread and keeps disease from spreading easily.
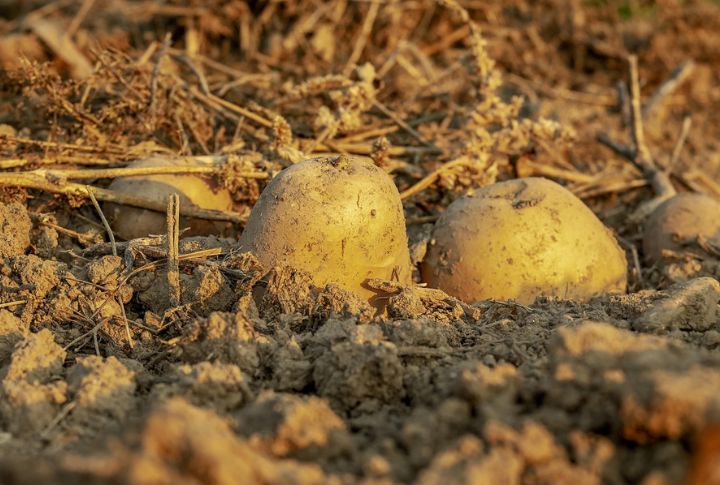
Cover With The Right Depth
Set each seed piece about 3 to 4 inches deep to protect developing tubers from sunlight without slowing down sprouting. Too shallow, and potatoes can turn green. Too deep, and they struggle to reach the surface. A steady depth gives them the best shot at early growth.
Water Consistently, Not Constantly

Potatoes don’t need soaking every day, but they do like even moisture. Target roughly 1 to 2 inches of water weekly, especially once tubers start forming. Dry spells can lead to cracked or misshapen spuds, while soggy soil invites rot. A drip system or soaker hose works great.
Keep Up With Hilling
Mounding soil around the stems keeps them covered and encourages more spuds to form. Start once the plants gain height and keep going every couple of weeks. Reaching the flowering stage means you can stop, as the plants are nearly finished growing.
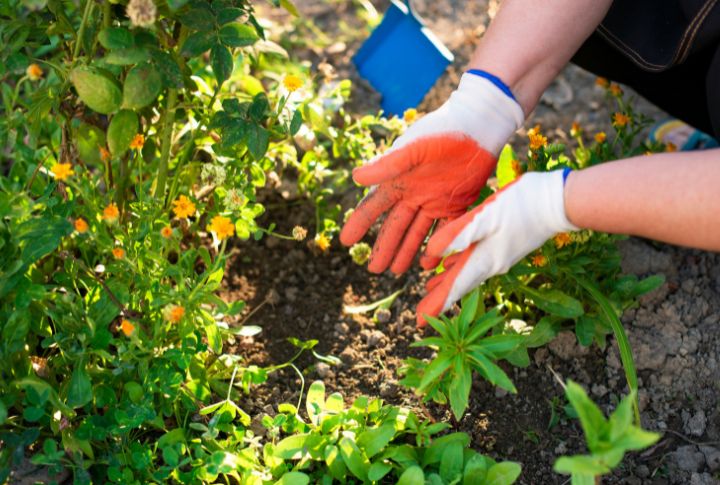
Mulch To Control Weeds And Moisture
Straw or shredded leaves form a layer that suppresses weeds and retains moisture. Spread it after the shoots appear above ground. Bonus: It also protects the soil from compacting during summer rains and makes harvesting easier later, especially in raised beds or garden boxes.
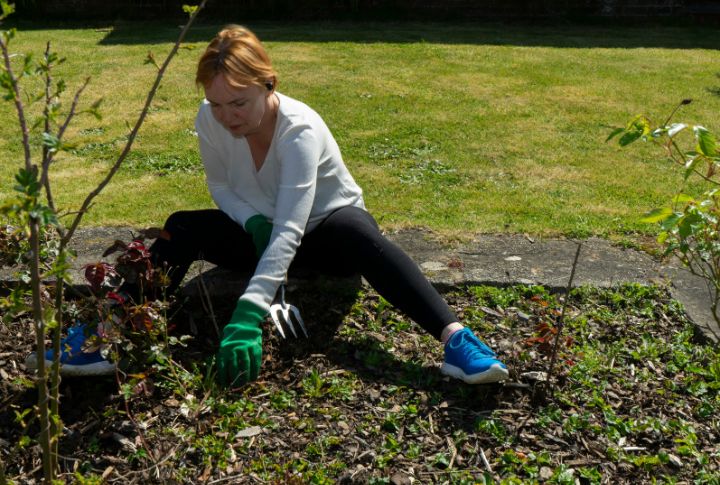
Watch For Colorado Potato Beetles

These striped bugs love potato plants. If you see adults or their red larvae, pick them off by hand or use insecticidal soap. Don’t wait—they can quickly defoliate a plant. Crop rotation and floating row covers can help reduce infestations in future seasons.
Know When To Fertilize
Too much nitrogen gives you leaves, not potatoes. That’s why timing matters. Wait until the plants are about six inches tall, then feed with a balanced fertilizer. Later in the season, side-dress if growth stalls or leaves fade. Watch your plants—they’ll usually tell you what they need and when.
Don’t Panic Over Flowers
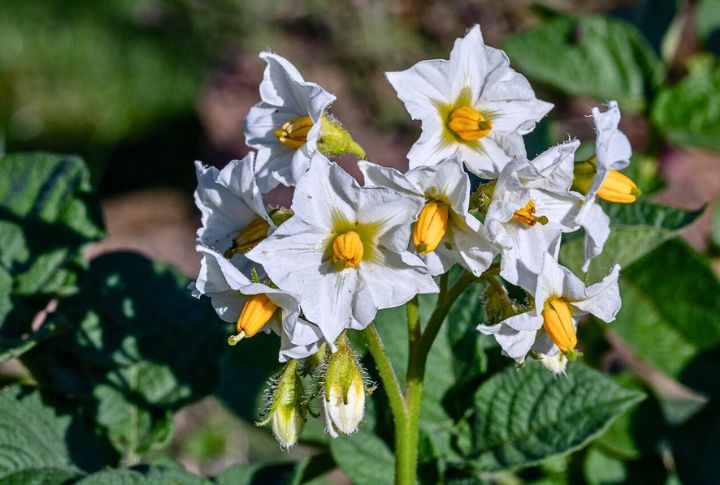
When potato plants start to bloom, it’s a sign that tubers have begun developing underground. You don’t need to do anything when flowers appear—continue watering and hilling. Some gardeners snip them off to redirect energy to root growth, but leaving them on doesn’t hurt production either.
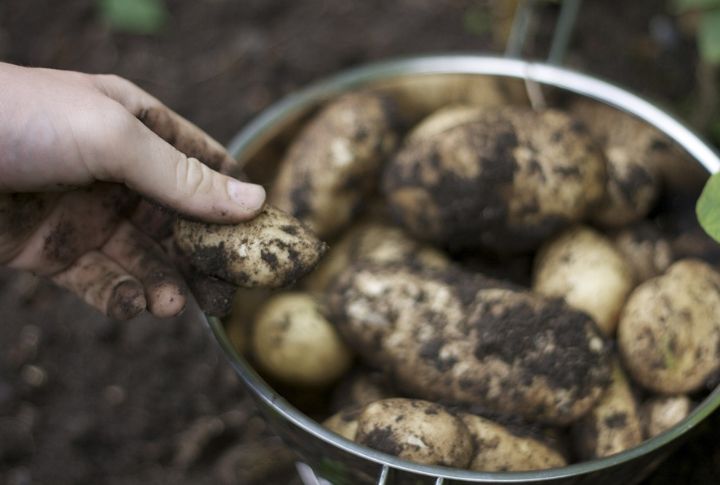
Harvest New Potatoes Early
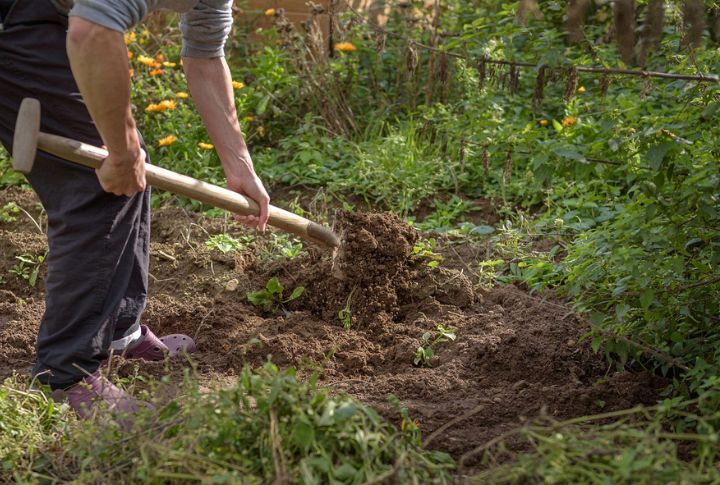
If you’re craving small, tender potatoes, you can start checking about two to three weeks after flowering. Gently dig around the base and pluck a few out. Avoid disturbing the rest of the plant so the remaining tubers can grow to full size.
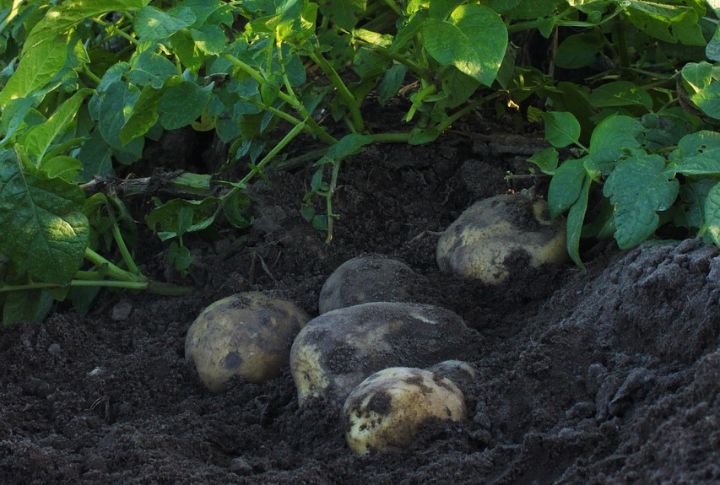
Let Full-size Tubers Mature
Plants begin to yellow and dry out, signaling that the potatoes underground are ready. Give them two weeks without water before digging, as the dry spell helps toughen the skins and improve storage. Don’t rush this part—pulling them too early means smaller potatoes that won’t last as long in storage.
Cure Before Storing
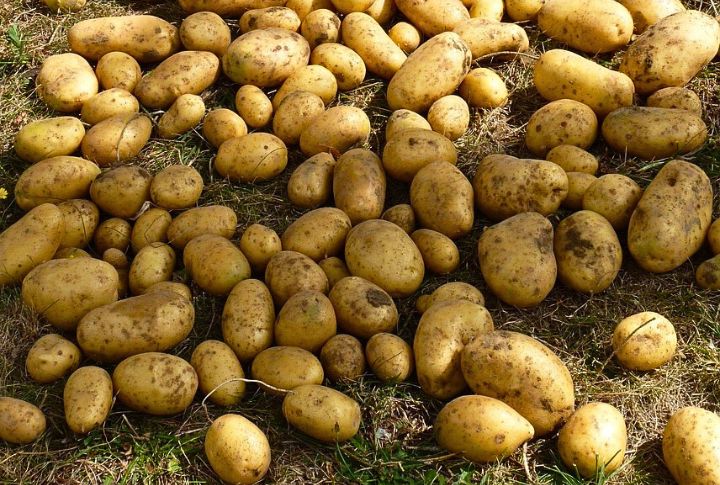
Once harvested, let the potatoes cure in a dark, well-ventilated space for about 10 days; this toughens their skins and heals minor nicks. Place them in a cool and dry area, shielded from sunlight, but skip the fridge as it’s too cold. Instead, a root cellar or a dark basement corner works better.