

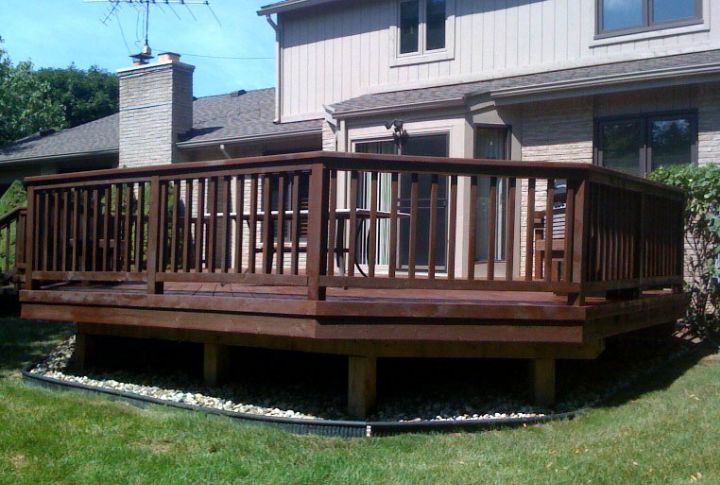
Building a sturdy, frost-proof deck starts with a solid foundation. Pouring footings that can withstand the elements ensures that your deck can survive snowstorms. With only a few steps, you can create a rock-solid base that will keep your deck secure, even in the harshest conditions. Here’s how to get it done right!
Plan and Mark Your Deck’s Footprint
Begin by mapping out the deck’s exact location and dimensions. Use stakes and string lines to mark the perimeter where the footings will go. Be sure to follow your local building codes, especially for spacing requirements. A well-marked layout will make the rest of the process much smoother.
Determine Frost Line Depth
Check your local frost line depth, as this is essential for preventing frost heave, which can push your footings upward during freezing temperatures. You’ll want to dig below this frost line to keep your deck stable all year round. The depth typically ranges from 30 inches to over 48 inches, depending on your region.
Gather the Right Tools and Materials

Lisa Fotios/Pexels
Before you start digging, collect everything you’ll need: a post-hole digger or auger, a shovel, concrete mix, rebar, and footing forms. Having the right tools on hand will streamline the process. Remember to wear proper safety gear, gloves, safety glasses, and a sturdy pair of boots will go a long way.
Dig the Footing Holes

Use a post-hole or power auger to dig your footing holes to the required frost line depth. Ensure each hole is wide enough in diameter to support the deck’s weight. Digging may be the most physically demanding part, but it’s essential for a strong foundation.
Add Gravel for Drainage

At the base of each footing hole, pour 3-4 inches of gravel. This layer improves drainage by preventing water from pooling under your footings and causing potential frost heave. Gravel also helps with leveling the concrete. It’s a small step that makes a big difference in the longevity of your deck.
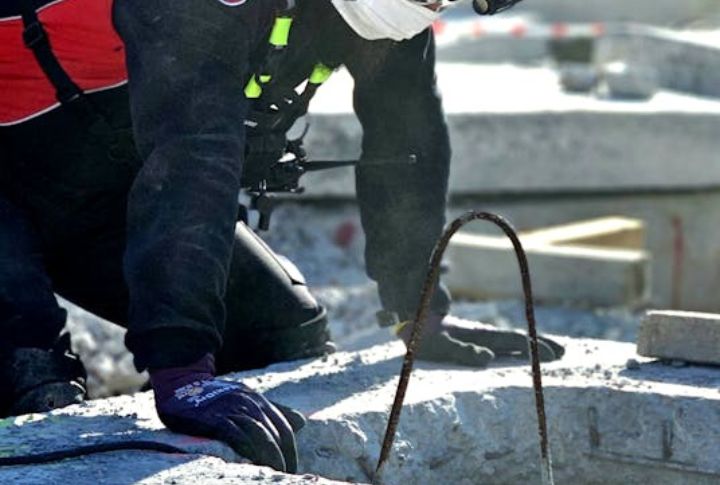
Reinforce with Rebar
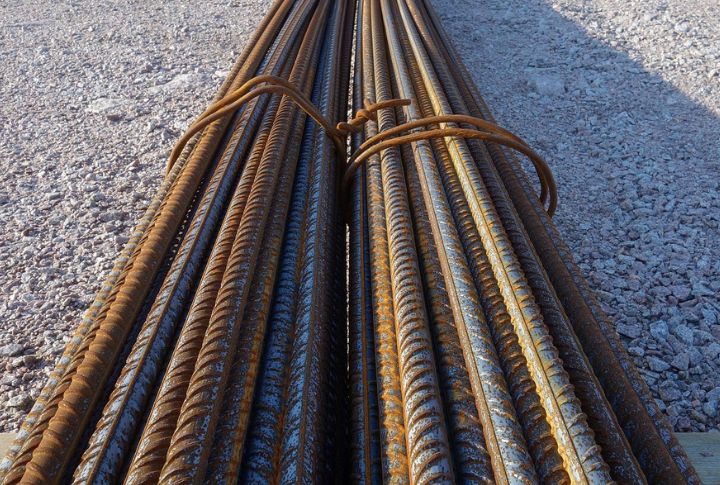
Insert steel rebar into the footing forms for additional reinforcement. The rebar should run vertically and be secured in place with wire ties. Rebar strengthens the concrete, helping your footings withstand the deck’s weight and the frost heave forces.
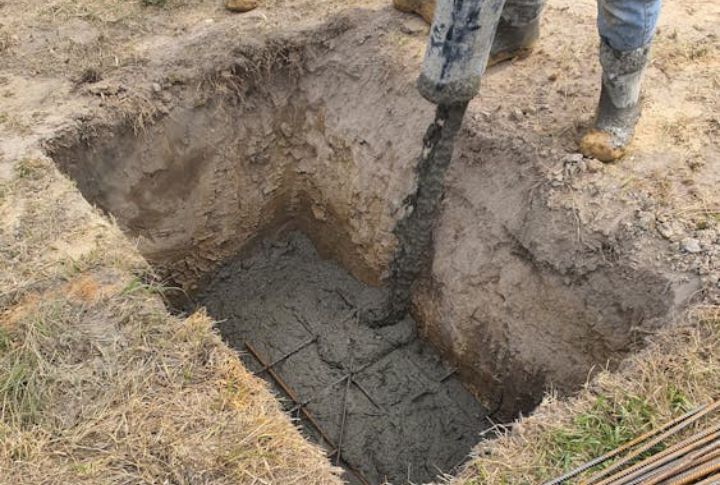
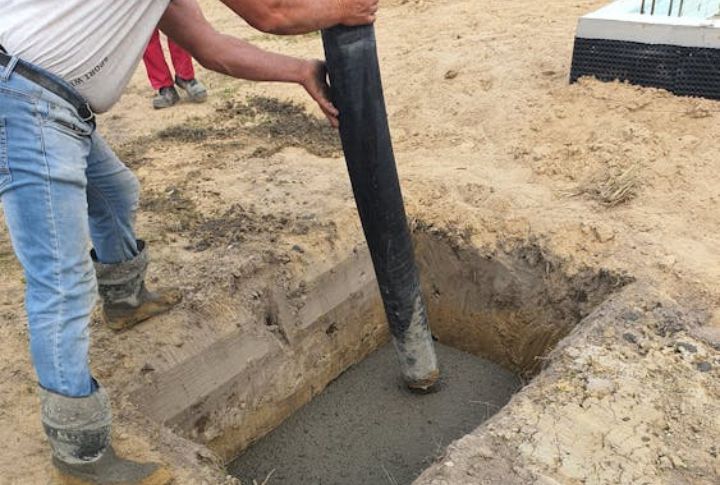
Mix and Pour the Concrete
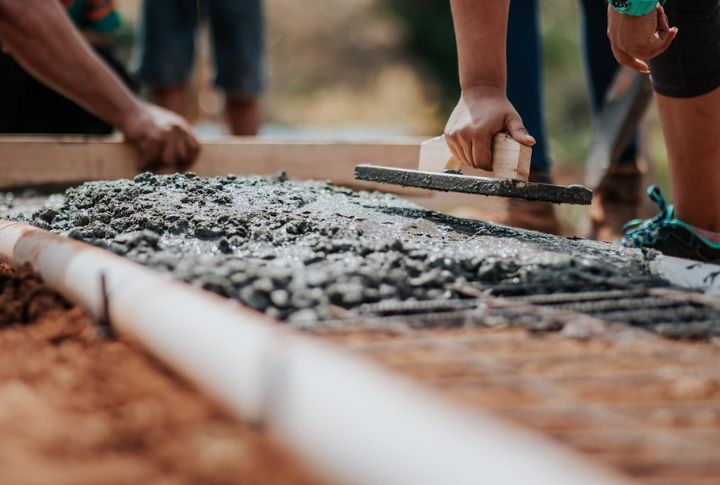
Prepare your concrete mix according to the package instructions. For best results, use a wheelbarrow or cement mixer to combine the ingredients, as proper mixing ensures durability and resistance to cracking. Once mixed, pour the concrete into the footing forms slowly, filling each one to the top. Be sure to smooth the surface with a trowel.
Vibrate the Concrete to Remove Air Pockets

Use a shovel or a piece of wood to vibrate the concrete inside the footing forms lightly. It helps eliminate any air pockets, which could weaken the footings. Vibrating the concrete ensures that it settles evenly and forms a strong, uniform foundation.
Allow the Concrete to Set
Give the concrete ample time to cure and harden. Depending on the weather, this could take a few days. Avoid rushing this step; curing is vital for the long-term strength of the footings. Cover the concrete with plastic sheeting if rain is expected, and ensure it remains undisturbed until it’s fully set.
Check for Level and Alignment
Once the concrete has cured, ensure the tops of the footings are level and properly aligned. Use a level to check each footing’s surface and make necessary adjustments. This step ensures that your deck sits evenly and doesn’t suffer from future slanting or shifting.
Attach Post Anchors to the Footings
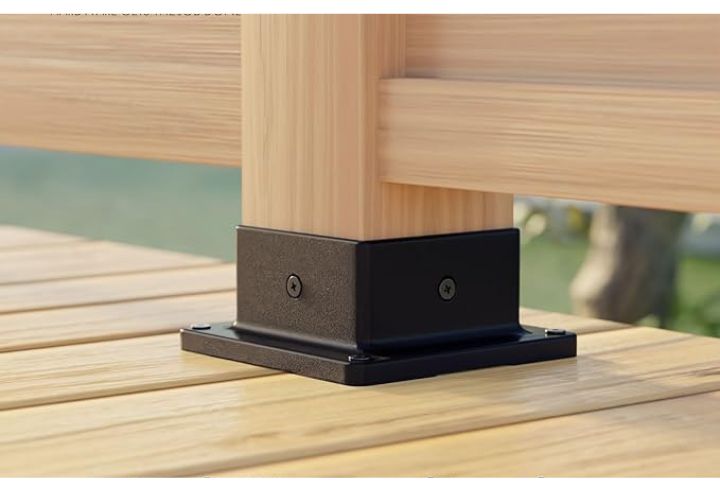
Secure metal post anchors into the tops of the footings. These will hold the deck’s support posts and prevent them from directly touching the concrete, reducing the risk of moisture damage. Post anchors also help distribute the load evenly across the footings. Choose anchors that are compatible with your deck’s design.
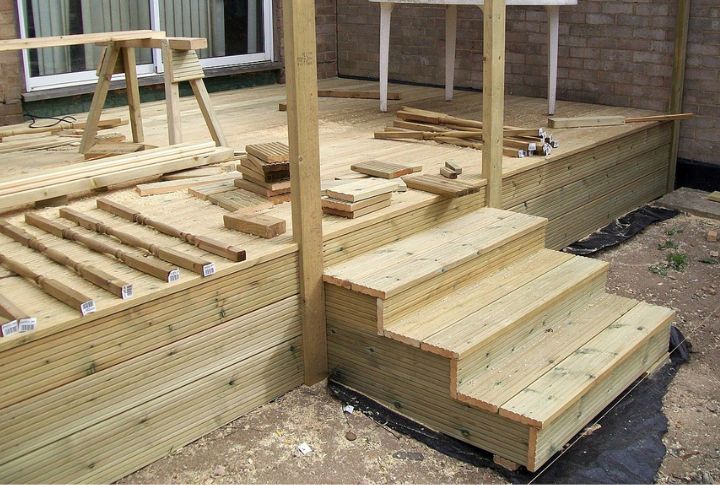
Install the Deck Posts
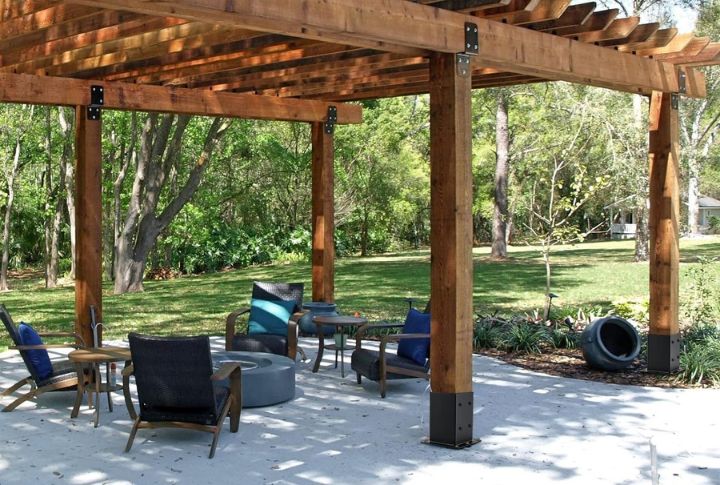
Place the deck posts into the post anchors and secure them with bolts to prevent them from becoming unstable over time. Double-check that each post is straight and level before tightening. Your posts are the vertical supports for the entire deck, so you want to ensure proper stability.
Backfill the Footing Holes
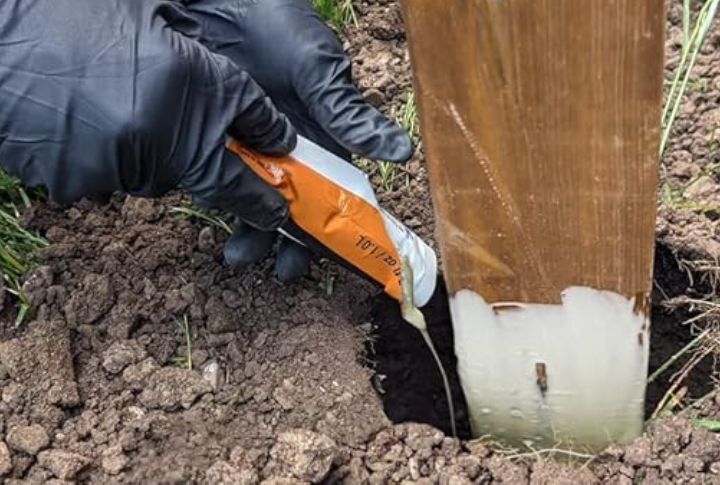
Once the concrete is fully cured and the posts are secured, backfill the holes around the footings with soil. Tamp the soil down firmly to eliminate any air gaps. This step restores the ground around the footings and provides extra support.
Inspect and Finalize
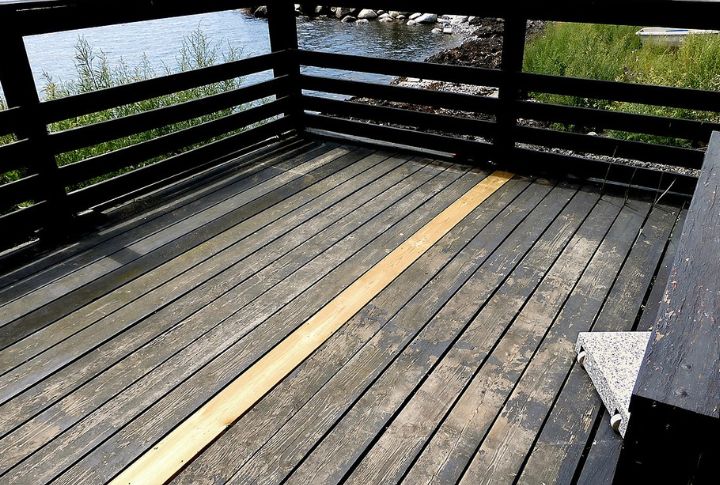
Before building the deck, inspect each footing for any issues. Ensure the posts are secure, the footings are level, and there are no signs of cracking. Once everything checks out, you’re ready to start building the deck of your dreams!