

Making disinfectant wipes at home is easier than you think. It’s a fun DIY project that ensures you know exactly what’s in your cleaning supplies. You can create eco-friendly wipes that keep your home sanitized and fresh with a few simple ingredients. Here are 15 inventive ways to craft them.
Gather Your Supplies
Before starting the crafting process, gather all necessary materials. You’ll need strong paper towels, an airtight container (like an old wipes tub), rubbing alcohol or vinegar, essential oils for fragrance, and water. Having everything in one place streamlines the process and enhances your DIY experience.
Choose the Right Base Cloth
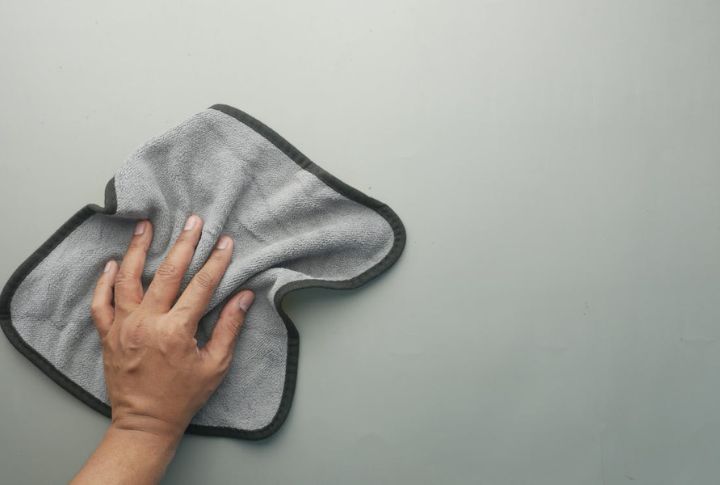
Select a high-quality base cloth. Look for strong, absorbent options that won’t fall apart during use. Microfiber cloths are an excellent option because they’re reusable and trap dirt effectively. If you’re looking for a quick, disposable solution, you can also opt for old cotton t-shirts or paper towels.
Decide on Your Liquid Base
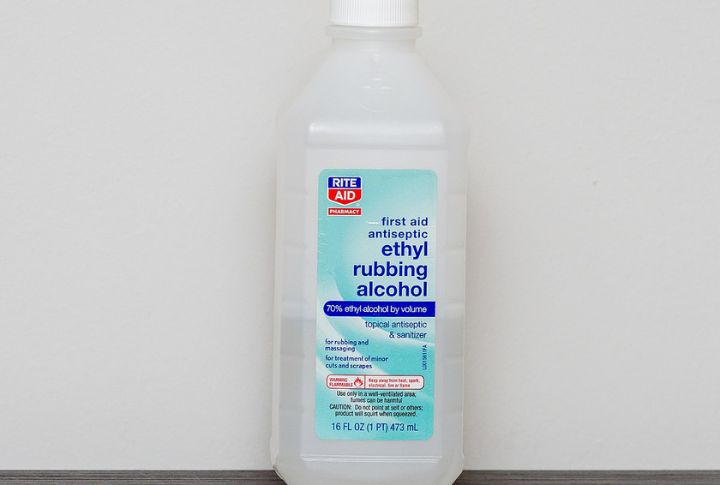
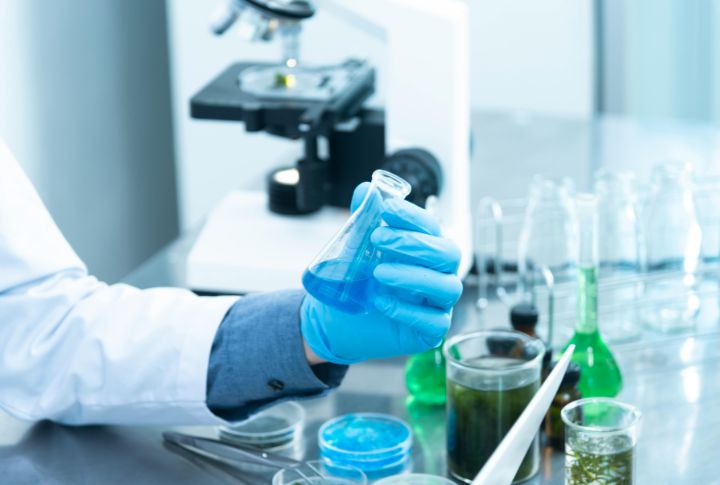
The base of your disinfectant wipes can vary based on your cleaning needs. Rubbing alcohol (70% or higher) sanitizes surfaces without residue, ideal for high-touch areas. Alternatively, vinegar cuts through grease and provides some natural antibacterial properties. Mix vinegar with essential oils like tea tree or lavender for added freshness.
Mix Your Solution
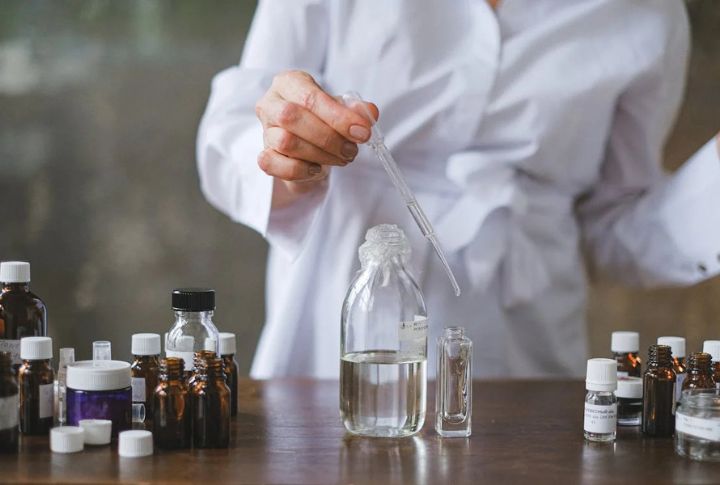
Now, for the star of the show: the disinfectant mix. Combine 1.5 cups of rubbing alcohol with 0.5 cups of water and a tablespoon of liquid soap. The ethanol provides strong germ-destroying power, while the soap adds a layer of cleanliness. Alternatively, you can use vinegar by mixing equal portions of white vinegar and water, then adding a tablespoon of liquid soap.
Infusing Essential Oils
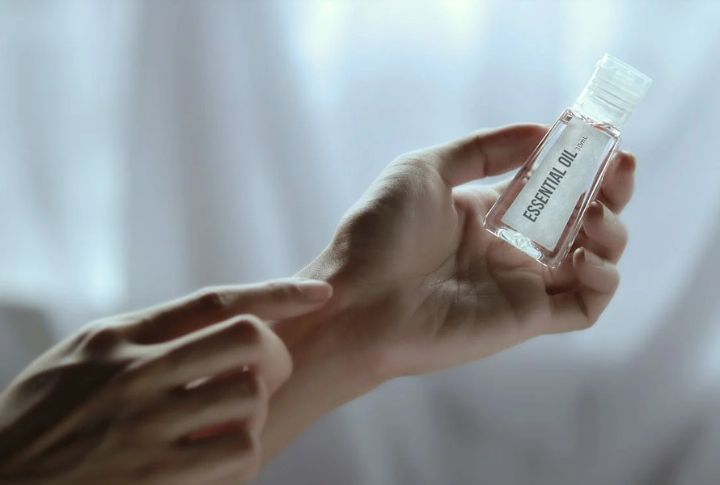
Enhance your homemade disinfectant wipes by adding 10-20 drops of aromatic oils, including lavender or tea tree. These oils not only provide delightful scents but also possess some antibacterial properties. Consider eucalyptus, lemon, peppermint, or thyme oil for added competence. Customizing your wipes makes cleaning both enjoyable and efficient.
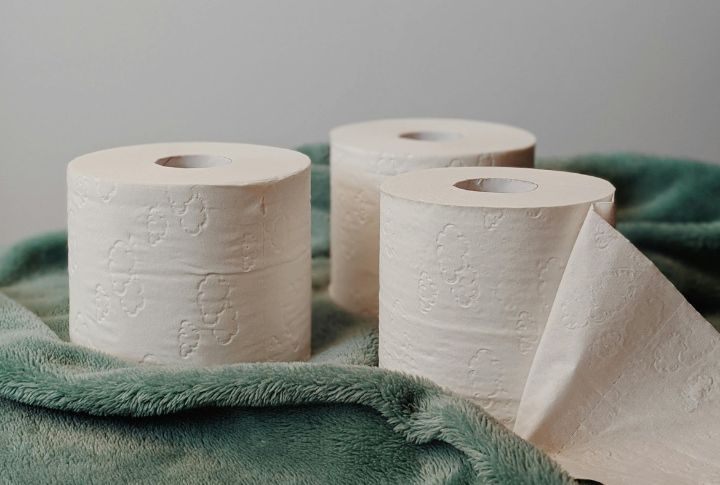
Cut Base Cloth/Paper Towels to Size

Trim your base cloth to fit your container for easy handling. Use sharp scissors for clean edges, and if using fabric, finish with a zigzag stitch to prevent fraying. For paper towels, cut the roll in half or into smaller sections. Ensure sizes are just suitable for the various tasks around your home.
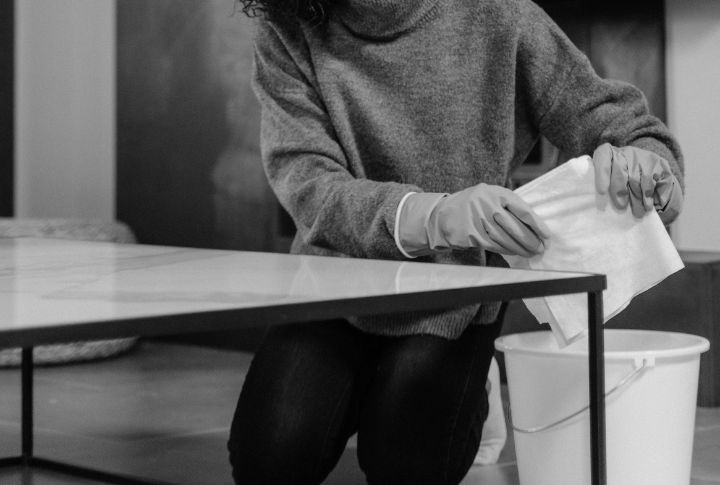
Soak the Towels
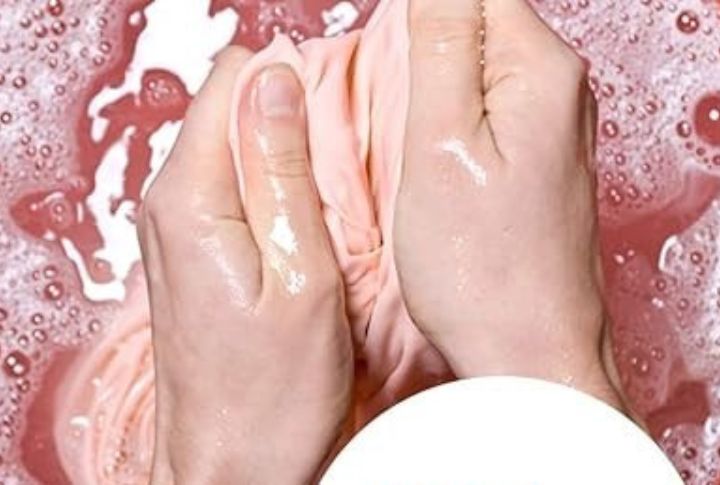
Place the cut paper towels in the container and pour the disinfectant solution over them until fully saturated. Press gently so that every towel absorbs the liquid. They should be moist without being overly saturated to avoid dripping, as dry spots can reduce the effectiveness of the wipes.
Seal Your Container Tightly
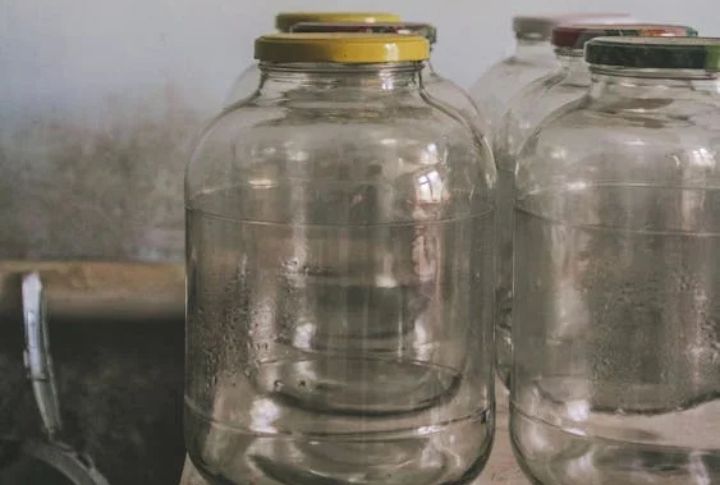
Once soaked, seal the container tightly to prevent moisture loss. A well-sealed container keeps your wipes fresh and compelling for longer. Look for containers with secure lids, such as old wipes tubs, or airtight jars. Proper storage extends the life of homemade wipes and keeps them ready for action whenever needed.
Label Your Wipes

When you label your homemade disinfectant wipes, it guarantees safety and clarity. Having a clear label prevents misuse and helps track the ingredients and freshness. Include key details like the title, ingredients, usage instructions, and date made. Use waterproof labels for durability and consider creative designs or color coding for easy identification.
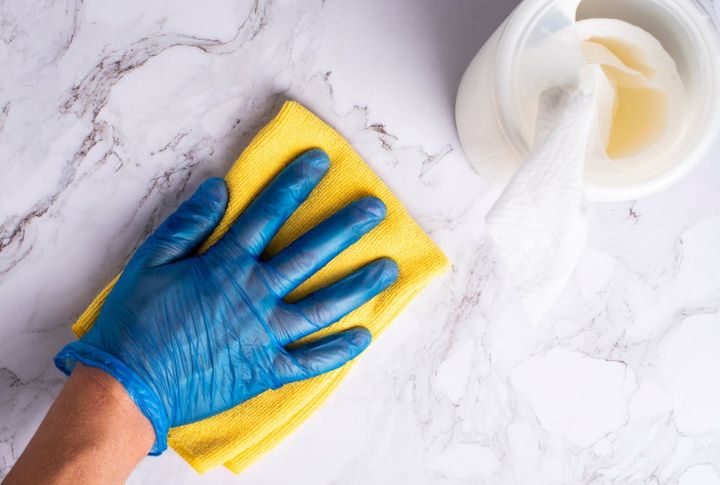
Test on Surfaces First
Before using wipes on every surface, test them on a small area first, especially for delicate materials like wood or fabric. Wait a few minutes to observe for adverse reactions. This prevents damage, discoloration, or contamination, ensures safety, and confirms disinfecting power before applying to larger areas.
Customize Your Formula
Feel free to experiment with different ratios of ethanol or vinegar-based on what works best for you. Depending on the job, you can adjust the ingredients to make stronger or more delicate wipes. For example, adding more ethanol increases the disinfecting power, while more water dilutes it for gentler cleaning.
Store in a Cool Place

Find a cool, dry spot for your wipes. Heat degrades active ingredients, and ethanol evaporates faster in high temperatures. Ideally, use them within a few weeks to maintain effectiveness. Avoid heat sources or sunlight, and consider refrigeration for extended shelf life. Proper storage also prevents mold and extends shelf life.
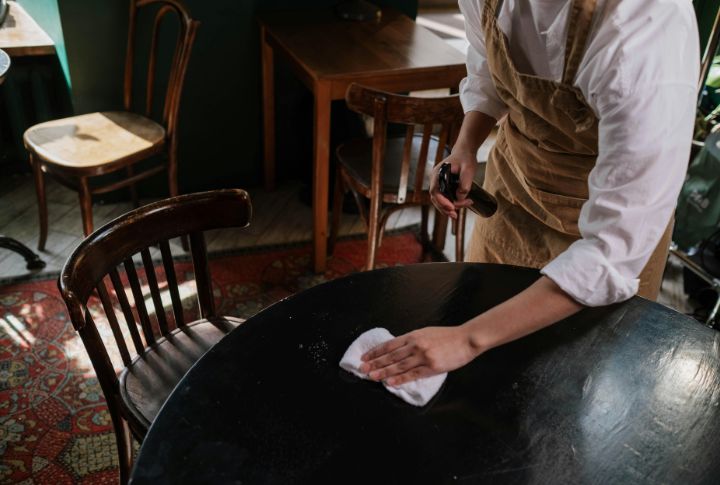
Use Regularly for Best Results
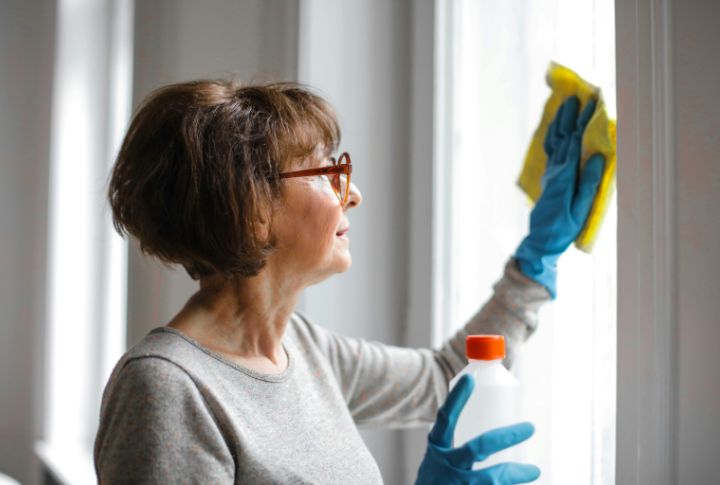
Gradually integrate your homemade disinfectant wipes into your cleaning routine for maximum performance. Use them for quick clean-ups after meals and sanitizing high-touch areas like doorknobs and remote controls. Wipe surfaces thoroughly and allow them to air dry for optimal disinfection. With a quick swipe, you can maintain a healthier living space.
Refresh Your Wipes
Disinfectant wipes can dry out over time and lose their potency against germs. Regularly check for dryness or scent changes, and soak them with your liquid base until saturated when necessary. This quick fix keeps your wipes active without the need to start from scratch each time you refresh them.
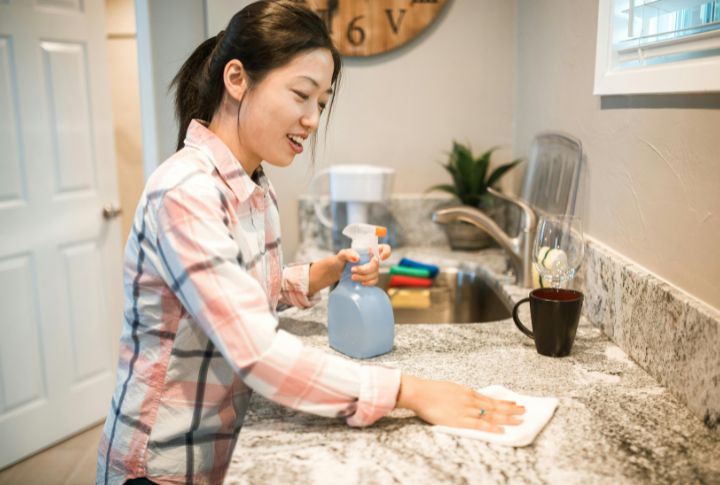
Keep a Spray Bottle Handy
For those times when you don’t need a full wipe, a spray bottle filled with your cleaning solution works great. You can spray surfaces directly and wipe them down with a clean cloth. It’s a convenient option for quick touch-ups without going through your entire stash of wipes.