

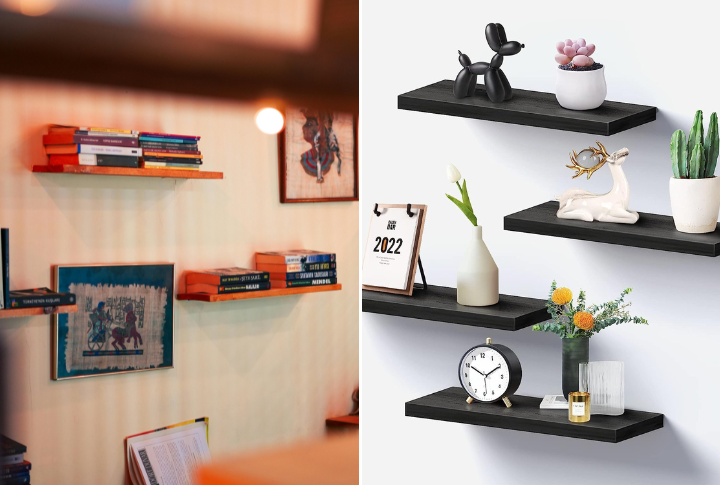
Building your own floating shelves isn’t as complicated as you might think! You can personalize your space with just a few materials and some easy steps. We’ve got 15 super easy ways to get your DIY on and create cool floating shelves that will impress anyone who sees them.
Choose Your Wood Wisely
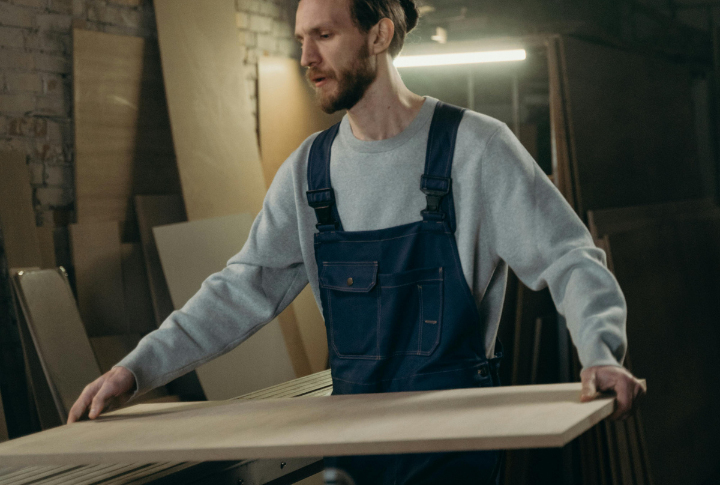
Start with the basics: picking out the perfect wood for your floating shelves. Solid wood looks great and lasts longer, but plywood can work too. Decide based on your room’s vibe and your budget. Thicker pieces will give your shelves that sturdy look, while thinner ones keep things sleek and modern.
Measure Twice, Cut Once
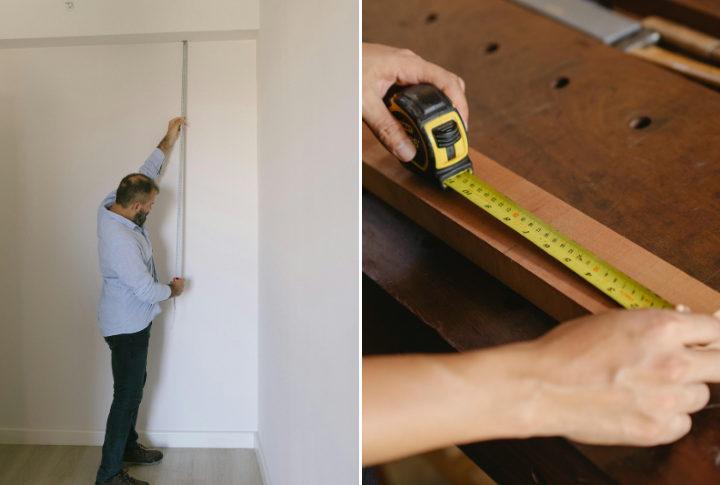
Before getting in, grab a measuring tape. Measure where your shelf will go, and then measure it again! Once you’re sure about the dimensions, cut your wood carefully. Making sure everything fits perfectly from the start will save you headaches later when it’s time to hang.
Sand It Smooth
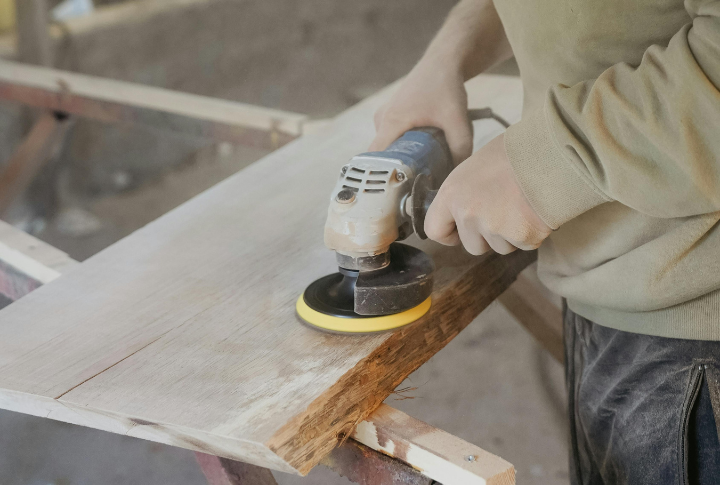
No one wants rough edges. Once your wood is cut, sand down all sides. A smooth surface not only makes your shelves look better but also ensures the paint or finish will stick evenly. Trust me, your hands will thank you when you’re installing them without splinters!
Add a Finish

Whether it’s a natural wood stain or a pop of paint, adding a finish to your shelves is key. This step is where you can really bring out the personality of your shelf. Use classic wood tones for a rustic look or bold colors to enhance flair to your space.
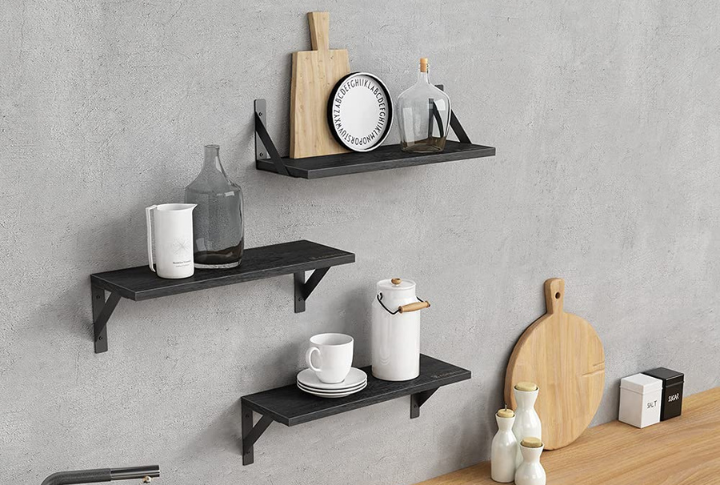
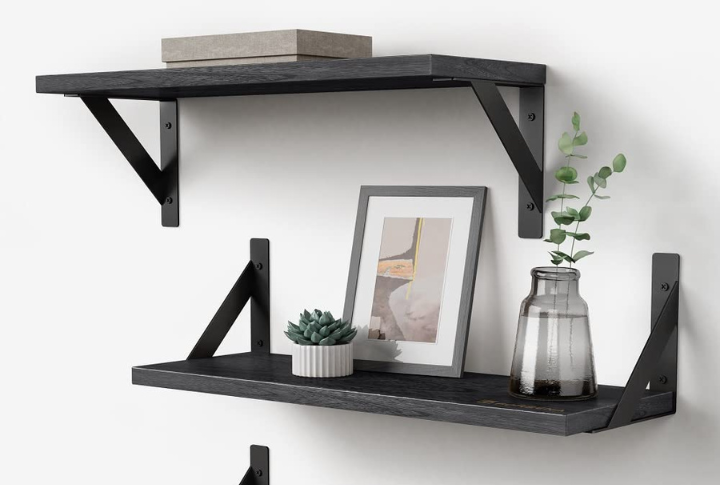
Use Heavy-Duty Brackets
Support is everything! Choose brackets that can hold the weight of your shelves and whatever you plan to put on them. Look for hidden floating brackets if you want that true floating effect, or go for visible ones if you want an industrial vibe.
Find the Right Wall Studs
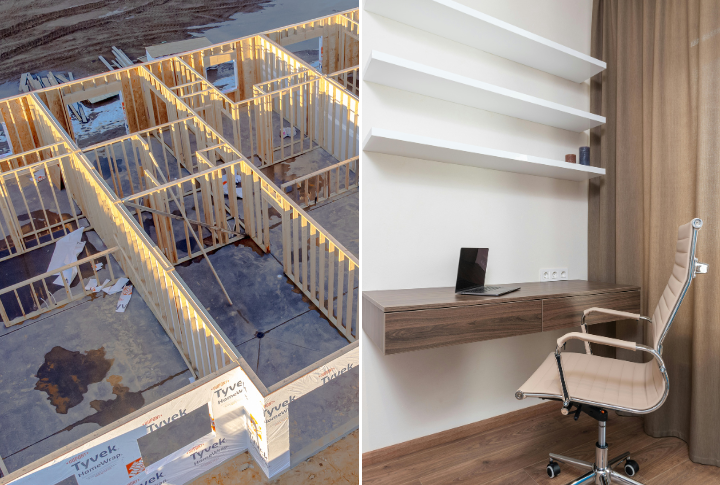
It’s important to anchor your shelves securely. Use a stud finder to check the wall studs for mounting your brackets. Screwing directly into studs means your shelves will stay up, even if you load them with books, plants, or anything else.
Pre-drill Holes
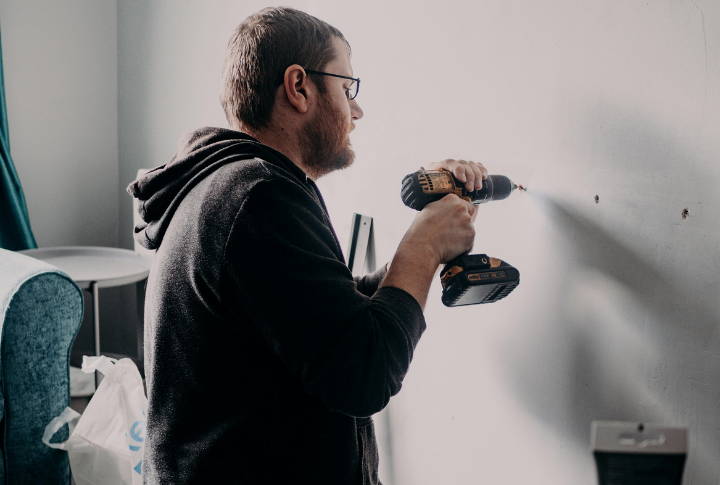
Before you start screwing the brackets into place, pre-drill holes. This makes sure everything lines up perfectly and helps you avoid splitting the wood. It also makes installing the screws easier; no struggling with misaligned hardware.
Level It Out

Use a level to double-check everything before you start screwing things into place. A few adjustments now can save you from having lopsided shelves later on. Even slight crookedness can be noticeable, so this step is important for a professional-looking result.
Secure the Brackets
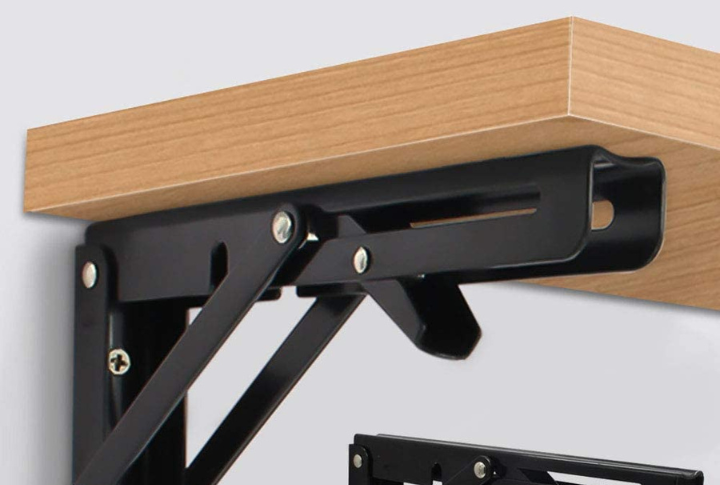
Once everything’s lined up, it’s time to attach the brackets. Whether you’re using hidden ones or decorative ones, make sure they’re screwed in tight. This will give your shelves the strength they need to hold whatever you place on them.
Add the Shelf on the Top
Now for the fun part! When the brackets are secure, carefully place your shelf on top. If you’ve measured everything right, it should slide into place perfectly. You can secure the shelf with small screws or leave it loose for easy adjustments later.
Decorate Your Shelves
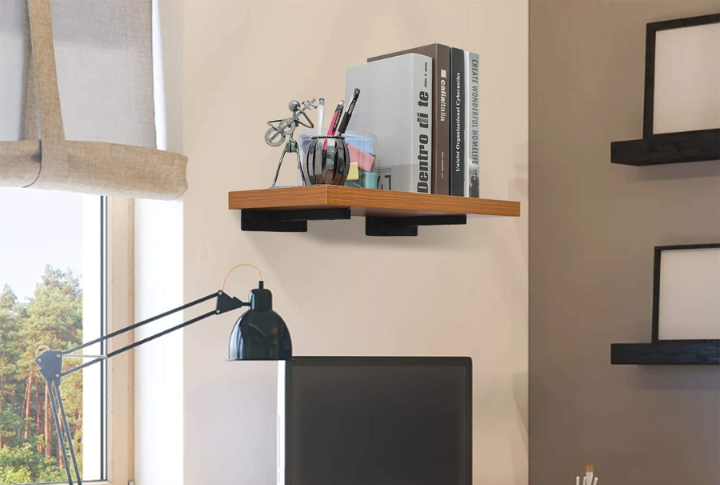
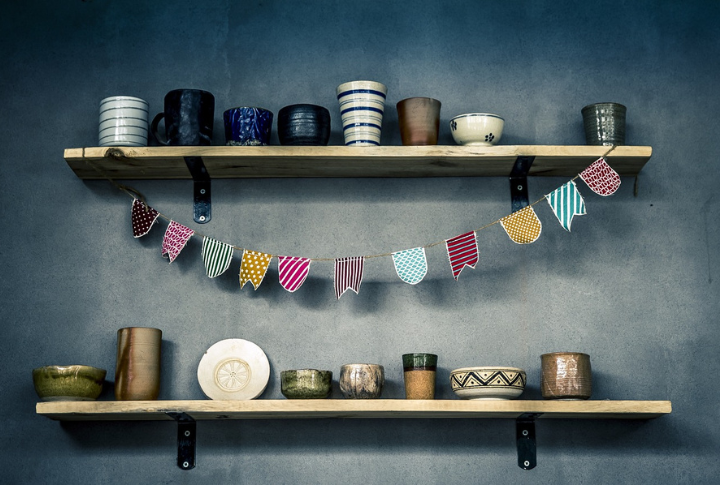
Your floating shelves are up, now it’s time to decorate! Add some cool plants, photos, or books to personalize your new space. Just remember to balance the weight and avoid overloading them with heavy items. Your new shelf is now the perfect space for a personal touch.
Create a Hidden Compartment

Want to take it up a notch? Build your floating shelves with a hidden compartment underneath. It’s perfect for storing small valuables or keeping things like remote controls out of sight. It’s a clever way to combine style with a little secret storage.
Mix and Match Materials

If wood isn’t your thing, try mixing materials. Floating shelves can be made from metal, glass, or even repurposed items like old skateboards. Make it as quirky or classy as you want! This is a great way to add a unique twist to your DIY project and showcase your personality.
Try Corner Shelves
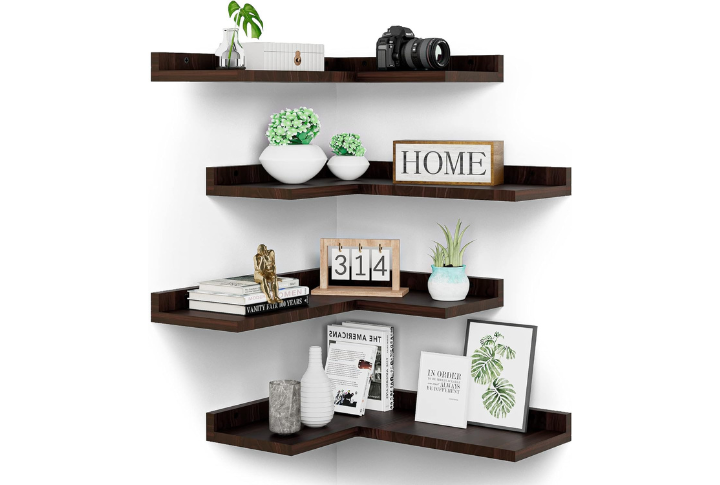
Make the most of your room’s space by adding floating shelves in the corners. These can turn unused space into a functional and stylish area for decor or storage. Plus, they’re perfect for smaller rooms where wall space might be limited.
Keep It Minimalist
Sometimes, less is more. If you’re a fan of clean lines and minimalism, keep your shelves simple. Stick to basic shapes and neutral tones for a timeless look that won’t go out of style. It’s all about creating a space that feels airy and uncluttered.