

Temporary walls offer flexible solutions for dividing spaces, creating privacy, or adding structure to open areas. Whether you’re a renter, homeowner, or business manager, these versatile partitions can make your space more versatile without permanent alterations. In this gallery, we’ll highlight 15 steps you can use to construct temporary walls.
Secure Necessary Permissions

If renting or in a shared space, consult your landlord or building management before beginning. Understanding regulations and restrictions can prevent future headaches. Review your lease, communicate your plans, gather necessary documentation, and obtain written approval to avoid legal issues and financial penalties down the line.
Choose the Right Spot
Before anything else, identify where your wall will go. This decision affects the wall’s structure and function. Assess its purpose, consider natural light and traffic flow, account for utilities, and maintain visual harmony with your decor. Testing the layout with furniture can also help visualize the space before construction.
Measure the Area Precisely

Accurate measurements ensure your wall fits perfectly. A misstep here could throw off the entire project. Take measurements wall to wall and floor to ceiling, then double-check and sketch the layout to identify potential problems. Precision now prevents future headaches and gives your space a professional, polished feel—no awkward gaps or uneven edges.
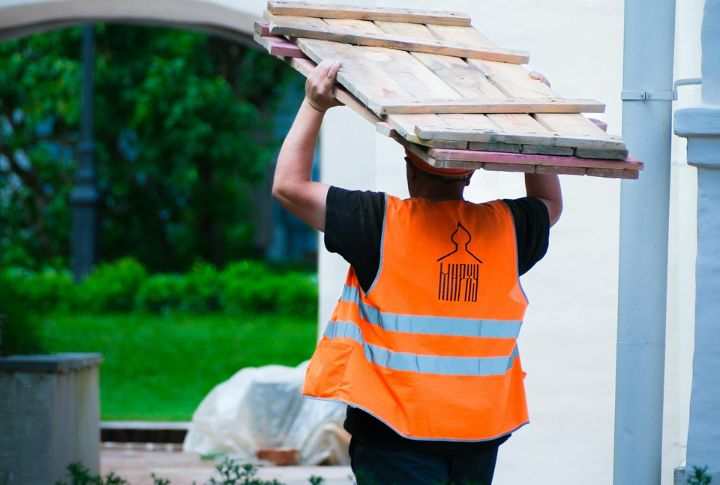
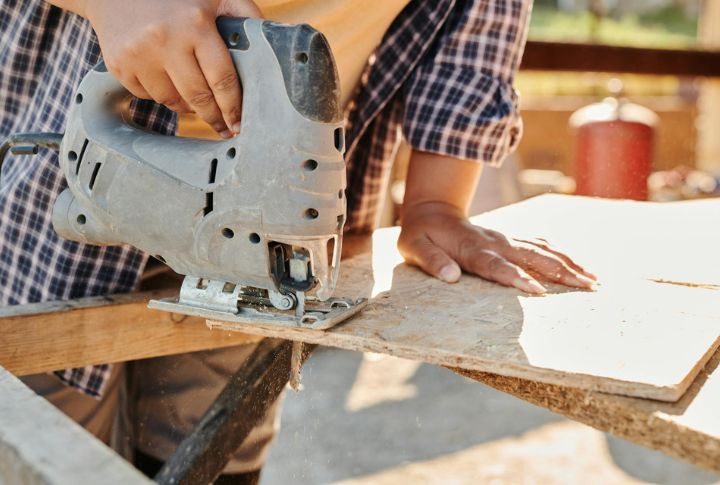
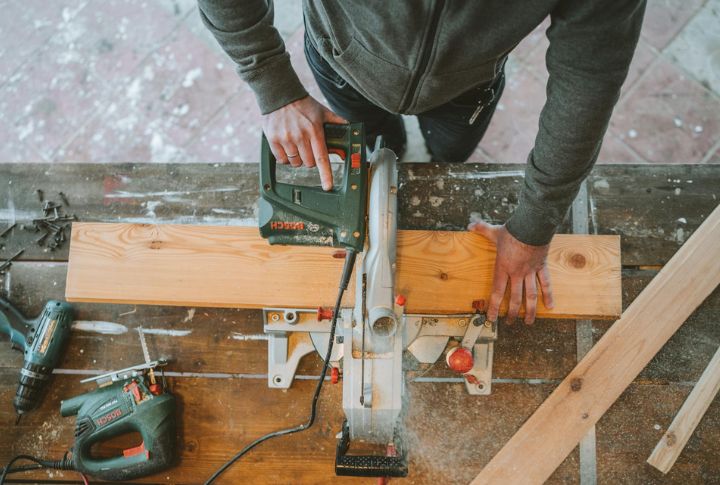
Pick Lightweight Materials

Gathering essential tools and using lightweight materials streamline installation and removal. Necessary tools include a circular saw, drill, and level. Materials like Homasote board, foam panels, and lightweight drywall reduce handling strain and costs. They provide stability while allowing for easy adjustments and future dismantling, ensuring flexibility when needed.
Lay Down the Sill Seal
Begin the process by applying a sill seal along the floor where the wall will be built. Made from closed-cell foam or polyethylene, it offers protection and balance. The sill seal acts as a moisture barrier, air seal, and pest deterrent. Installation involves preparing the area, cutting it to size, and laying it down.
Install a Top and Bottom Plate
Using wooden or metal plates along the ceiling and floor creates a solid framework that distributes weight evenly. To install, cut the plates to size using 2×4 or 2×6 lumber or metal. Position the bottom plate on the sill seal and fasten both plates to the floor and ceiling joists for stability.
Add Vertical Studs
Studs form the skeleton of your temporary wall. Space them evenly along the top and bottom plates for durability. Measure and cut 2×4 lumber to height, position studs 16 to 24 inches apart, and secure them. Strong supports enable the wall to hold shelves and artwork, enhancing both aesthetics and functionality.
Secure the Framework with Screws
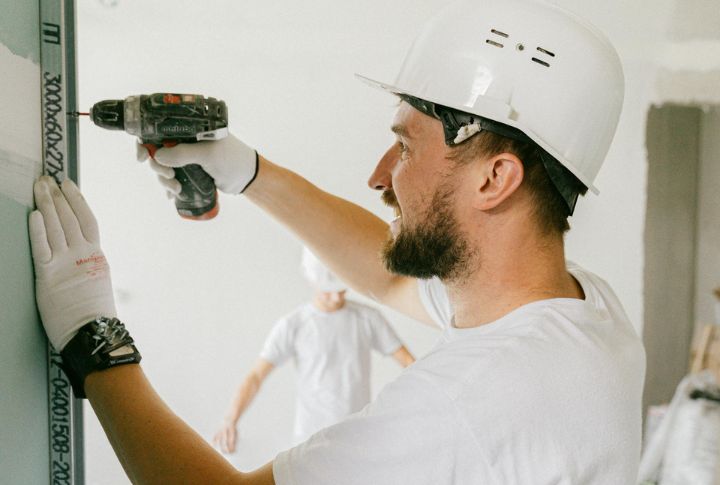
For a sturdy build, use screws instead of nails to fasten everything together. Screws offer superior grip and can be easily removed when it’s time to take down the wall. Additionally, screws reduce the risk of splitting wood. They enhance steadiness and provide a clean, professional finish to your construction.
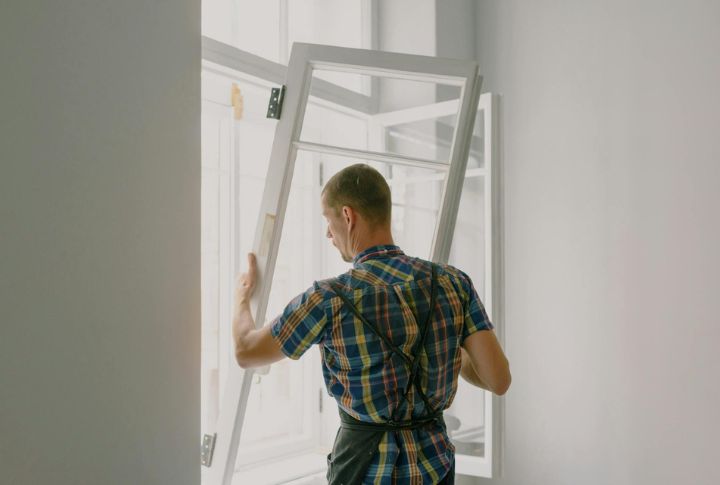
Consider Temporary Doors or Openings
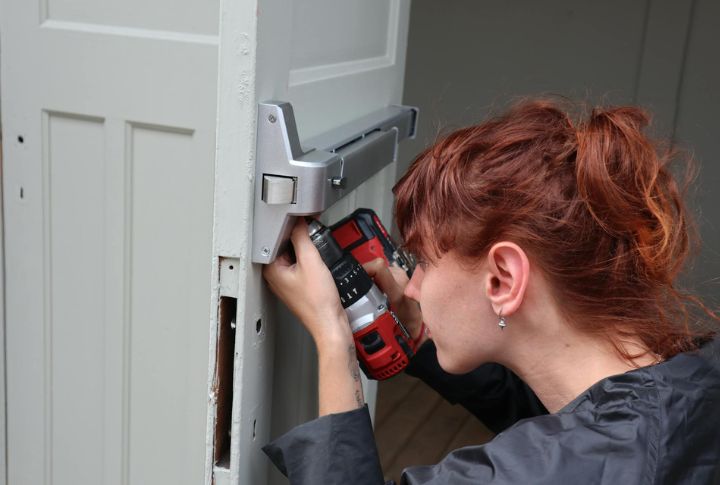
If your wall requires an opening, plan for a door or opening after installing vertical studs before attaching drywall. Determine the door’s placement, adding extra studs for support. Don’t forget to include a header and trimmer studs. Options like removable doors or sliding panels are ideal for dividing large rooms while ensuring easy access.
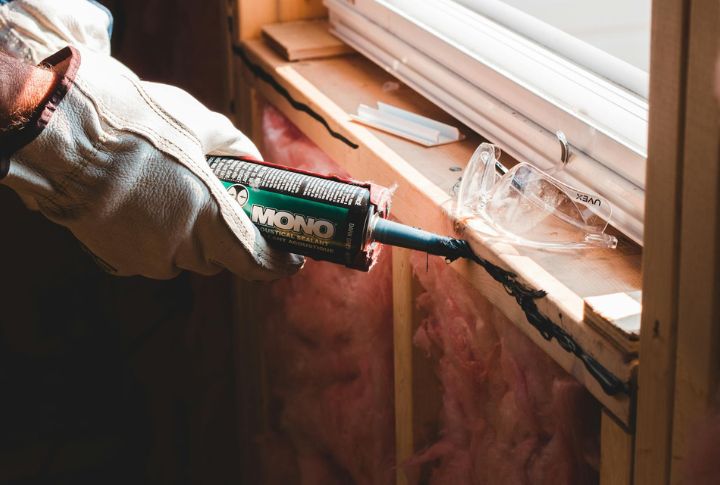
Incorporate Soundproofing
Adding insulation, such as foam, fiberglass, batt, blown-in, or spray foam, between the studs dampens noise and makes it ideal for offices or private spaces. Size and trim insulation to fit snugly and leave no gaps. Seal edges with caulk or spray foam to enhance soundproofing and thermal insulation for energy efficiency.
Attach Drywall or Panels
Carefully fasten drywall or other panels to your framework. It is where your temporary wall truly starts to look like a permanent feature. Cut them to size and attach them using screws as well. Stagger joints for added strength, and create cutouts for fixtures as needed.
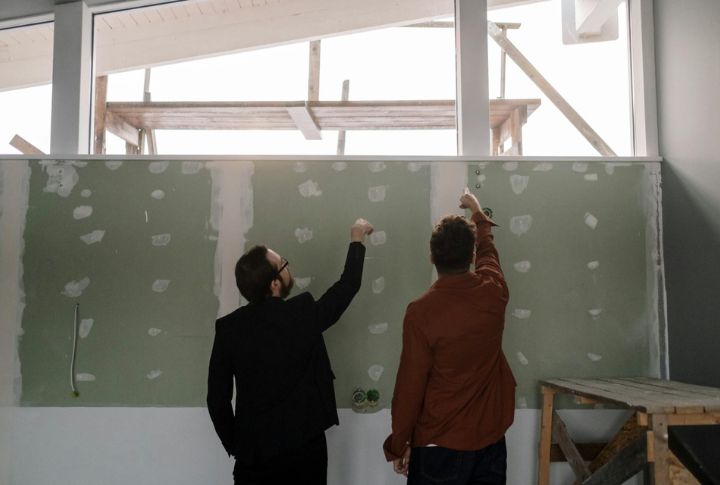
Tape and Mud the Seams
Add tape and joint compound over the seams to give your wall a polished look. Paper or fiberglass mesh tape can be used. Sand it smooth for a flawless finish. Even a temporary wall should appear well-crafted. These finishing touches hide imperfections, making your space look expertly designed, not hastily thrown together.
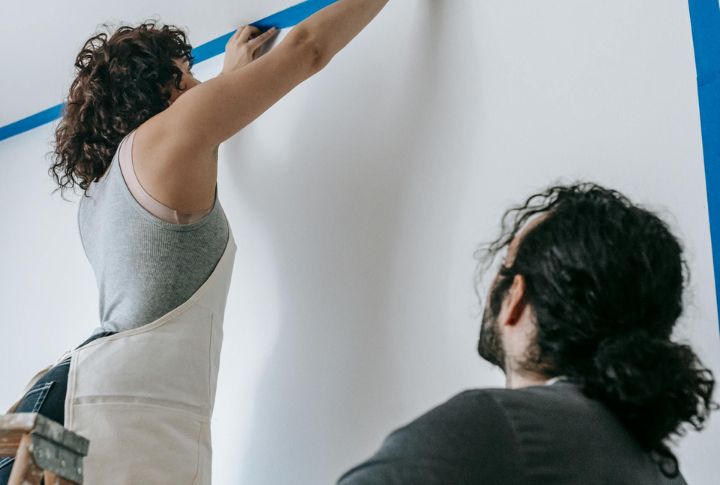
Paint or Add Wallpaper
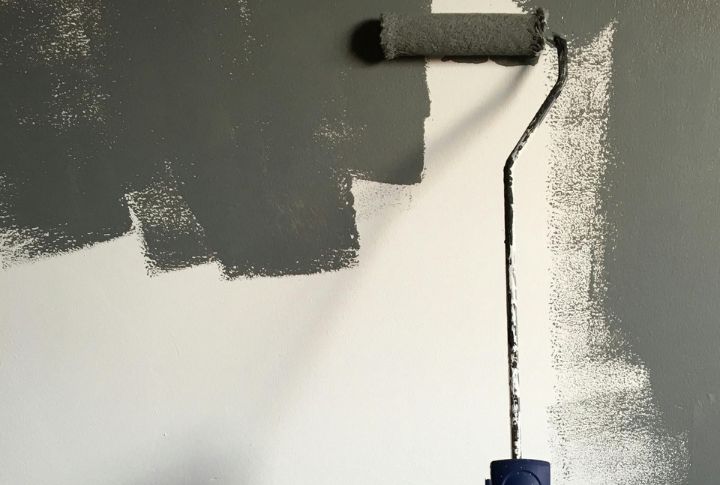
Now, make it your own. A coat of paint or stylish wallpaper gives the wall personality. Pick shapes or colors that go with the rest of your decor. Painting offers versatility and quick application, while wallpaper adds texture and drama. Painting turns your temporary wall into an aesthetic asset.
Personalize Your Space
Maximize your temporary wall’s utility by installing shelves or hooks using brackets. It adds storage and style without compromising its temporary nature. For décor, use non-permanent adhesives like Command strips or Velcro. These allow you to hang art, mirrors, or photos without damaging the surface and for easy removal later.
Test Stability

Before calling the project finished, test your wall’s stability. Apply pressure at various points to check for movement and inspect fasteners and seams for security. Testing durability ensures the wall can handle everyday use. It helps prevent future mishaps and gives you peace of mind that the structure will hold up for as long as needed.