

Ready to tackle a rewarding DIY project? Building a carpenter’s box is a fantastic way to flaunt your woodworking skills and create a practical tool for any handyman. In just 15 simple steps, you’ll learn how to craft a sturdy, customized box that’s perfect for storing and organizing your tools.
Choose Your Design Wisely

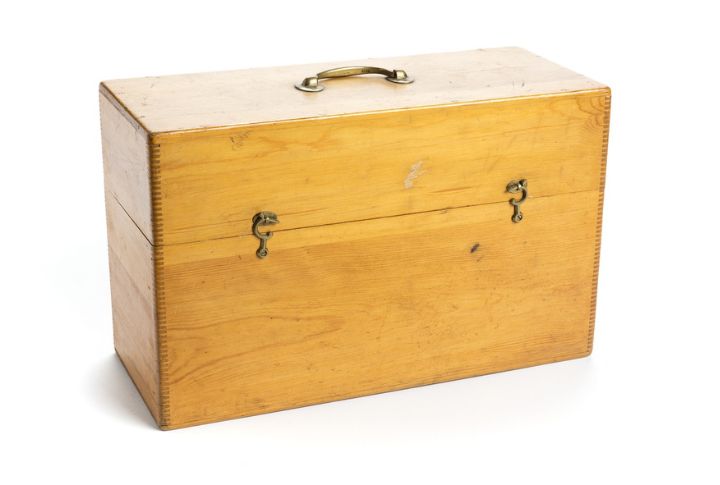
The first step in building a carpenter’s storage unit is selecting a design that fits your purpose, whether for equipment, art supplies, or decoration. Consider shapes like rectangular or square, seek inspiration from various sources, and sketch your layout to clarify your vision before starting construction.
Select the Right Materials

Choosing the right wood is important for your carpenter’s organizer’s durability and aesthetics. Pine is ideal for beginners due to its affordability, while oak offers beauty and longevity. Cedar provides a pleasant scent, and reclaimed wood adds a unique charm and an eco-friendly touch, enhancing your creation’s character.
Gather Essential Tools

Before starting your carpenter’s box project, gather essential tools, including a miter saw for angle cuts, a circular saw for straight cuts, a drill for holes, measuring tape for accuracy, clamps for securing pieces, sandpaper for smoothing, and adhesive for strong joints. Organized tools enhance the building experience.
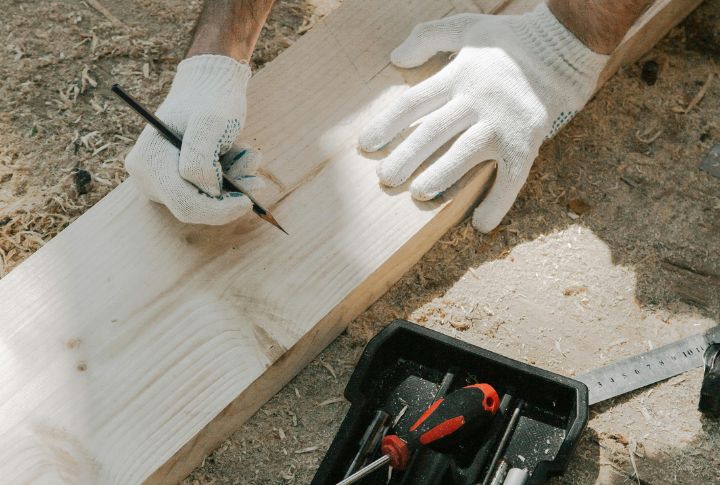
Measure Twice, Cut Once
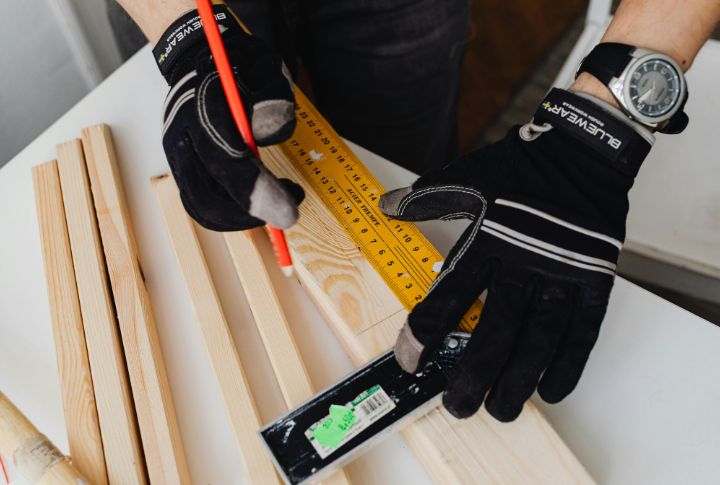
The saying “measure twice, cut once” is fundamental in crafting. Take precise measurements for all components and mark cut lines clearly. This step prevents waste and ensures a perfect fit. A double-check on your measurements saves you from frustration and mistakes, which leads to a smoother and more efficient building process.
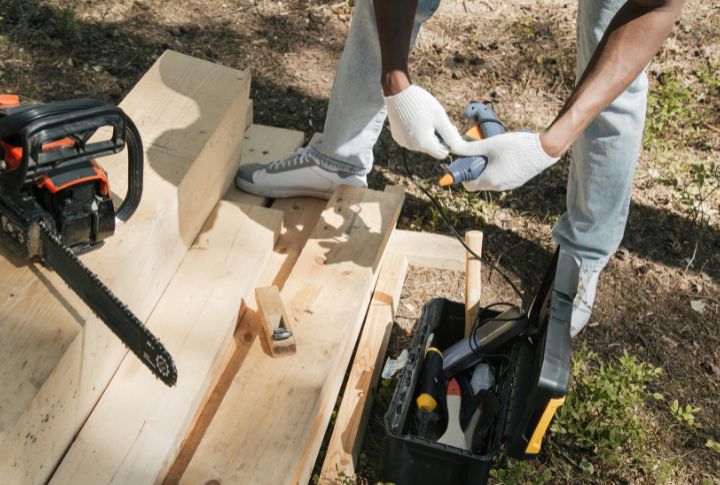
Cut Your Wood Pieces
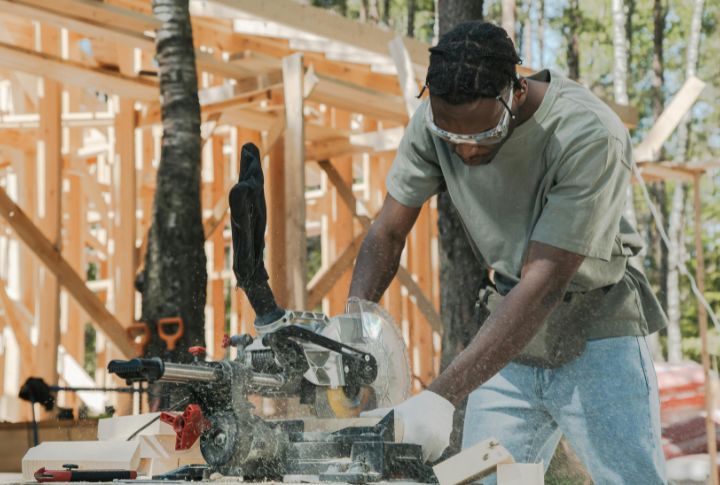
Once measurements are marked, cut the wood pieces using a miter saw for angle cuts and a circular saw for straight cuts, following the lines closely. Prioritize safety by wearing goggles to protect against sawdust. If you’re new to power machinery, practice on scrap wood for confidence before using your materials.
Assemble the Base
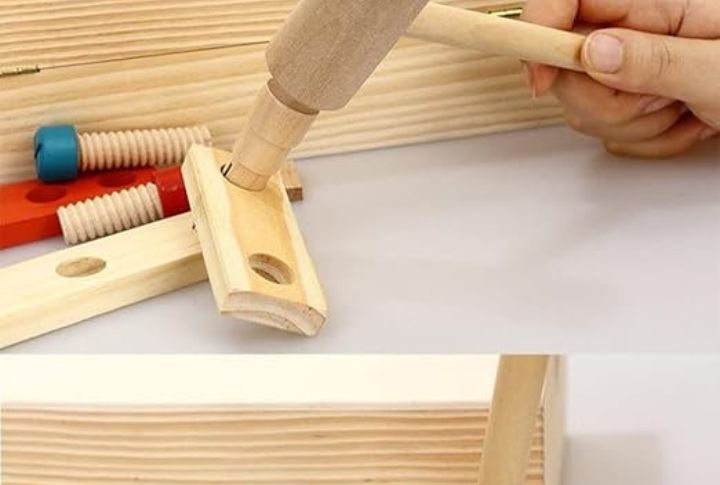
With all pieces cut, start assembling your storage unit by laying the bottom panel flat. Position the side panels upright, ensuring a snug fit. Apply glue along the edges, secure with screws, and use clamps to hold everything in place while the adhesive dries. Ensure proper alignment for a solid foundation.
Add the Walls

Next, attach the remaining walls of the carpentry chest by securing the back panel to the sides and then the front panel. Measure the diagonals to check for square alignment and adjust the corners as needed. Add a decorative lip or trim around the top to enhance visual appeal and strengthen the structure.
Create a Removable Lid
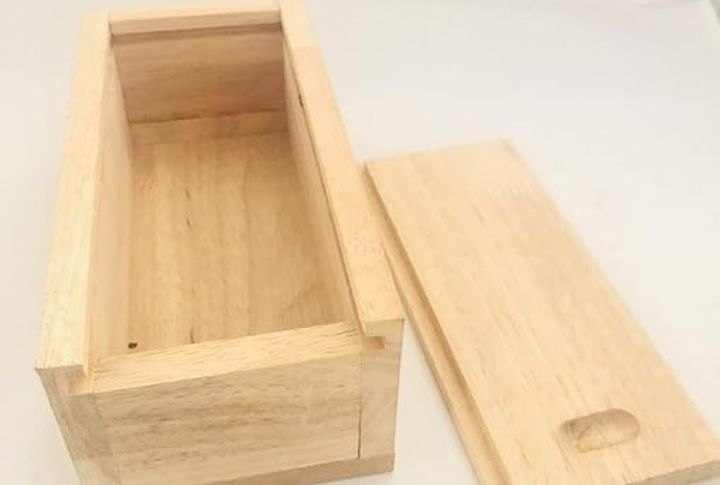
Enhance functionality by designing a removable lid that slightly overhangs the toolbox’s top, preventing dust buildup and providing a better grip. Consider a hinged lid for easy access, and align the hinges properly for smooth operation. Adding a latch enhances security and keeps the lid closed when not in use.
Sand Everything Smooth

Sanding is vital for improving the appearance and feel of your storage box. Begin with coarse grit sandpaper to smooth rough edges, then transition to finer grits for a polished finish. Focus on corners and joints to eliminate splinters. Finally, wipe the box with a clean cloth to remove dust before finishing.
Apply a Protective Finish

Selecting the right finish can transform your woodworking project. Choose a wood stain to highlight the grain, bright paint for a bold look, or clear varnish for natural beauty and protection. Follow application instructions and work in a ventilated area, applying multiple coats for enhanced durability and desired appearance.
Incorporate Storage Solutions

Consider organizing materials and supplies efficiently by adding storage solutions to your craft unit, such as compartments, dividers, or small trays. This maximizes space and ensures everything has a designated place, so you can find items easily without the need to rummage. Assign areas for frequently used items for quick accessibility.
Personalize Your Box
Express your creativity by personalizing your chest. Engrave your name, use stencils for decorations, or add decorative carvings to make it uniquely yours. Imagine painting a favorite quote or symbol that reflects your crafting passion. These custom details turn a simple solution into a beautiful piece of functional art.
Add Handles for Portability

Adding sturdy handles enhances portability for an on-the-go container. Create cut-out spaces on each side for easy gripping, or attach decorative hardware that matches your design. This functional feature simplifies transportation to job sites or workshops but ensures the handles are securely fastened to support the weight of your materials.
Test Your Creation

Now that your carpenter’s box is complete, it’s time to test it! Load it with your tools or supplies and check its stability by lifting and moving it. Make any necessary adjustments at this stage. A successful test will boost your confidence in your craftsmanship and ensure durability for regular use.
Share Your Work
Once your masterpiece is complete, share it with friends and family or upload photos on social media and creative project forums. Documenting your process and showcasing the finished product can inspire others and build community within DIY projects. You might also gain valuable feedback and suggestions for your future endeavors.