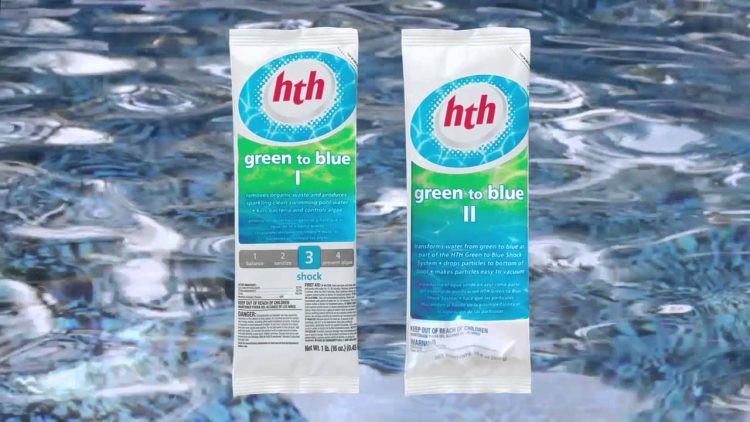
Regular shocking is something that every pool owner needs to be doing in order to maintain healthy swimming pool water, but shocking the pool isn’t always a one-step solution. Sometimes you run into a few problems with your pool after the initial shock for the season, causing confusion as to exactly how much chlorine – or any other product you are using – to add. For this reason, it is important to know not only how to shock your pool for basic maintenance, but also what to do in cases where you have breakpoint chlorination occurring, or if you need a round of corrective chlorine-demand shocking.
Basic Pool Shocking
Step 1: Choose the optimal time of day and turn your pool pump on
When you shock your pool, you always need to have your pool pump running. You will also need to leave it on for at least eight hours following treatment, so you need to be sure your pool pump is on and functioning properly. As far as when to shock your pool, most experts recommend nighttime or dusk. This gives the pool the full eight hours it needs for circulation, and allows the pool to be usable again during “prime time” (when the sun is shining) the next day.
Step 2: Gather the proper safety gear, products, and tools
Since you are working with concentrated chemicals, you will need to wear protective gloves and glasses to avoid accidental contact with eyes and skin. You should also wear clothes you don’t care about, as any contact may either bleach them or burn holes in them. Other than safety gear, you will also need to get a 5 gallon plastic bucket, your pool shock packets (usually sold in one pound packets), and a stirring stick.
Step 3: Determine the number of shock packets to use
The standard amount is one packet per 10,000 gallons of water. Know how many gallons your pool holds, and treat accordingly.
Step 4: Pre-dissolve your shock packets
Begin by filling your five gallon bucket with water, as the shock packet should always be added to the existing water source, and not the other way around. Again, water first, then shock packet. Once the bucket has been filled and you have carefully added the shock to the water, stir the bucket gently to dissolve.
Step 5: Pour mixture slowly into the pool
Once you have your shock solution, you should pour it slowly and evenly into the pool. Then, all you have to do is let the pool take over, and let leave the pool on for at least eight hours.
Done!
Step 6: Repeat shocks weekly or bi-weekly
Depending on use, shock treatments should be repeated weekly or bi-weekly for proper maintenance. Many pool owners don’t realize that pools which are used frequently need to be treated this often, but it has a lot to do with the chemical bonds between the hydrogen in the water, chlorine, and chlorine’s waste product, nitrogen. The video at the end of this article explains the problems with combined chlorine versus free available chlorine in detail, and why shocking more often or taking the shock treatment to the next level may be necessary.
When Standard Shock Treatments Don’t Work
As mentioned above, occasionally the standard pool shock treatment fails to fix basic problems, including: cloudy water, smelly water, or algae growth. This has a lot to do with the standard dose not being enough to break up the molecules and sanitize the water. In other words, the chlorine you’re adding isn’t enough to be effective. In these cases, too little chlorine is much like no chlorine at all. In these cases, it is not a matter of how you shock the pool, but how much to use. This is how you can get your pool back in order:
Step 1: Test for breakpoint chlorination or chlorine demand
Breakpoint chlorination in a person’s pool water is when chlorine reacts and forms chloramines. These chloramines come in three forms: monochloramine, which is the maximum point of combined chlorines at which eyes will burn; dichloramine, causes foul odors and a “chlorine” smell; and trichloramine, which is the point where algae begins to really grow and thrive. Chlorine demand, however, it a completely different problem.
Chlorine demand has to do with the amount of chlorine which reacts in the water to convert to inert or less active forms. Essentially, this means that when you add chlorine, it is not reacting the way it needs to, and you end up having not enough “full strength” chlorine to do the job.
Using pool water test kits can help you learn how much chlorine and shock to adjust to, and will correct both of these problems.
Step 2: Follow the above steps for standard shock treatments
Once you know how much chlorine to add, simply follow the standard directions on how to shock your pool.
As you can see, anyone can learn to shock their pool properly. If you are interested in learning why shock treatments don’t always work in more detail, check out the video below.


Comments
Loading…